Stalin's Fourth, Frame 2 Pictorial
Stalin's Fourth was a scenario that ran in April,
2006 in the multiplayer on-line air-combat simulation Aces
High.
Mission 1: A23, V25, V26, accomplished
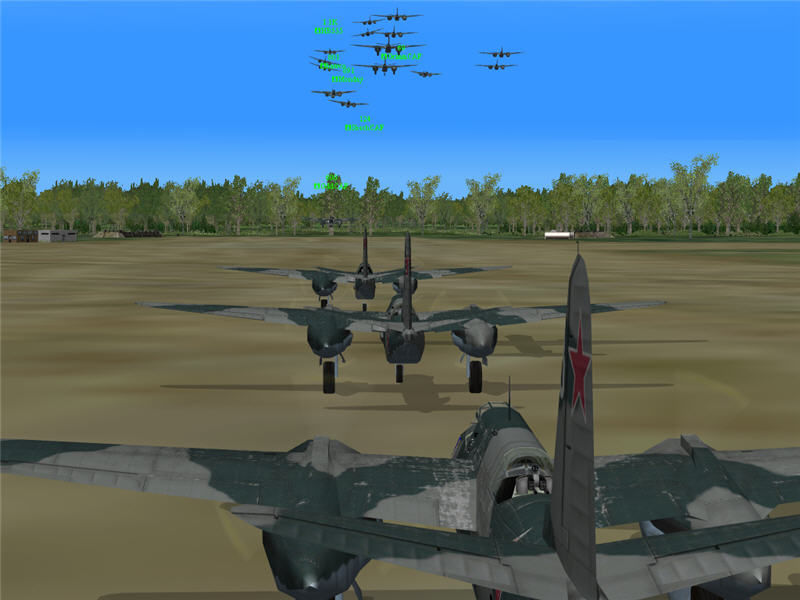
VVS10 taking off from its home base. The pilots of VVS10 are me (Brooke, GL
of VVS10), HB555 (FL of VVS10), GypsyB, Monday, Rompa, Hawco, SkechCAF, GrimmCAF,
and OddCAF. We are taking off in our formations of Boston III bombers, each
carrying four 500 lb bombs. (t=14:06:42)
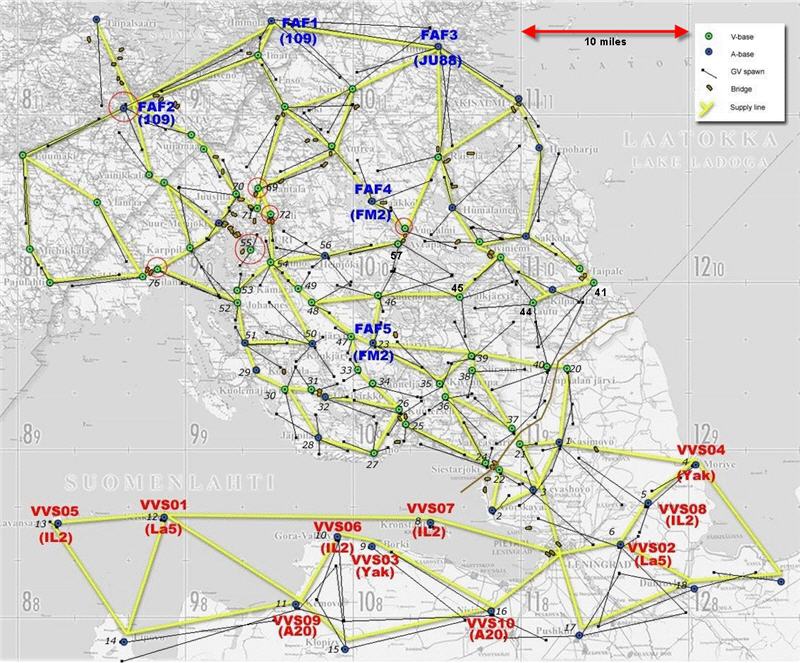
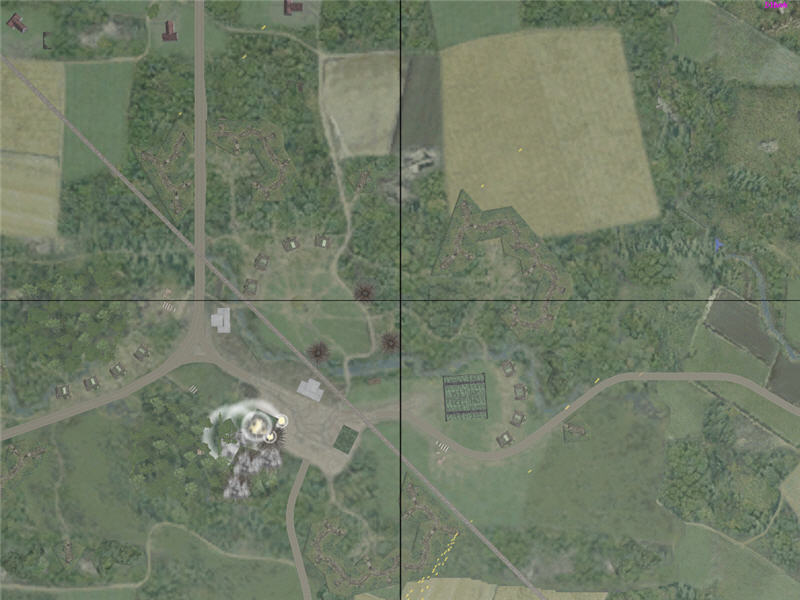
Strategic map of battle area in Finland.
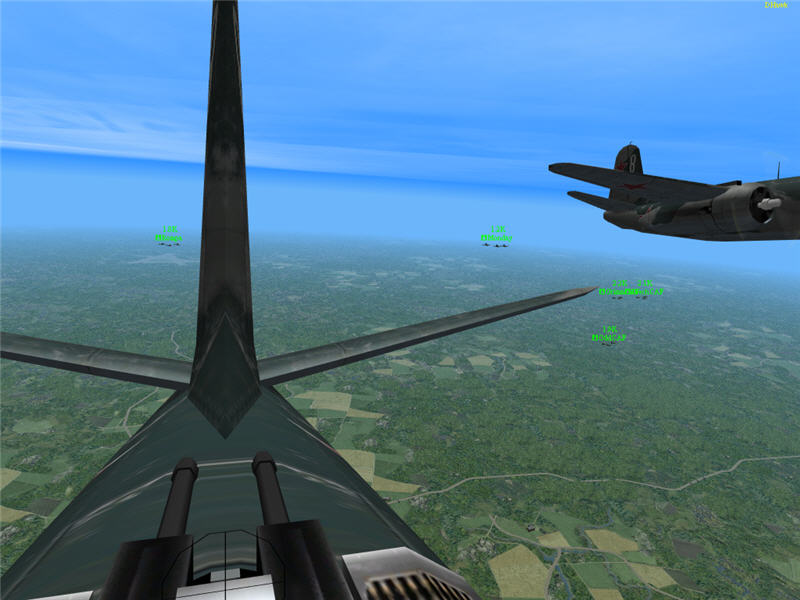
Our first set of targets are the vehicle hangars (VH's) at FAF airfield A23
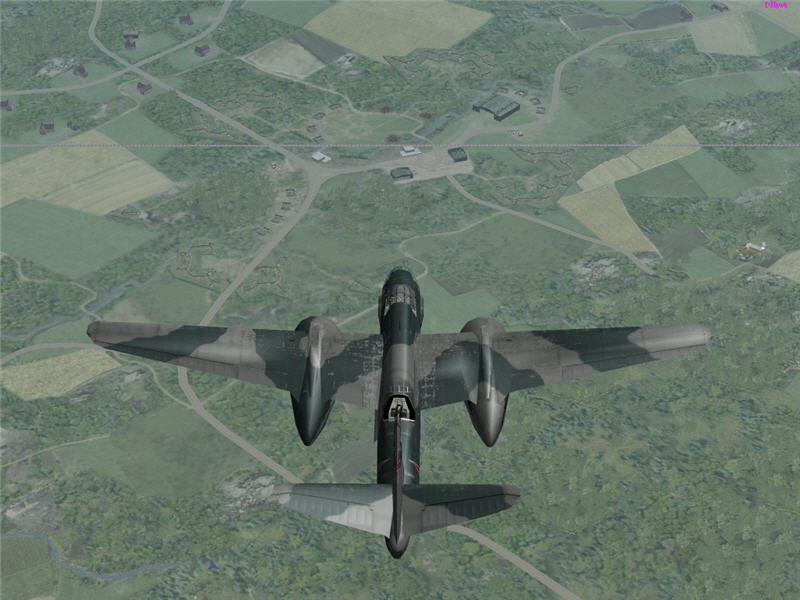
and at Finnish vehicle bases V25 and V26. This is my approach to V25. I'm at
just under 6000 ft, my standard approach altitude. This time, we checked the
wind conditions ahead of time and are taking them into account from the start.
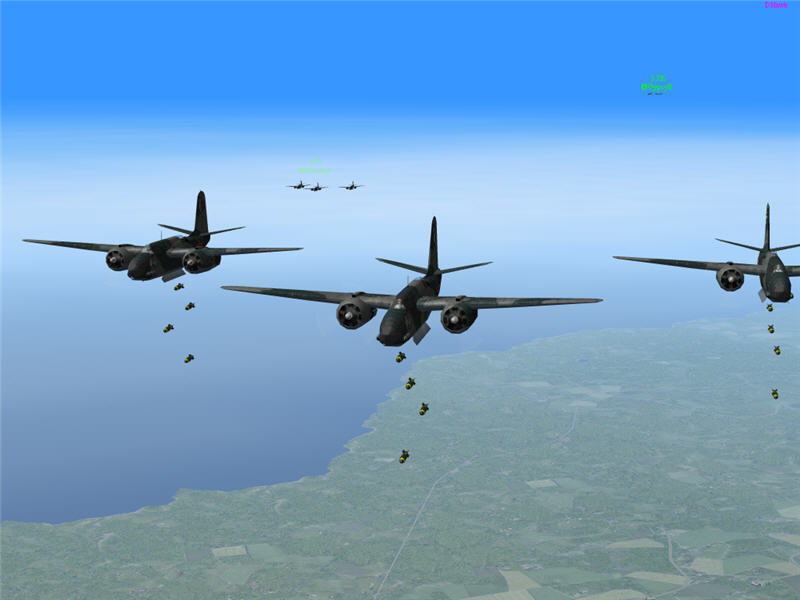
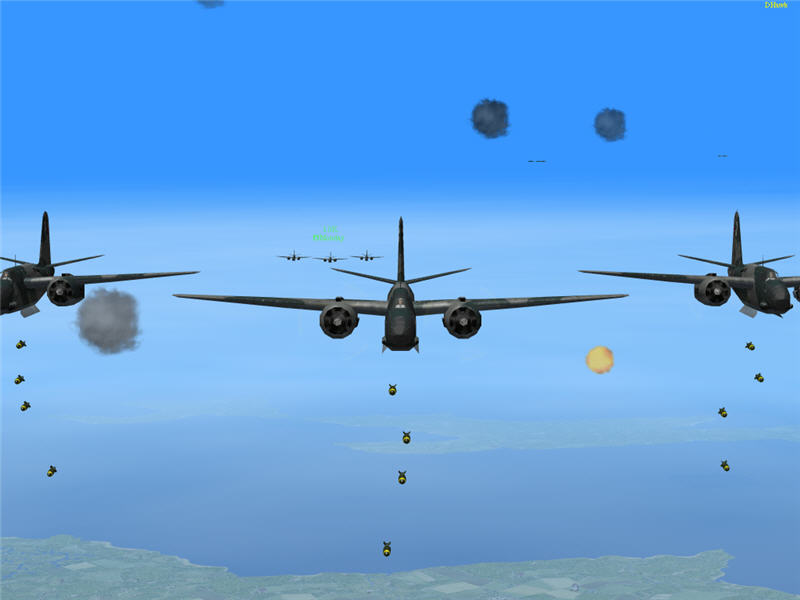
My bombs away on V25. Following me are Monday (left) and, farther back, GypsyB
(right).
My drop rains bombs over the westernmost VH and destroys it. (t=14:19:49)
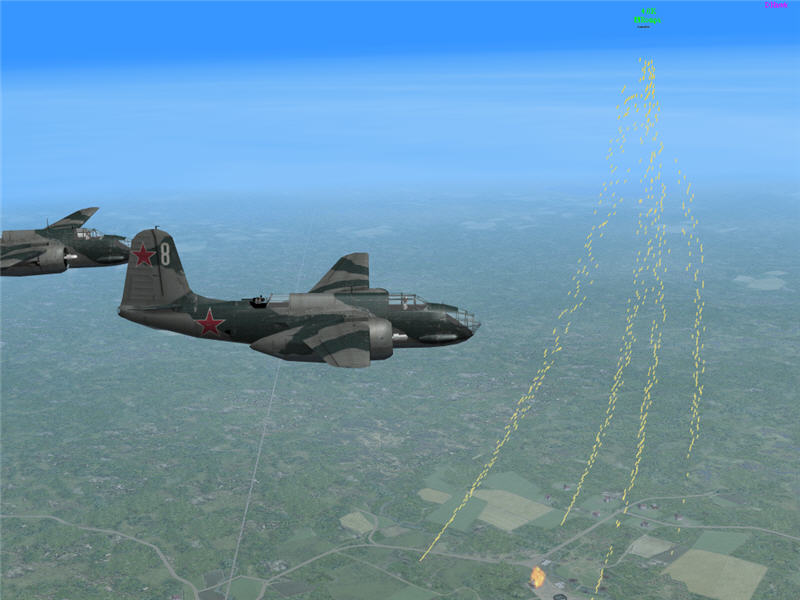
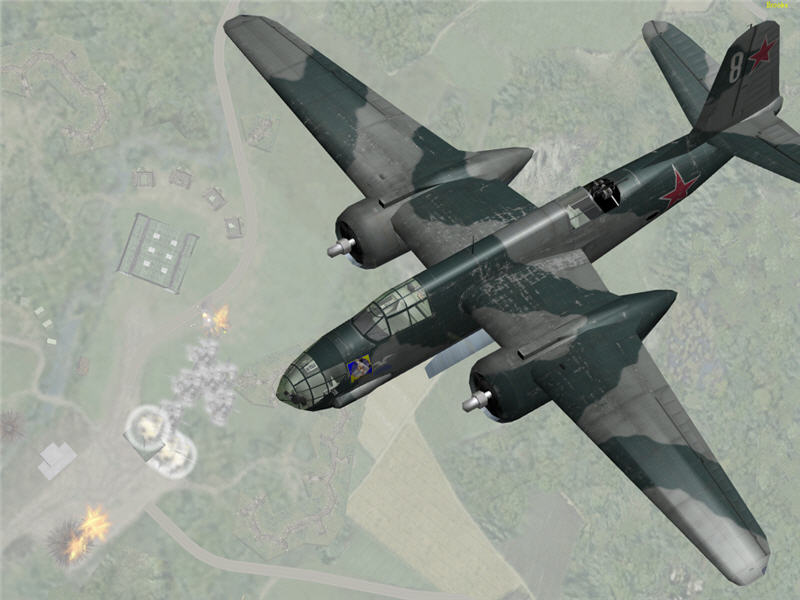
A view of my Bostons and to my left as Rompa (upper right) flies over V26 and
destroys a VH (explosion bottom right). Antiaircraft fire is trying for him,
but he is mostly out of reach of it.

A view of my Bostons and of Monday in the aircraft behind me. Monday hits the
easternmost VH at V25 and destroys it, closing the base. Both VH's are burning
bottom left. GypsyB, as the pilot to assure all VH's are down, retargets to
a different base. A few minutes after this, Odd destroys the VH at A23, and
Skech destroys the remaining VH at V26. Grimm, Odd, and Rompa were shot down
in this mission, but we did accomplish closing all three bases.
Mission 2: V46 and V47, accomplished (unfortunately)
Next on VVS10's target list were V46 and V47. We split into two groups, and
announced our targets on the country channel. I was the lead in the group for
V47, and this is a picture of me dropping bombs. There is one severe problem.
Notice all of the green icons on the ground. Those aren't visible during the
frame (due to visibility limits, haze, cloud layers, etc., which is why the
ground in my pictures looks washed out), but they are visible in the film viewer
from which this picture was taken. Unknown to VVS10 at the time, our ground
forces had overrun V47. As I neared my drop point, I picked up some radio chatter
and saw some explosions on the ground. I got suspicious and called in to command
to ask if I should abort. However, battle is a busy thing, and either command
wasn't seeing my radio messages or couldn't get a message out in time. Not getting
the call to abort, I went ahead and dropped my bombs.
My bombs are centered right on target and destroy the VH. Some of the bomb blasts
come extremely close to Airbumba and Seph, again whose icons were not visible
during the mission. Almost immediately after the VH was destroyed, I got a message
saying not to hit V47. I immediately called on the VVS squadron channel for
pilots to abort V47, but I was too late, as Hawco took out the other VH there
shorly thereafter. At the same time, Monday and Odd destroyed the two VH's at
V46. I heard that V46 had also been overrun by our ground forces, but I think
this was radio confusion, as we were ordered to hit V46 again later. So, VVS10
took out its targets -- unfortunately, one of those was not a good target to
hit. I feel very badly about this. I will change my procedure to greatly reduce
the chances of this happening again and apologize to the ground forces at V47.
HB555 was shot down in this mission. (t=14:52:38)
Mission 3: A51 and V53, accomplished
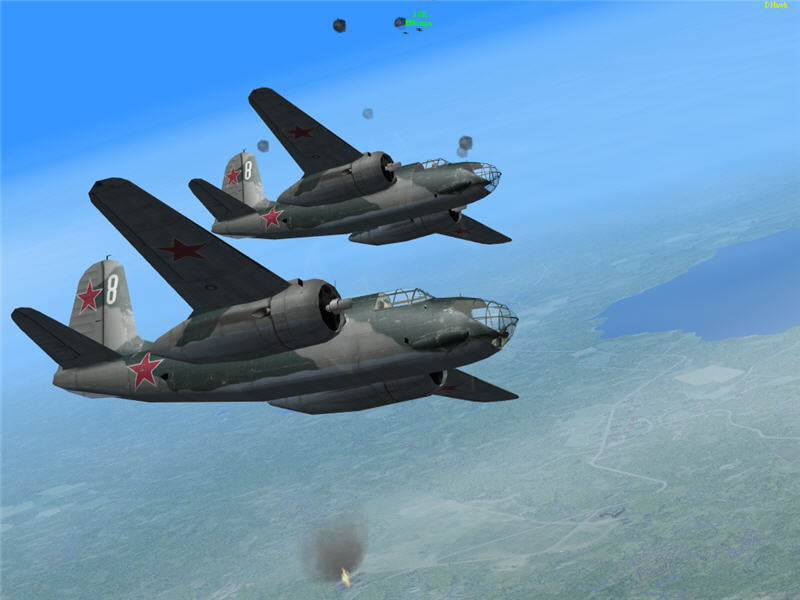
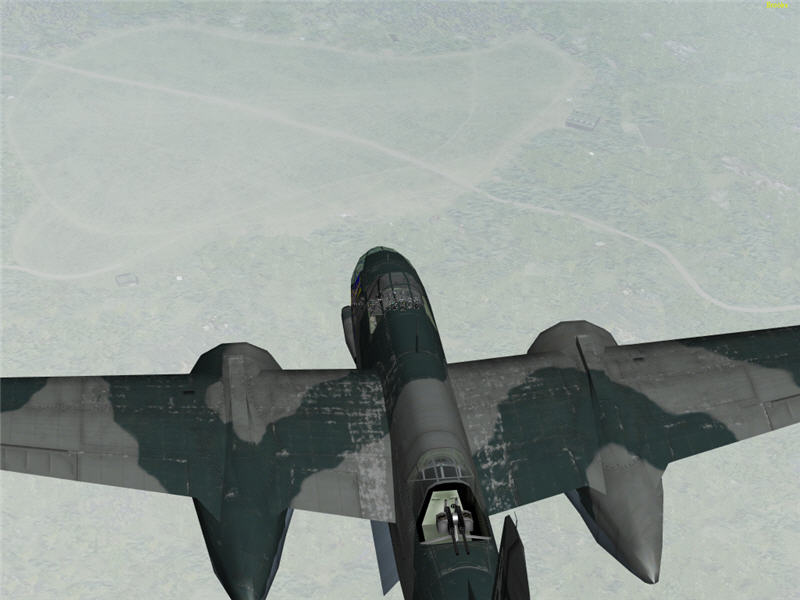
A picture out of my gunner position as we (from left to right, Rompa, Monday,
Odd, Grimm, and Skech) climb away from our home base of A16. Our next targets
end up being A51 and V53. These are in territory where FAF fighters are active,
so we think it's going to be a dangerous mission.
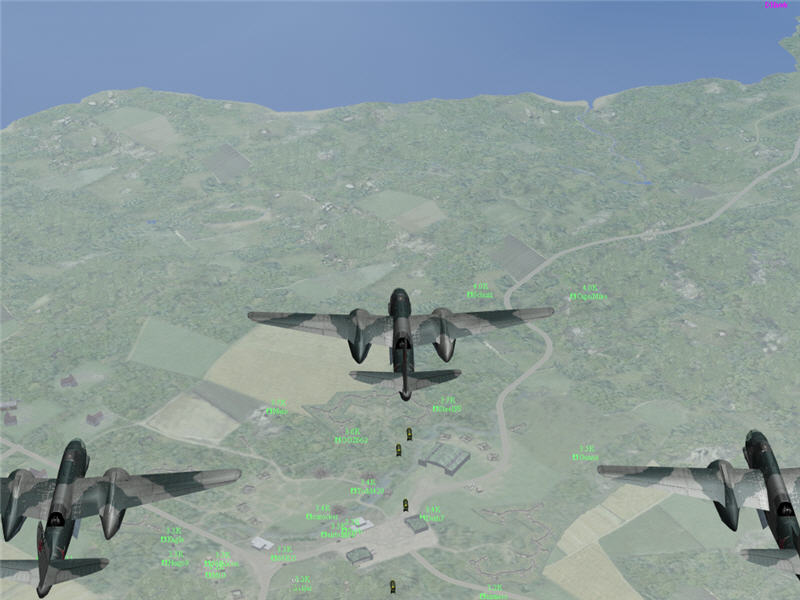
A picture of me dropping bombs on A51. Monday is behind me to drop as well.
There is some AAA firing at us. The other group going for V53 is just barely
visible as dots, upper right. I wasn't sure where the VH would be at A51, but
I was able to pick it out in my bomb sight as we got closer.
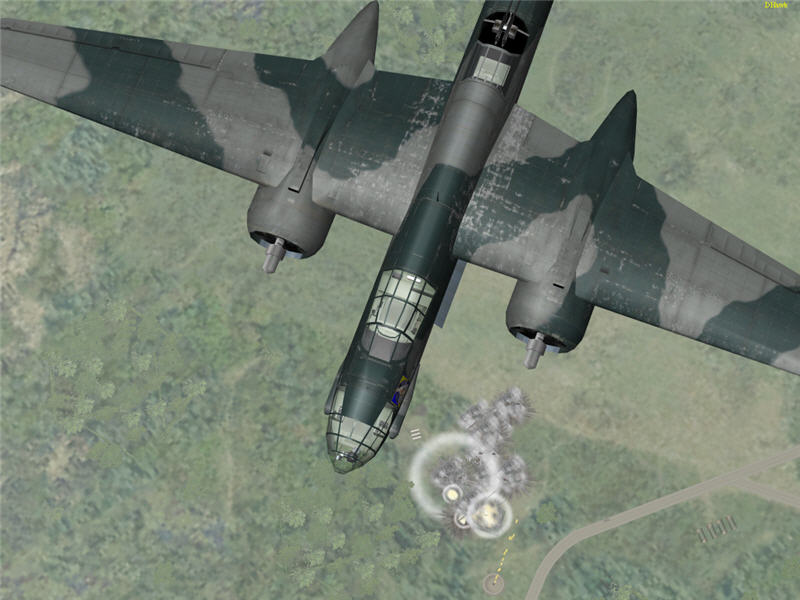
My bomb hits. (t=15:34:20)
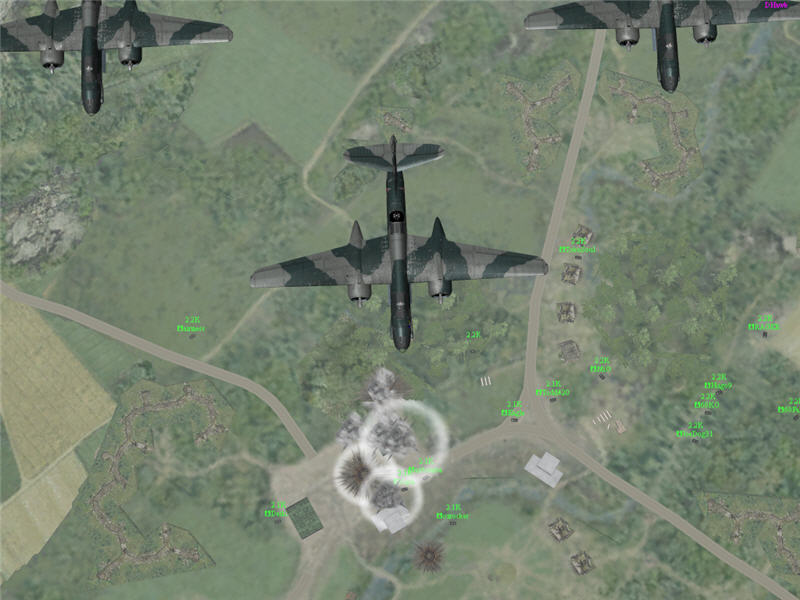
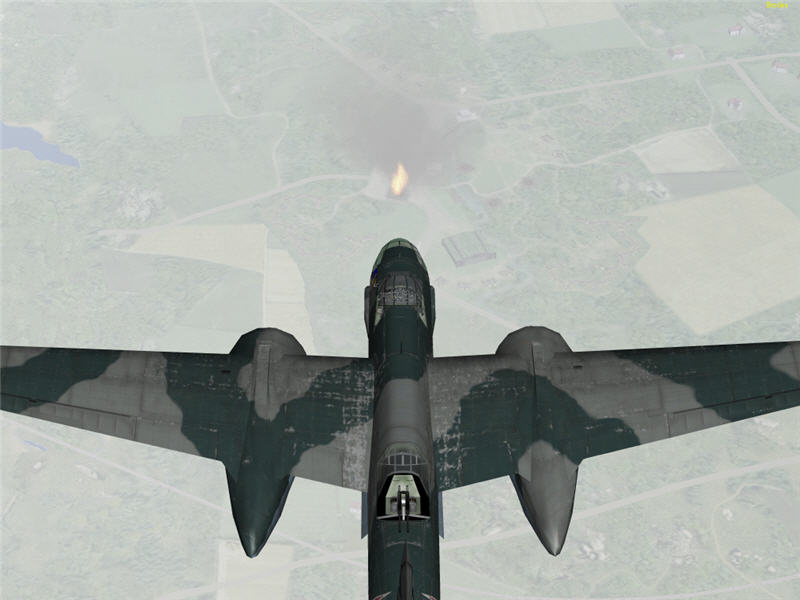
A picture of me turning back around to exit the area. The VH is destroyed and
burning (bottom middle), so A51 is closed to vehicles. Rompa is in the area,
too (upper middle). About this same time, Odd destroys one of the VH's at V53,
and Grimm destroys the other, closing down V53.
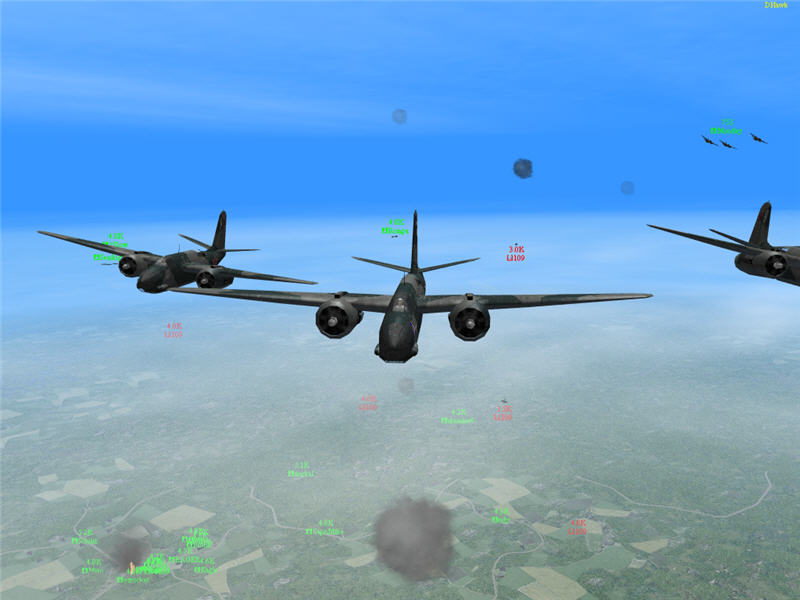
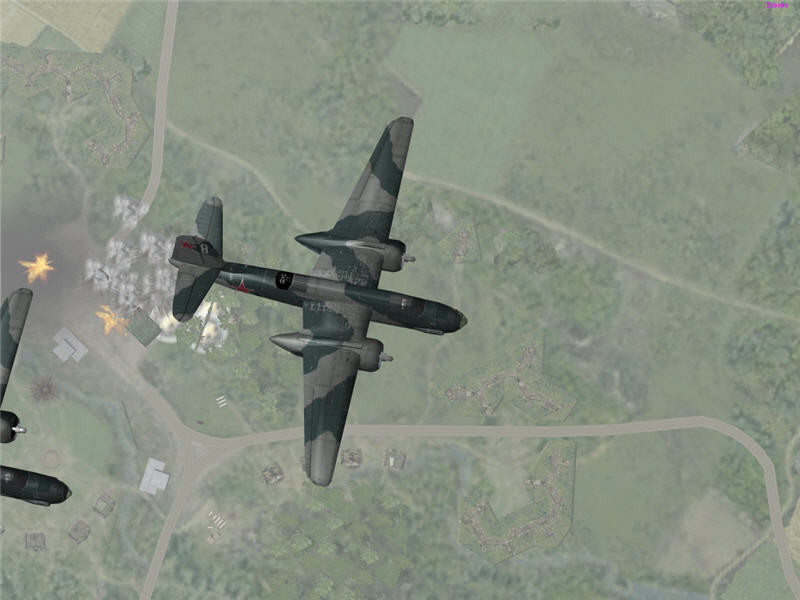
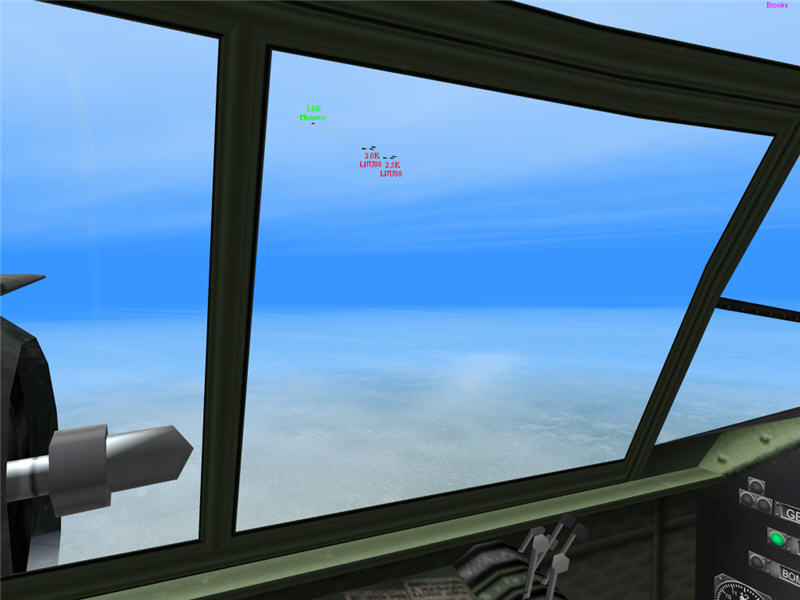
A51 and V53 were in areas with FAF fighter activity. As Monday (upper right),
Rompa (behind me), and I head back, we get into an area with FAF Bf 109's. There
are some VVS fighters in the area, but most of them are lower. The green icons
bottom left are ground forces.
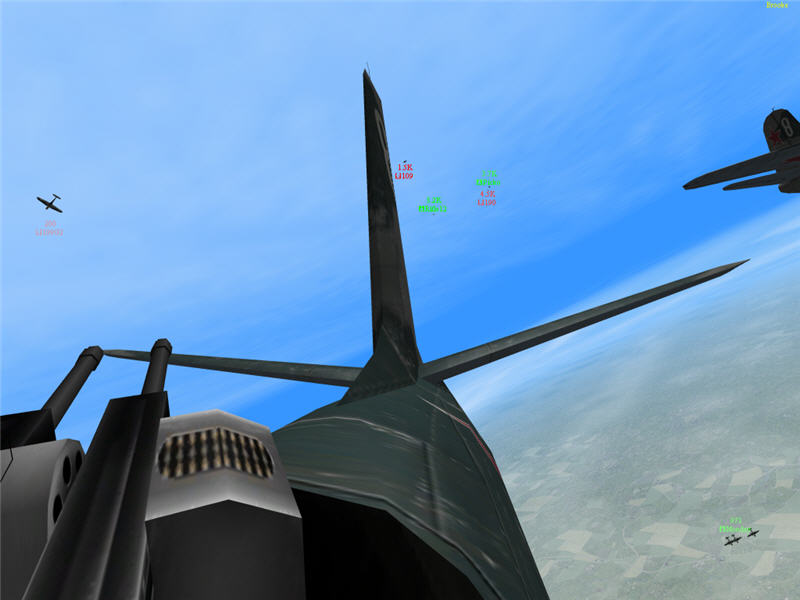
A view from my gunner position as one of the Bf 109's makes a run at me. Monday
(bottom right) has gone into a dive to get out of the area. A couple of higher
VVS fighters, Rifle12 and Picko in their La-5's, come into the area and go after
a Bf 109 and FW 190 that are trailing us.

The 109 (left) zooms up from under me after an attack at the belly of my bomber.
The other 109 (upper right) is still back there chasing me. Rifle12 and Picko
continue to stick with me.
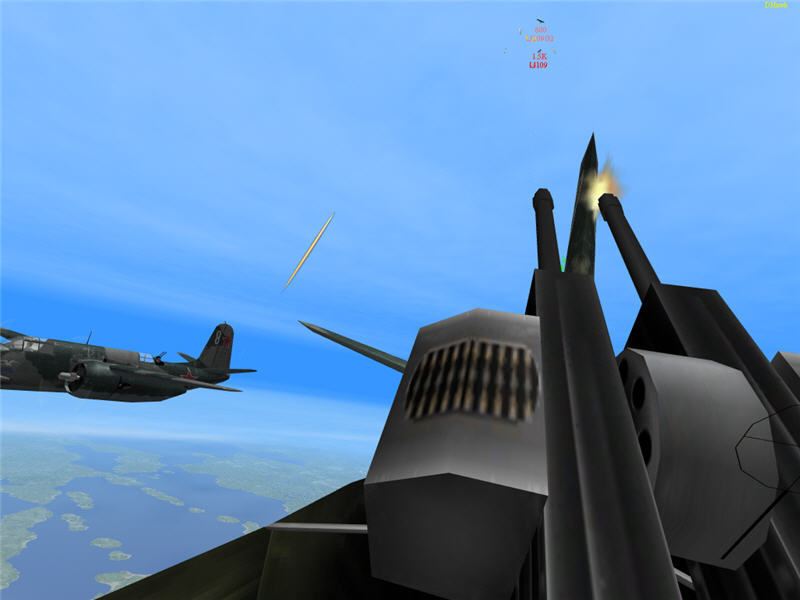
A picture of me firing on the 109 that zoomed past me. After this, Rifle12 and
Picko manage to tie this guy up as well as the other 109 that's been shadowing
me. Thank you, Rifle and Picko! You guys saved me! You probably also saved Monday
and Rompa, as they were around here, too.
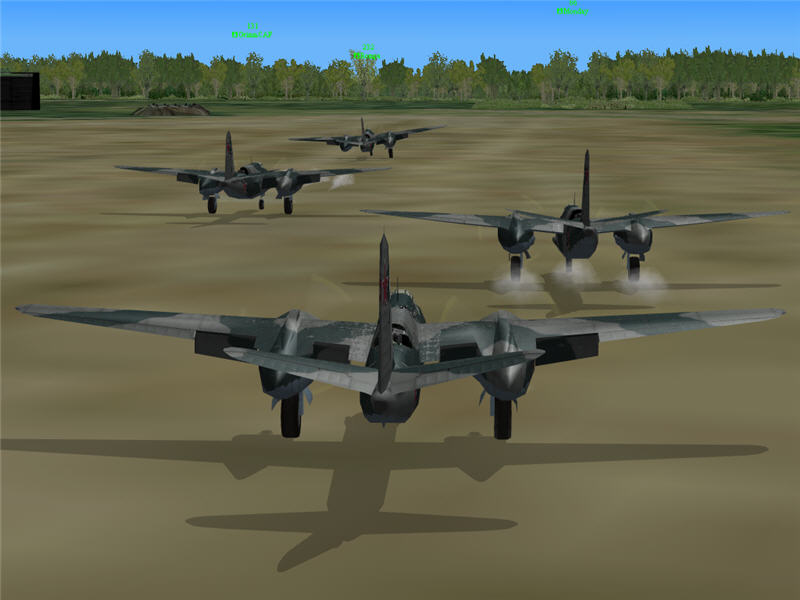
Several of us landing back at base. From left to right: Grimm, Rompa, me, and
Monday. Note that Rompa has managed a landing with one wheel that wouldn't go
down (likely a product of the fight with 109's and 190's earlier). Way to go,
Rompa! This mission was very dangerous: GypsyB, Hawco, HB555, Odd, and Skech
were shot down.
Mission 4: V46, accomplished
A picture of my bombs exploding on the VH at V46. The other VH has already been
destroyed by GypsyB. V46 is closed. This was another especially dangerous mission:
Grimm, Hawco, HB555, and Rompa were shot down. (t= 16:09:48)
Mission 5: V55, accomplished
At first A56 was given as a target for VVS10 as well as V55. I was the lead
on A56. As I was in bomb sight, our forces captured A56 and someone fortunately
called me (I think it was GypsyB) on the radio and told me to abort. This is
a picture of where I was when I heard the abort call. My target is the smaller
building middle left. I was within seconds of pressing my bomb-release button.
That was close! I was very, very grateful for the call.
After the A56 abort, I quickly retargetted for V55. The two facilities are close
together, so I had to retarget quickly. This is a picture of my lineup on V55.
Skech has already destroyed one VH, but it is putting up enough smoke to obscure
my view of the other VH. I line up on where I think the other VH is. It takes
a lot of time and space for a bomber formation to abort a run and come back
around for another at the same location. The turning radius needs to be very
big to get the formation reoriented, back pointed at target in time, and reasonably
stabilized -- a radius of a few miles. So, I decided I'd make my best guess
on location and go for it.
A picture of my bomb hits. I end up damaging the VH (not destroying it), taking
out two fuel depots, and the radar station at the base. Fortunately, Rompa comes
along a couple minutes later and destroys the VH, finishing the job at this
base. (t=16:48:08)
A view out the left of my cockpit. On my way back home, I come across two formations
of Ju 88's. I call them out on the country channel. Hawco, a member of VVS10
now flying a P-40E, also sees them and is here attacking. He ends up killing
five of them! Way to go, Hawco!
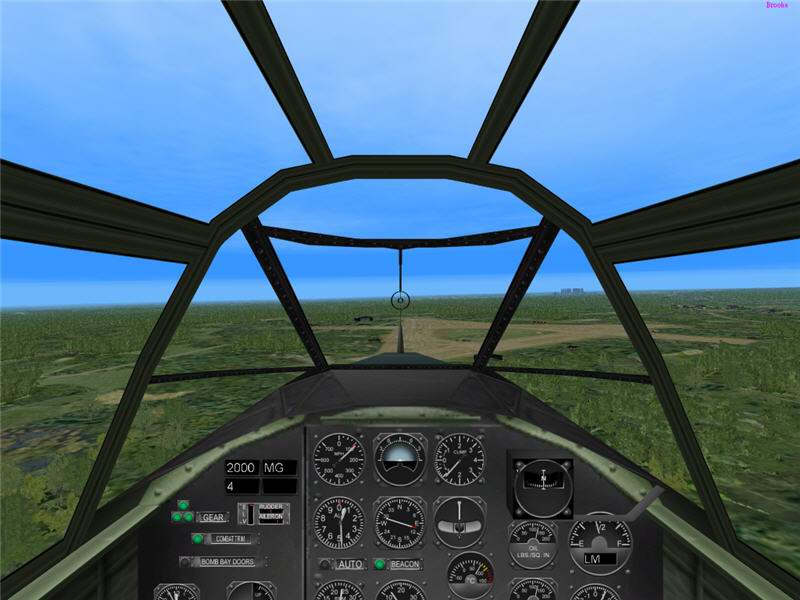
A picture of me on final approach at A16. I just make it back to A16 in time
for the end of the battle. This was a hectic and exciting frame!
Conclusion
I ended the frame with no deaths (thanks to Rifle12 and Picko) and four VH's
destroyed.
VVS10 did very well. We shut down 9 bases (16 VH's destroyed). I don't fault
VVS10 for the miscommunication on V47 -- that responsibility is mine. VVS10
did have pretty heavy casualties, losing 15 formations of Boston III's and two
P-40E's. However, the VVS used a lot of its pilots for duty in T-34 tanks and
didn't have that many fighters up. We didn't expect large numbers of escorts.
Also, when we did have escort, it was VVS09 or VVS10 pilots in P-40E's, which
have a very hard time keeping up with fast Bostons and an even harder time against
numerical superiority of Bf 109's and FW 190's. Thus, we figured we'd have high
casualties, but it would all be worth it if the Russian side captured a lot
of territory -- which it did.
by Brooke P. Anderson
e-mail: brooke@electraforge.com
Click here to go back to my scenario page, for
pictorials on other frames of this scenario, for pictorials of other scenarios,
and for links to other content on my site.