Stalin's Fourth, Frame 1 Pictorial
Stalin's Fourth was a scenario that ran in April,
2006 in the multiplayer on-line air-combat simulation Aces
High.
Mission 1
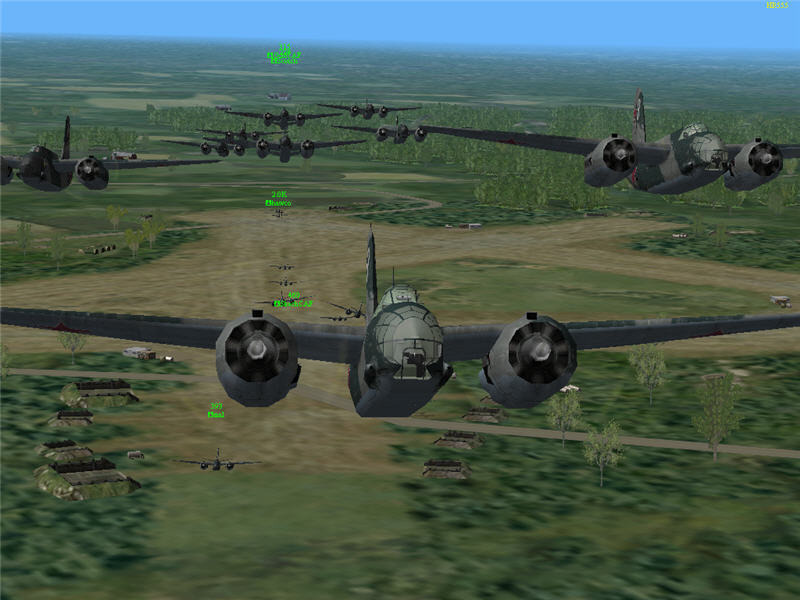
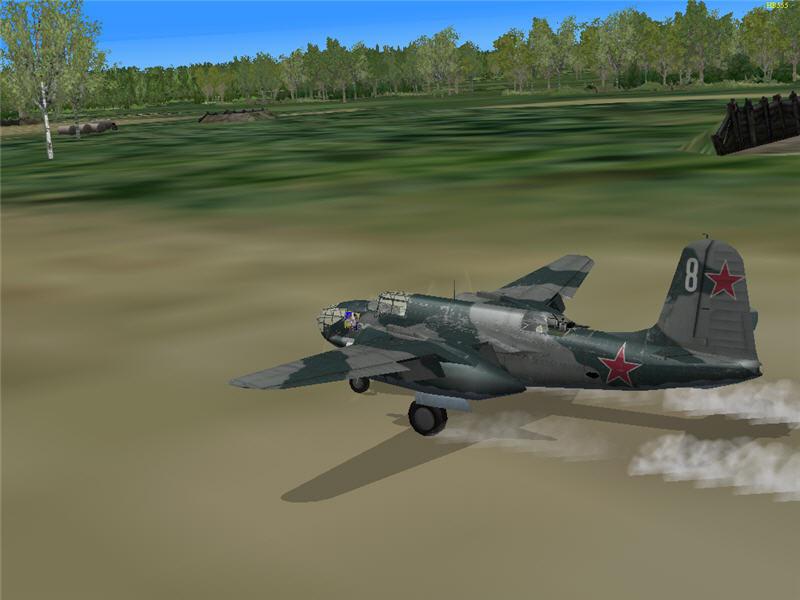
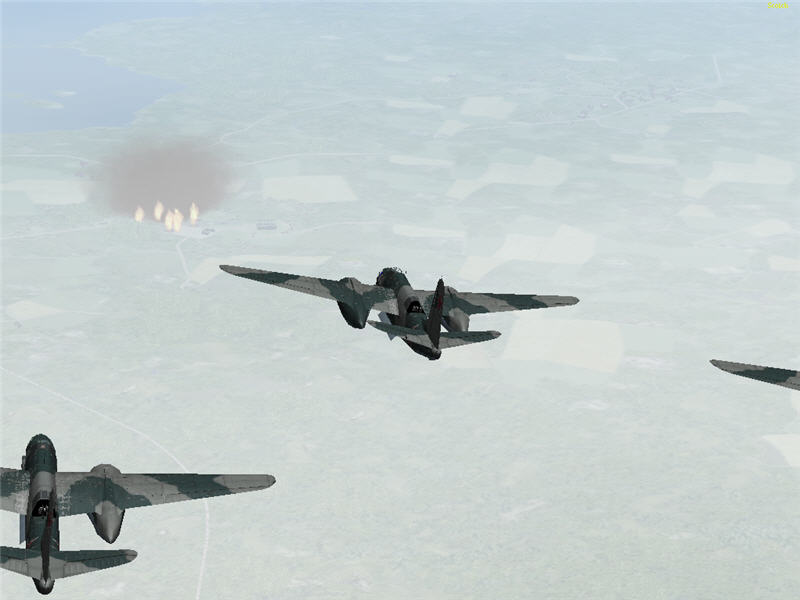
In this scenario, I (Brooke) am serving as Group Leader (GL) of VVS10, a Russian
bomber squadron. This is a picture of VVS10 taking off in its Boston III bombers
on its first mission, which is to destroy the vehicle hangars (VH's) at Finnish
vehicle bases V38, V41, and V44. Each pilot of VVS10 flys a lead bomber and
has two drone bombers that follow him in formation. VVS10 has 10 pilots (HB555,
GypsyB, Mal, SkechCAF, Scotch, Monday, Rompa, Hawco, OddCAF, and me) and 30
bombers. (t=14:06:21)
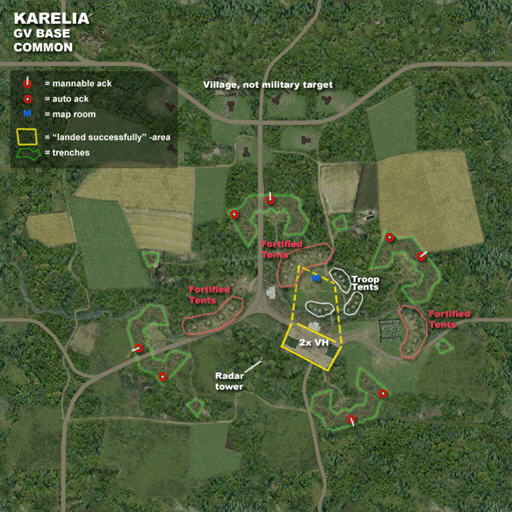
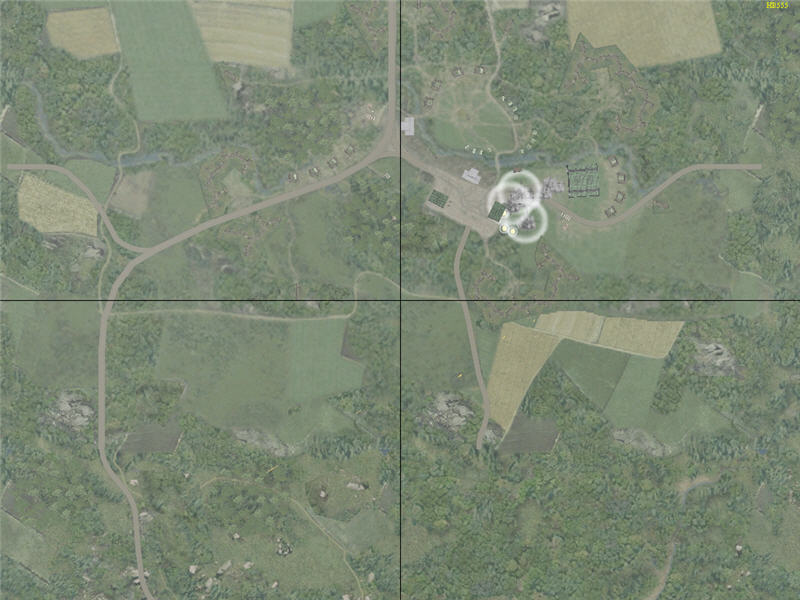
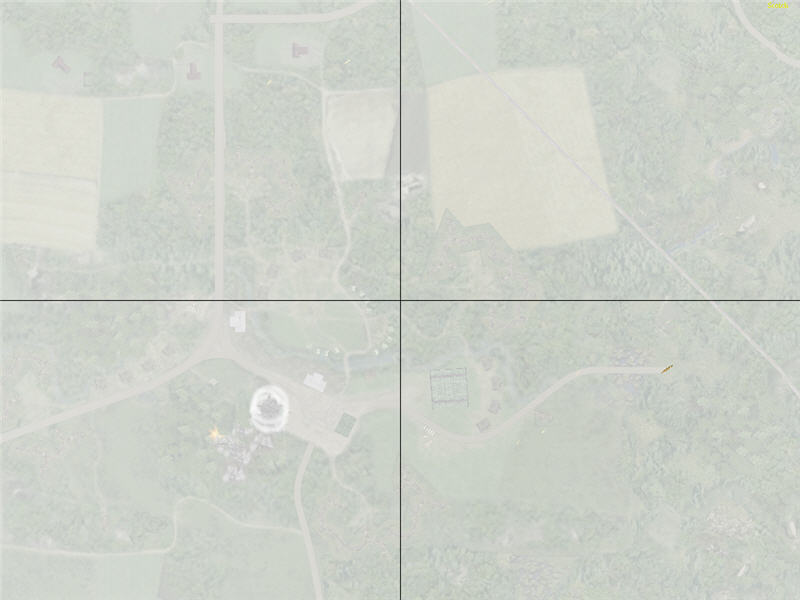
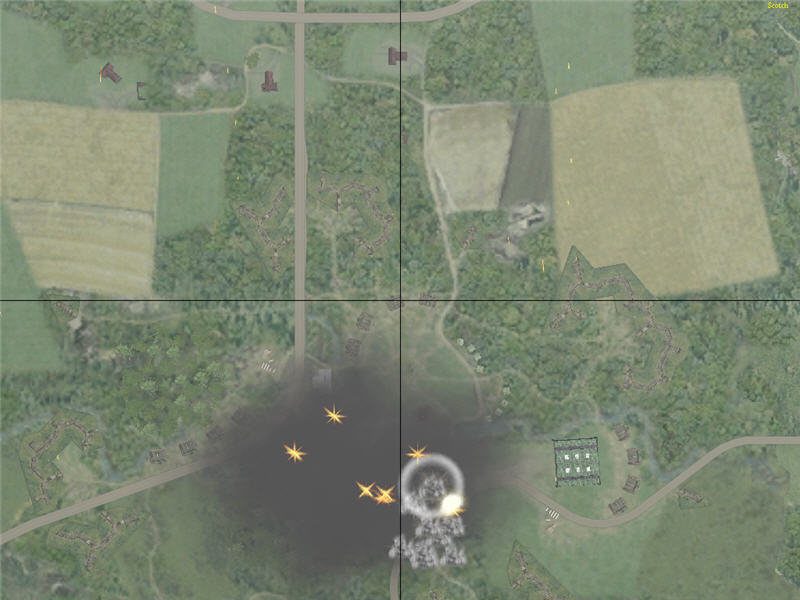
For reference, here is a map of a vechicle base. Generally, VVS10 is given the
job of destroying the vehicle hangars (VH's) from which enemy tanks and troop
transports can launch. They are located in the solid-yellow rectangle.
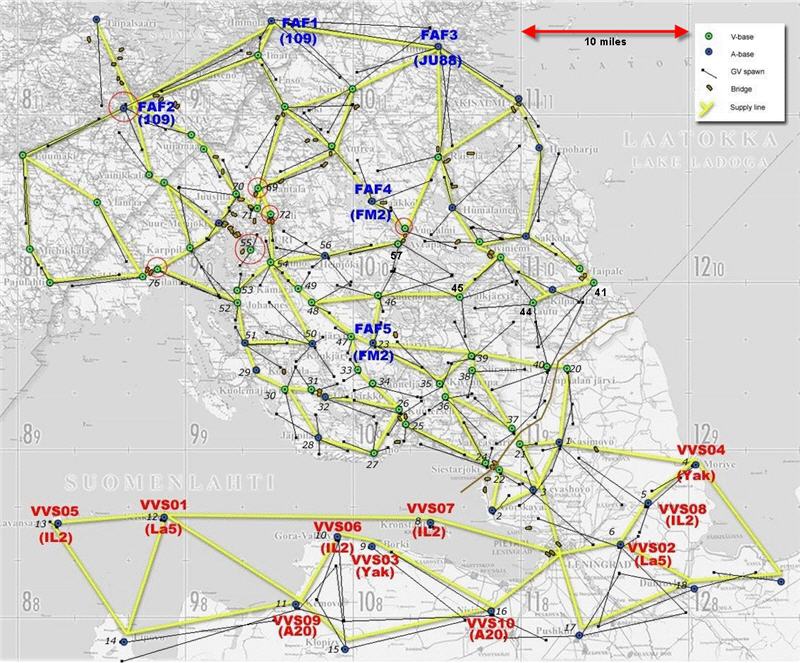
Strategic map of battle area in Finland.
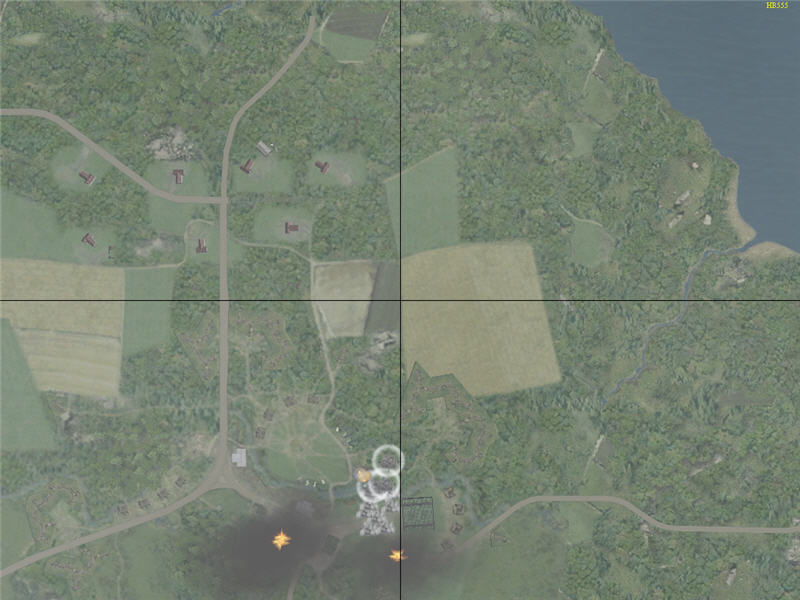
Mal, Rompa, and I go hit the VH's at V41. At 6500 ft. altitude, I line up, open
bay doors, calibrate my bombing sight, drop my load of bombs -- and completely
miss my target! Damnation! This is a picture of my bomb hits. It is a bit washed
out as there is a wispy cloud layer between my Boston and the target. You can
see my bombs lay down a trail of explosions going along the west side of the
big green building. North is to the top of the picture. My target was the small
green building southwest of the big green building, between the two fires. I
was very angry with myself and astonished, as I had practiced and felt that
my bombing accuracy would be nearly 100%. Also, VVS10 as a whole destroyed only
1/3 of its targets on this first mission -- much less than we expected. Although
many VH's are damaged by VVS10's bombing runs, which is better than missing
outright like I did, the only ones destroyed in this first wave are from Monday
at V38 and HB at V44. (t=14:19:51)
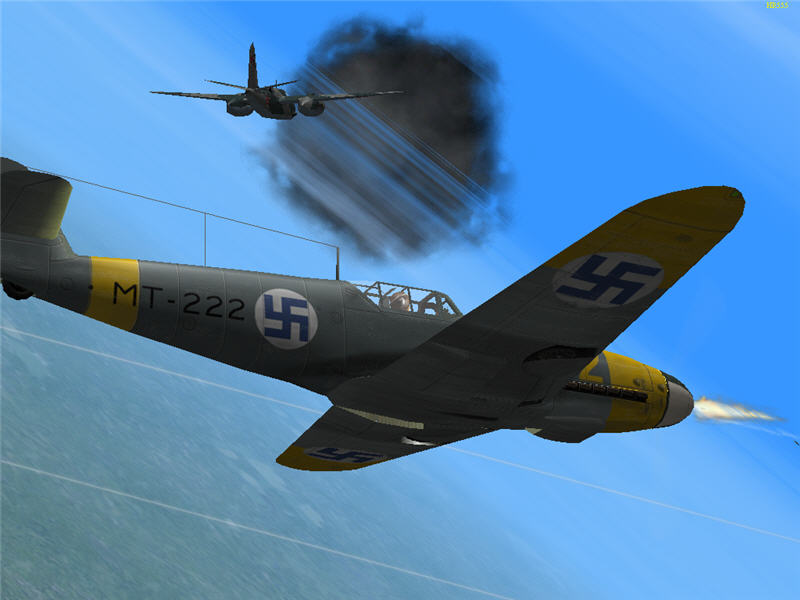
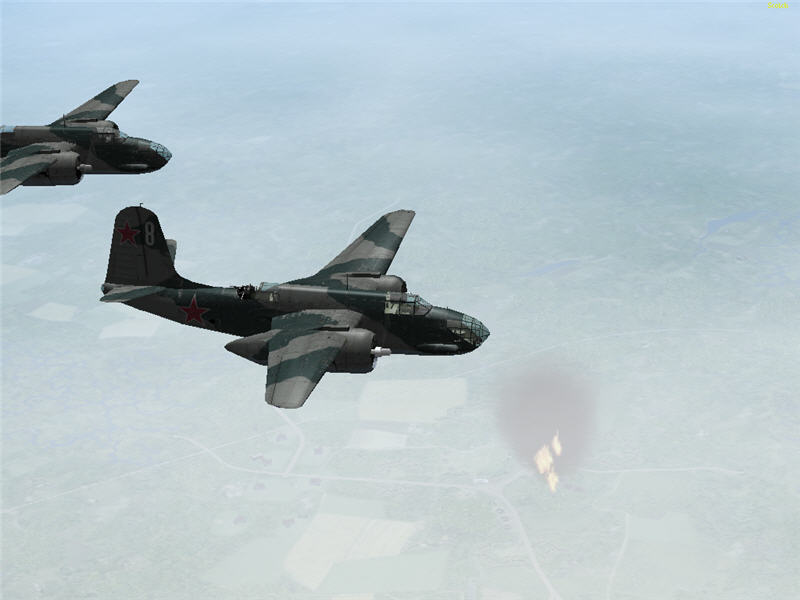
On my way back to base from V41, two Finnish Air Force Bf 109's catch up to
me and attack. Here, I veer left to avoid one of the 109's, which is firing
away with its nose cannon as it streaks past me, continuing to fire at one of
the drone bombers in my formation. The black cloud ahead of me is a AAA explosion,
as we are fighting over an area when enemy AAA is targeting me, too. The fight
is fairly brief, and I and my drones are shot down. (t=14:27:51)
Mission 2
In this scenario, VVS10 has 20 Boston formations available as resources. Brooke
II (my clone, kept in a jar for just such an emergency) is pressed into service
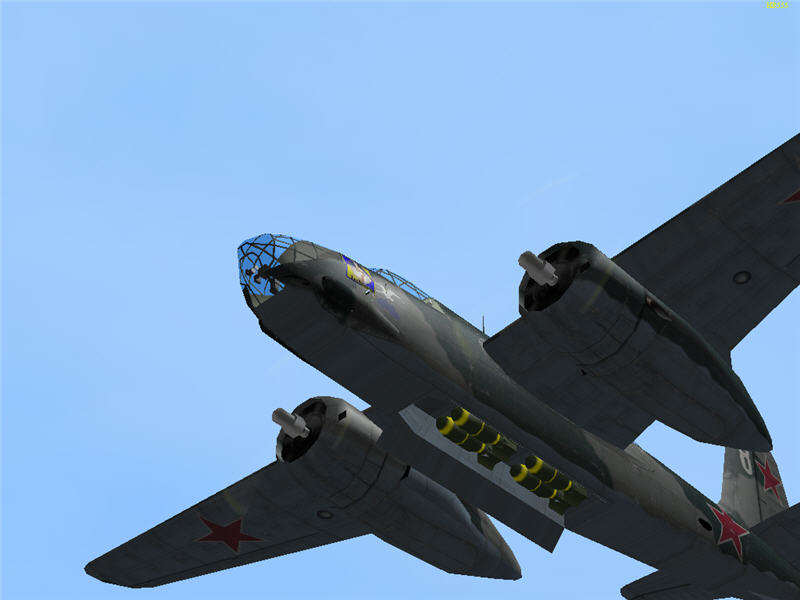
to fly a fresh formation of Bostons. In this next mission, my target is again
V41 since (because of my lousy drop) we didn't destroy the VH's there last time.
Likewise, others in VVS10 go again after V38, V41, and V44. Here, I line up
on target and have my bomb bay doors open, showing my four 500 lb bombs. As
I line up this time, I notice that my sight is drifting to the side of the target.
It dawns on me -- there's a decent amount of wind! We hadn't been told of any
wind conditions, but I should have checked. I checked my meteorology tools (environment
settings) and saw that there was a 10 mph wind to the NW above 6000 ft and a
6 mph wind to the SW below 6000 ft. That explains the initial poor drops. I
radioed the rest of VVS10 and warned about the wind. I aborted my run and maneuvered
back around to hit V41 from the NW (so that I'd be travelling in line with the
wind). Before I got to my drop point, command radioed in and gave V45 as a priority
target, so I aborted my run on V41 and diverted to V45.

My lineup on the westernmost VH at V45. It is the smaller green building in
the middle. I'm travelling SW, mostly in line with the wind this time.
This is a picture of my drop, with north at the top of the picture. I am still
off a bit (not used to the wind yet), as my bombs hit a bit to the east of the
target. Still, I do get some good direct and proximity hits on the VH -- just
not enough to destroy it. It takes 3000 lbs of explosive to destroy a VH, and
here I probably do about half that. This will make it easier to destroy for
the next drop, but of course destroying it now would have been better. (t=14:45?)
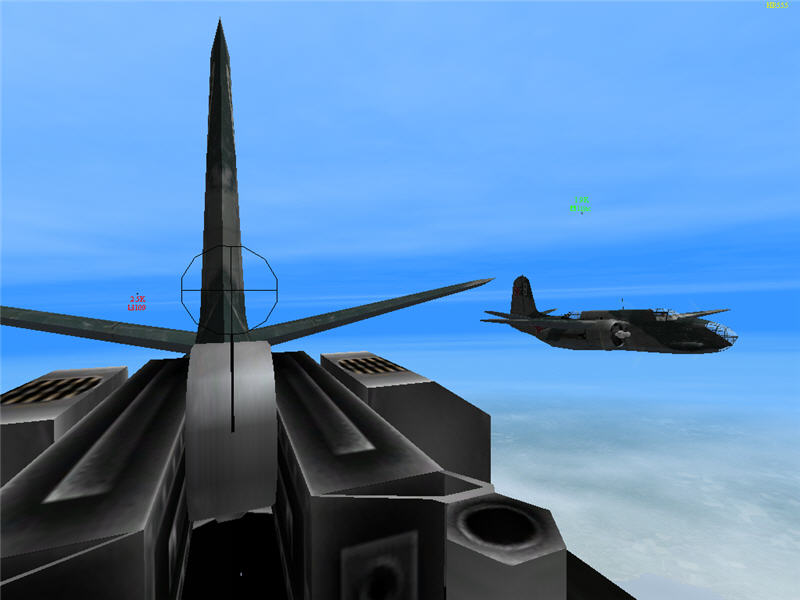
On my way back to base, I am getting chased down by an FAF Bf 109 (denoted by
the red icon behind me). Fortunately for me, 1ijac comes to my rescue and chases
off the 109 before it gets to me. This is a picture out my rear-gunner position
as 1ijac comes racing in, causing the 109 to break off and run. Thank you, 1ijac!
As I am travelling back, Scotch destroys a VH at V38, Rompa destroys a VH at
V41, and Hawco destroys a VH at V44. About 10 minutes later, GypsyB destroys
the remaining VH at V44, Scotch destroys the remaining VH at V38, and Skech
drops on and destroys both VH's at V45. V38, V44, and V45 are now out of action.
Ahhh. . . . Landing safely back at base (airfield A16) for the first time. After
I land, Rompa destroys a VH at V41. (t=15:15:40)
Mission 3
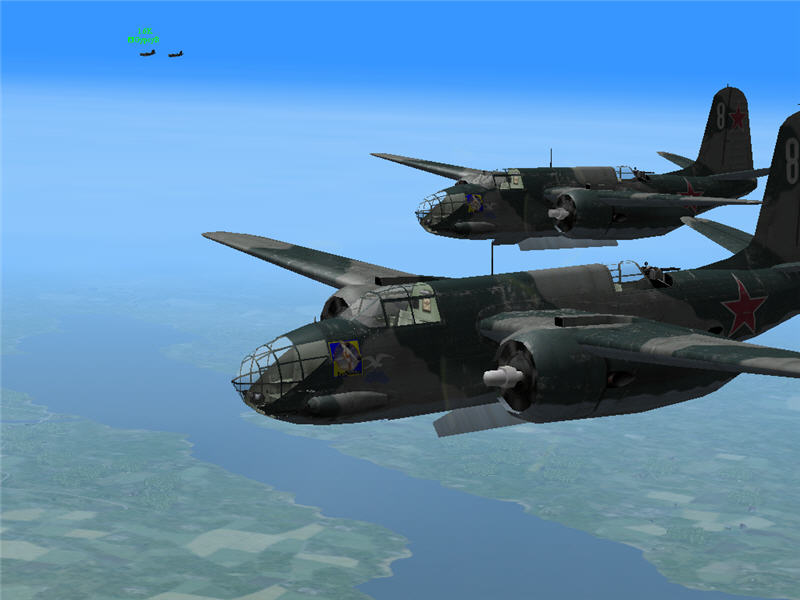
VVS10's next mission is to destroy VH's at V57 and V48. HB555, GypsyB, Hawco,
and I take V48. This is a picture of me and GypsyB approaching target, bay doors
open. We are approaching target from the SW, at just under 6k altitude to best
deal with the wind.
A picture of my bomb hits. It is more hazy this time (more cloud cover over
target), so the picture is more washed out. My bomb trail goes right over the
westnmost VH, destroying it. GypsyB shortly thereafter destroys the remaining
VH, and Scotch and Skech destroy the two VH's at V57. V48 and V57 are now closed.
(t=15:44:57)
V48 is visible burning as we fly back south out of the target area. We make
it safely back to base. As we fly back to base, Mal and Rompa destroy the VH's
at V38, closing it.
Mission 4
After getting a fresh bomb load, VVS10 is ordered to go hit V44 and V45 (where
the VH's have been repaired since their last destruction). I am flying tail-end
Charlie on this run, able to go after whichever base didn't get completely destroyed
by the first wave. Originally, I am setting up for V45, but the call comes in
that one damaged VH remains at V44, so I redirect. It takes a while to get bombers
lined up on target and steady. In this case, V44 was close, and I am still maneuvering
while uncomfortably close to where I need to drop. The picture shows many ground
objects already destroyed and on fire from the first wave. HB has destroyed
one VH, and GypsyB has damaged the other. About this time, Odd destroys a VH
at V45.
I get lined up and manage a good drop. I destroy the damaged VH, and it can
be seen exploding and catching fire amidst the bomb bursts in this picture,
which closes this base. After my drop, I am able to return safely to base. (t=16:20:10)
Mission 5
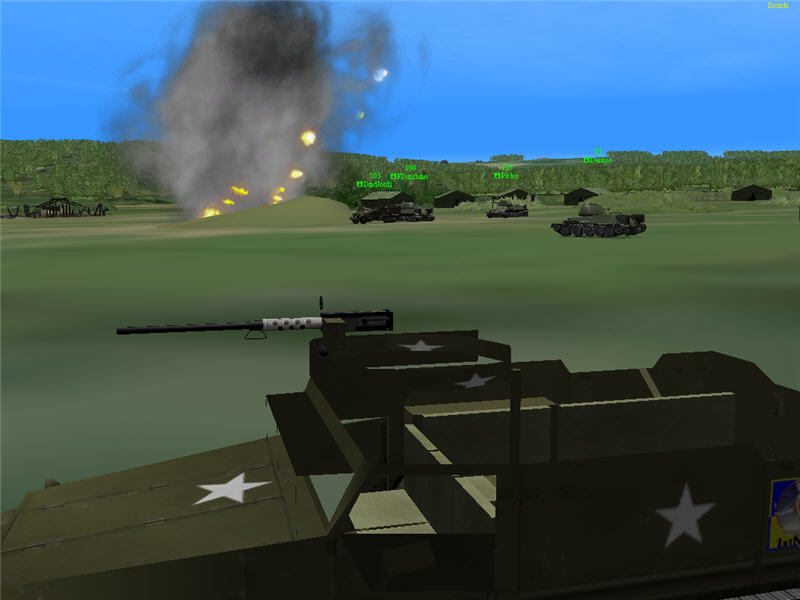
After the previous mission, command called for all pilots to get in ground vechicles
for a final push to capture a base or two. I got in an M3 troop carrier (to
supply troops for capture) as did Flossy, who had joined us in VVS10. The rest
of VVS10 got into T-34 tanks. We pushed forward and, along with many others
from the Russian forces after a lot of driving, got to V37 and cleared it out.
There were others besides me who had M3's there. Many released troops, and this
is a picture of the moment of capture of V37, with the map room exploding as
our troops take it. VVS Executive Officer Jordi is in his M3 near the map room.
(t=16:59:00)
Conclusion
VVS10 had a rough start until we realized what was going on with the wind.
After that, we did well. I ended the frame with 2 vehicle hangars destroyed
and one death.
by Brooke P. Anderson
e-mail: brooke@electraforge.com
Click here to go back to my scenario page, for
pictorials on other frames of this scenario, for pictorials of other scenarios,
and for links to other content on my site.