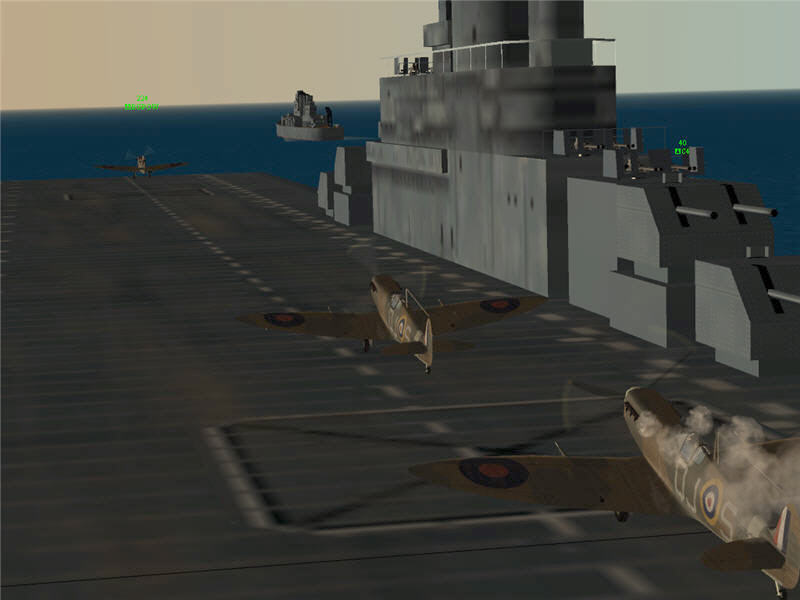
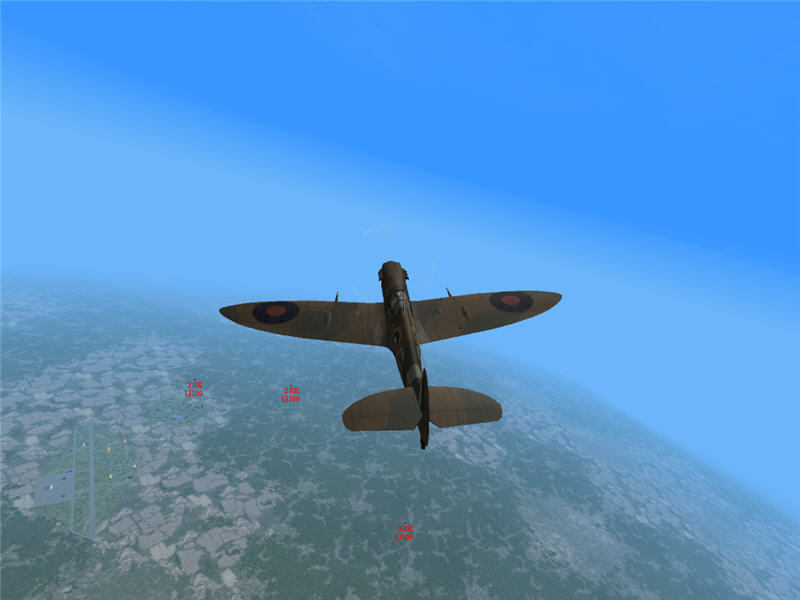
Dawn takeoff of RAF Flight F, in their Spitfire Mk. V's, from the HMS Eagle. BGPOW is taking off, followed by me (Brooke). Behind me, C4 is starting his engine. Flight F consists of me (Brooke), HB555, 715B, GaB, BGgetmo, BGPOW, and C4.
Dawn takeoff of RAF Flight F, in their Spitfire Mk. V's, from the HMS Eagle.
BGPOW is taking off, followed by me (Brooke). Behind me, C4 is starting his
engine. Flight F consists of me (Brooke), HB555, 715B, GaB, BGgetmo, BGPOW,
and C4.
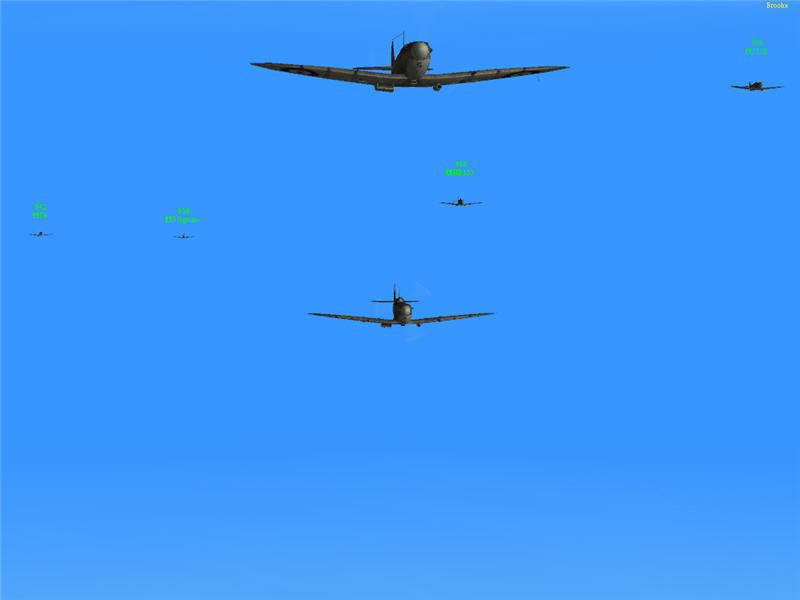
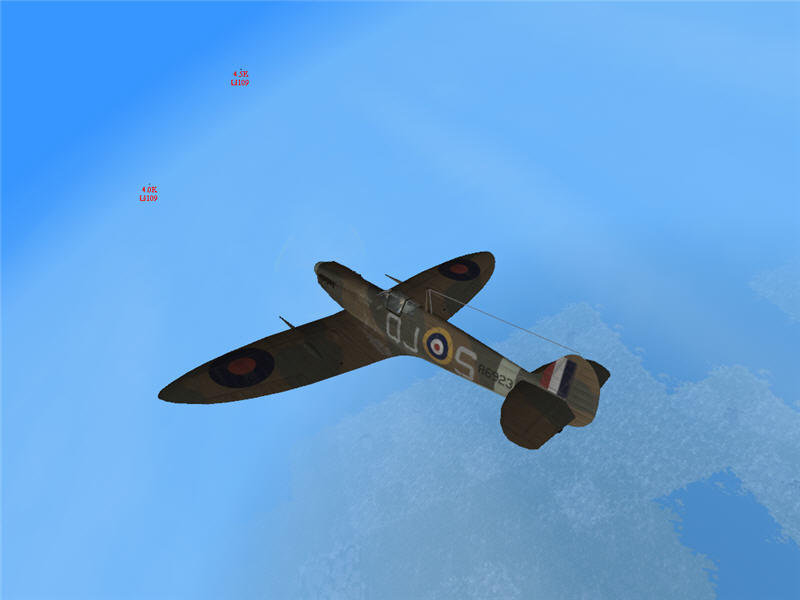
Flight F on its way to Malta at 35,000 ft. From left to right, C4, BGgetmo,
GaB (top middle), Brooke (bottom middle), HB555, and 715B. Not shown is BGPOW.
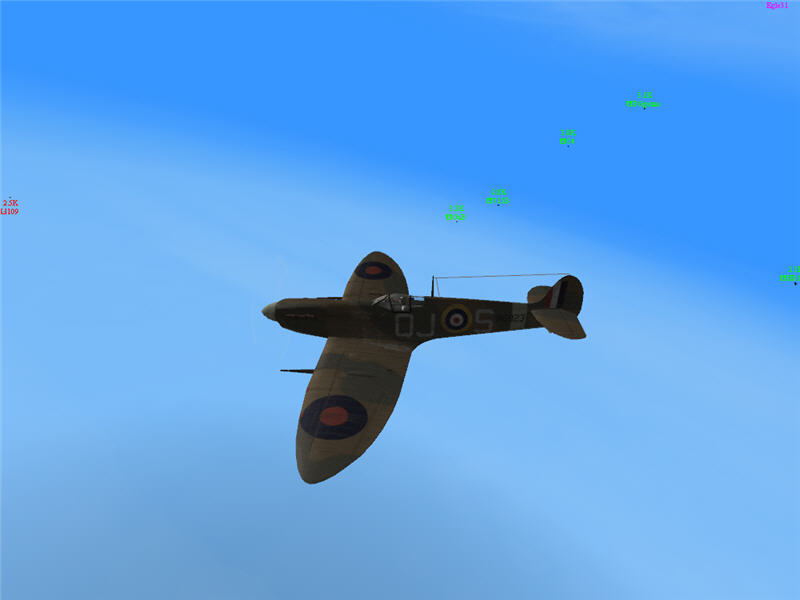
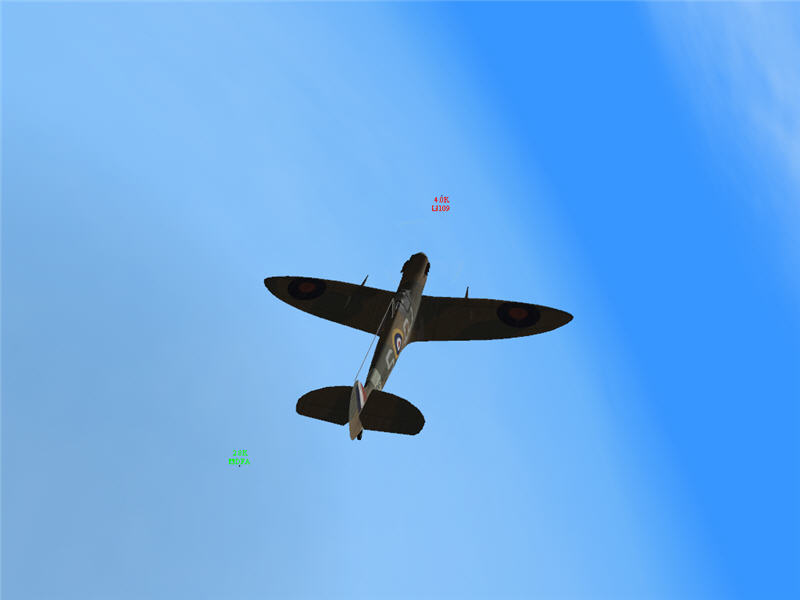
North of Malta, the rest of Flight F flushes a Bf 109 toward me, and I move
to cut him off.
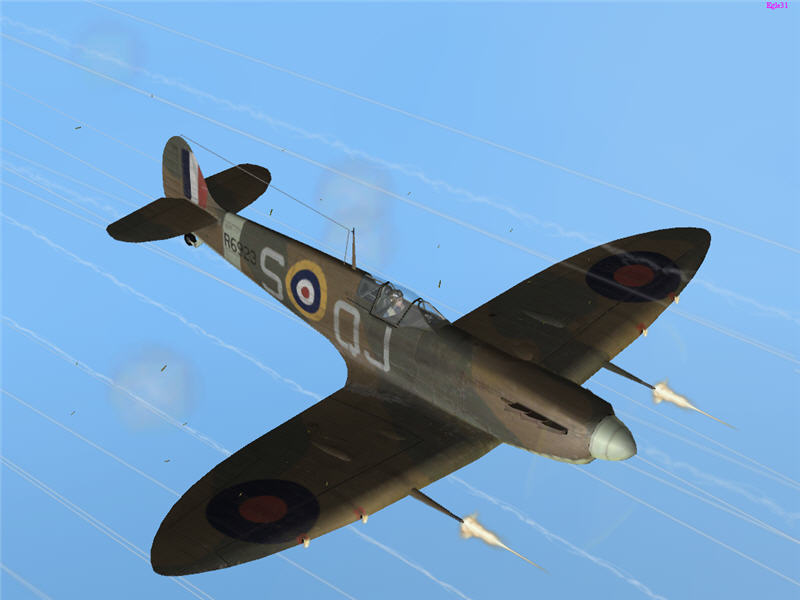
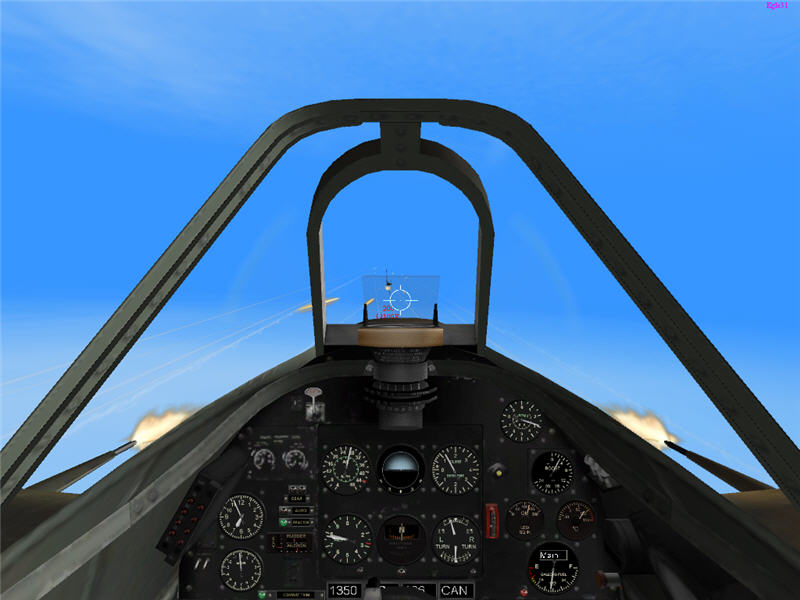
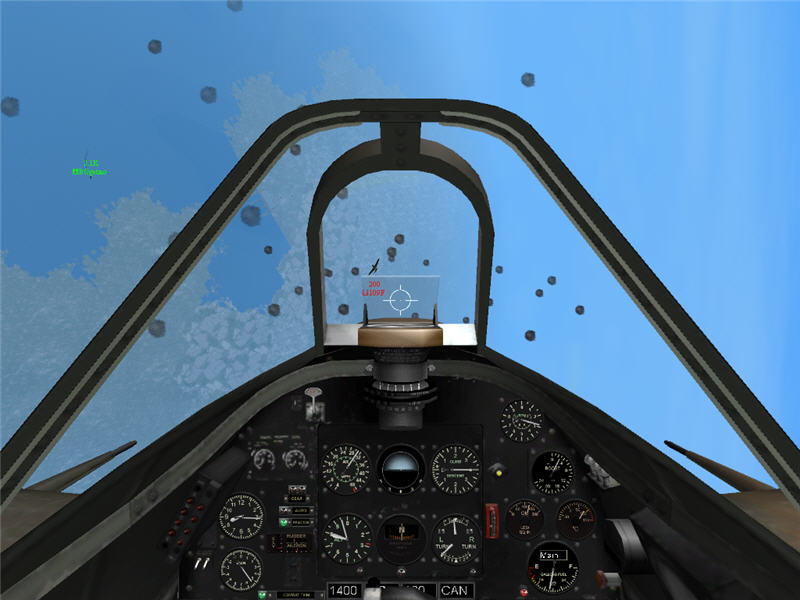
Once I close on the 109, I open fire with four 303 caliber machine guns and
two 20 mm cannons. Shell casings stream back from my trusty Spitfire Mk. V.
Tracer rounds leave smoke trails.
My view as I fire from 200 yards back on the Bf 109F-4, scoring a hit on the
right wing root. (t=00:51:15)
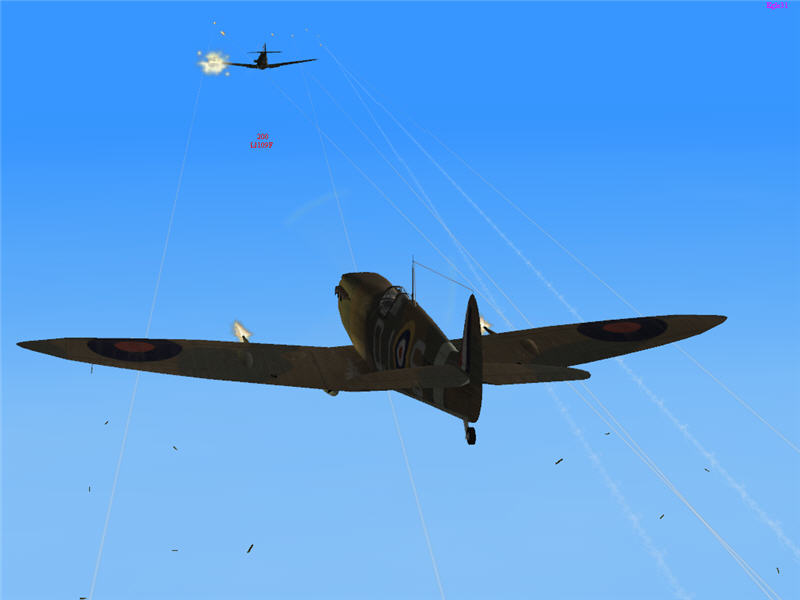
This is my first hit on him, on his left wingtip. Once he sees me scoring hits,
he rolls right.
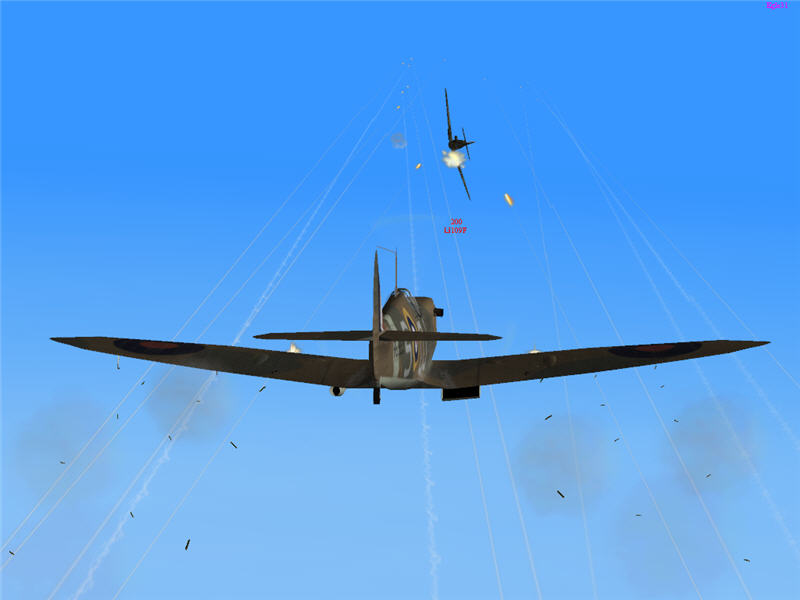
My next hit, on his right wing root. He's continuing to roll right.
A couple more hits, on his fuselage. He's continuing to roll right.
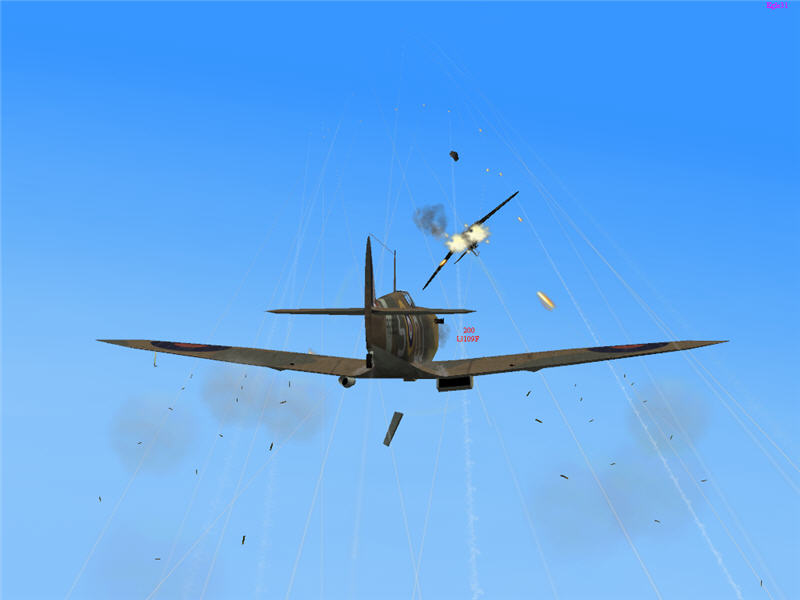
Two more hits, fuselage and left wing root. There is debris coming off him now.
He's starting to pull lots of g's.
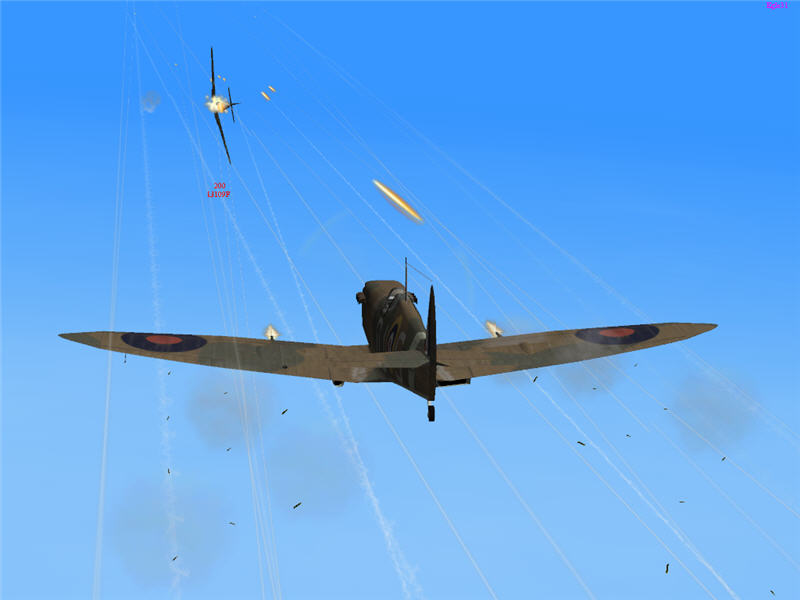
Another hit, into the right wing root. I see now that he has lost his left aileron.
He's pulling high g's now to get out of the line of fire, and this is my last
hit before I have to reposition to get back on him. We are going over 450 mph
true now, and by the time I get back on him, the best I can close to is 800
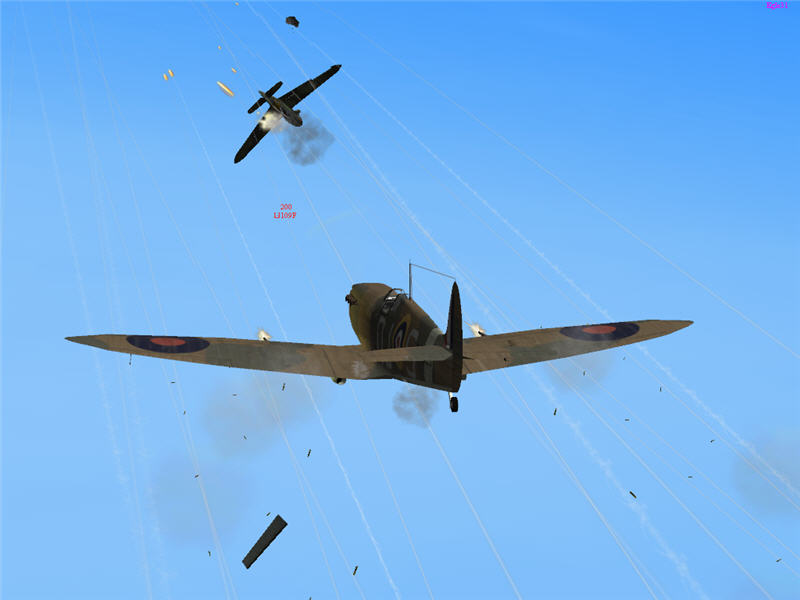
yards, then he starts pulling away with the superior speed of his Bf 109F-4.
I am surprised he is still up and able to speed away -- maybe most of the hits
are 303 mg and not 20 mm cannon. Alas, no kill for me. The pilot of the 109
is Camo.
After breaking off the Bf 109F-4, I come across Ramzey's lads chasing a C.202
down low. It looks like they aren't catching him. I call piterkO, in the lead,
and ask if they want me to intercept. He says "yes" (I think). I roll
in to intercept.
I chase down the C.202 thanks to the speed of my dive. As my Spitfire V has
only 60 cannon rounds per gun and as I am overtaking the C.202 quickly, I hold
my fire, waiting for a range of 200 yards. I get there, and right before I press
the trigger, the C.202 pulls max g's into a barrel-roll/scissors maneuver. Before
this, Ramzey has been calling on the radio telling his flight to break off and
head south, as he has spotted a large number of enemies up high heading south.
He doesn't want us to get overwhelmed from above -- a wise call. I decide not
to get into a protracted dogfight with the C.202, break off, and head south
about 5k yards behind Ramzey. I should have started firing at a slightly longer
range on that C.202. Alas, again.
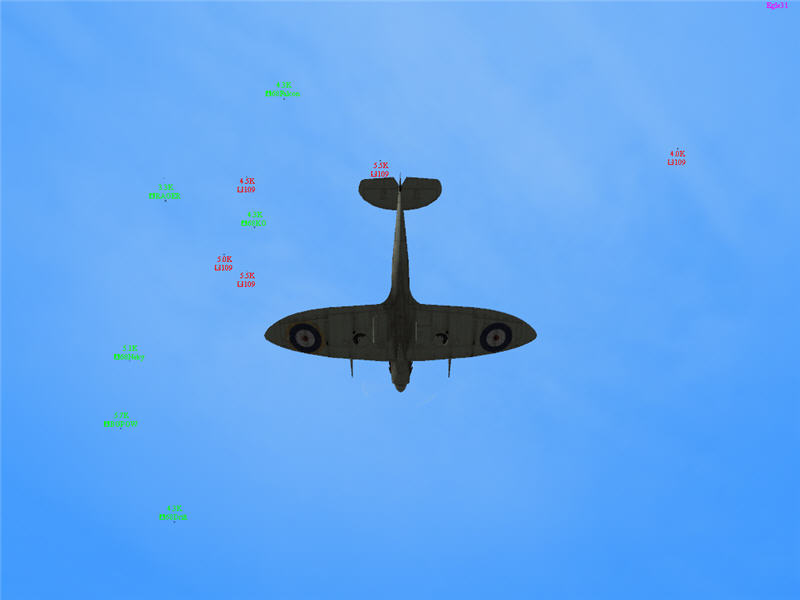
As we flew south, we could see lots of enemies way up high right over us, heading
south. As I was on the deck, I climbed while heading south. It was an anxious
time, climbing under a large umbrella of enemies. Along the way, we joined up
with the rest of Flight F, so with Ramzey's Flight E and now Flight F, although
we were lower than the enemies, we at least had a decent number of RAF fighters.
Then we saw bogies heading north. The north-going bogies and the south-going
bogies met, and a fight ensued. Once aircraft started to lose some altitude
in the fight, we could see that the bogies Ramzey spotted were indeed enemy
109's, which were now fighting high altitude RAF fighters. All of them were
way above us, so we continued to climb south toward Malta. This is a view of
the action above me as we underfly a portion of the fight.
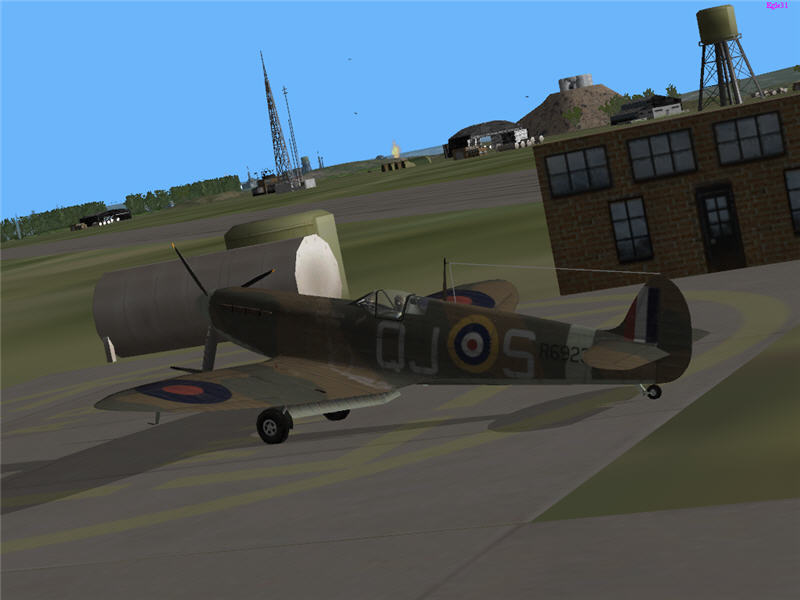
By the time I got near Malta, I was low enough on fuel and ammo that that I
decided to land, to refuel, and to rearm. This is an image of me at the rearm
pad.
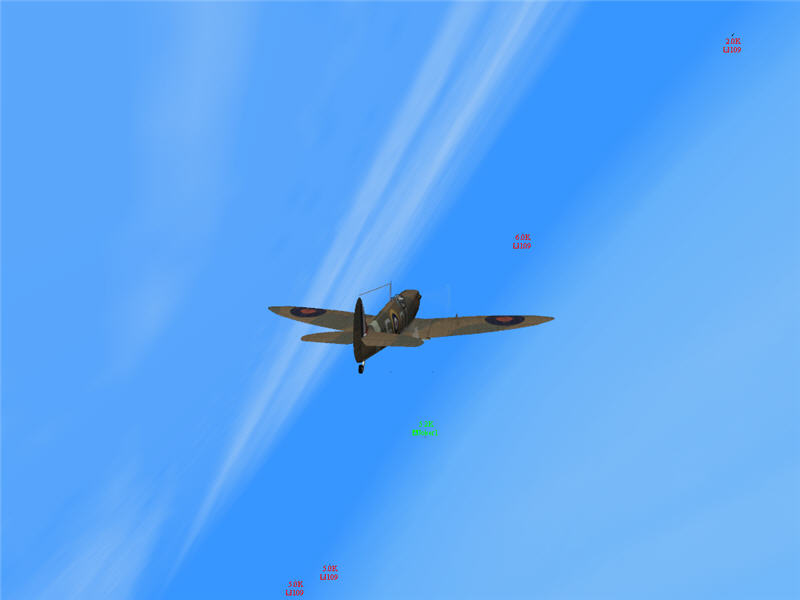
After rearming, I joined back up with Flight F, and we patrolled around at 35,000
ft. altitude. We saw an airfield at Malta start flashing, so we raced to Malta
in time to intercept incoming Bf 109's at about 35k. Here, we meet up with them
just north of the Malta shore.
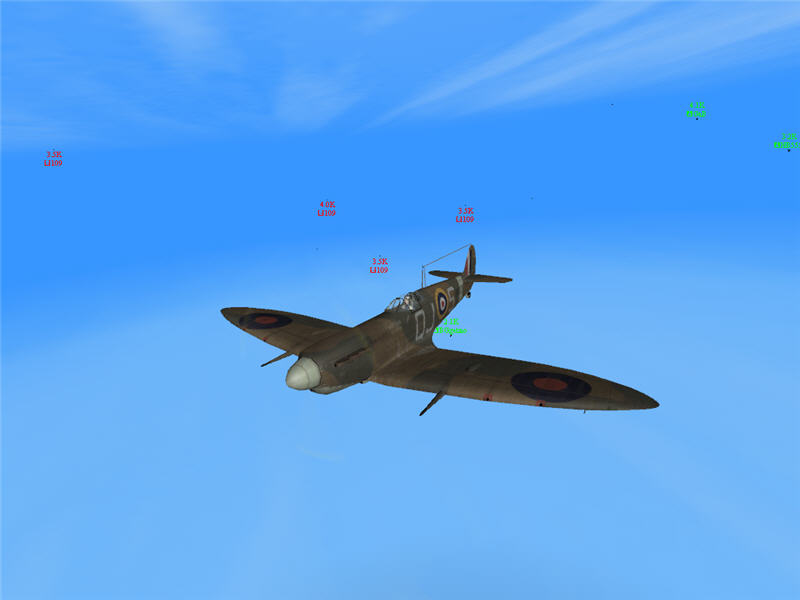
I make a pass through the enemies, as do, from left to right, BGgetmo, GaB,
and HB555. I'm flying conservatively, keeping my altitude, and not burning it
in hard turns.
After fighting gingerly for a while, I see a Bf 109F-4 going after BGgetmo.
I call a warning on the radio and jump the 109, causing him to break off Getmo.
I don't get any hits on the 109, though, and I zoom back up to as much altitude
as I can after seeing him break off his attack on Getmo.
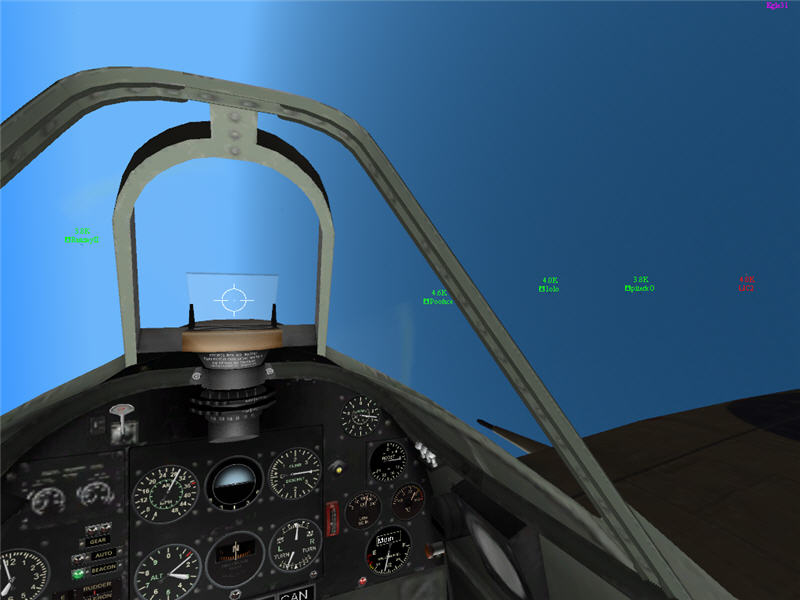
Up at 35k, I spend a lot of time chasing 109F-4's around. They aren't interested
in mixing it up with a 35k Spitfire even when its just me on two of them. I
can't blame them when my better-turning Spitfire is higher than they are, where
I can use an altitude advantage to take away their advantage of speed.
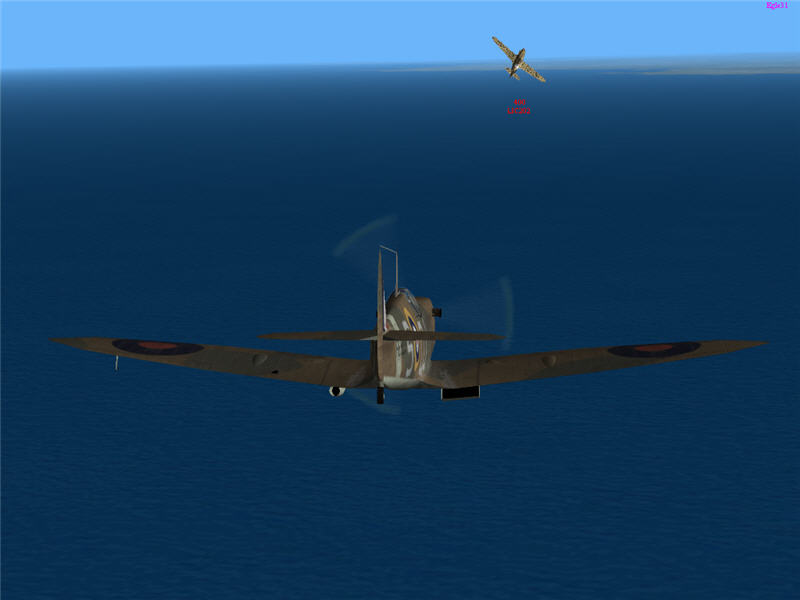
I patrol a bit with DFA who is separated from 185 Squadron. Here, he was attacked
by a pair of 109's, which break off when I come in with altitude on them. I
move north to patrol the southern coast of Sicily along with DFA and some others.
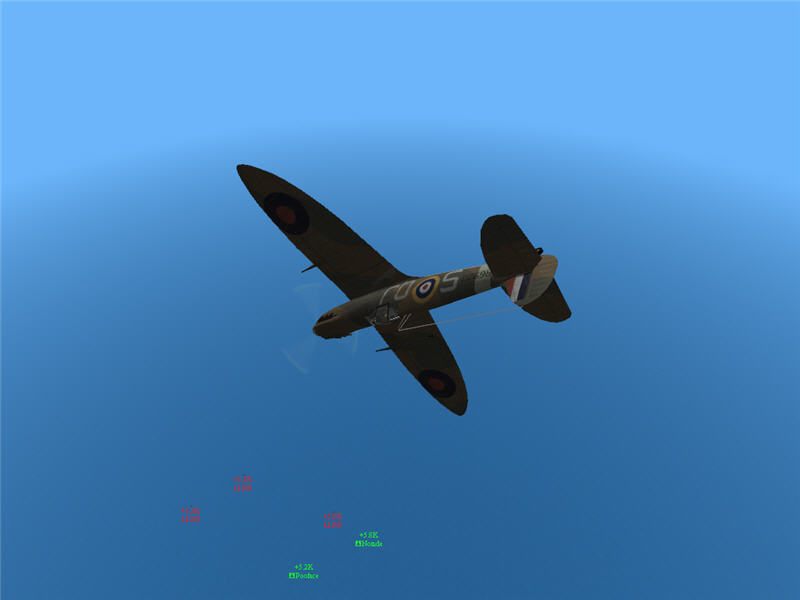
Pooface calls on the range channel that he is in big trouble. It takes me a
while to find him, as I was at 35k, and he was on the deck. I ID him finally
and come diving in at enormous speed, nervous about giving up all that nice
altitude so close to Sicily. With all that speed, it takes me a bit to scrub
some of it off and set up for a run. While I'm doing that, Pooface calls to
say that he's hit and done for. I ask if Nomde is still OK. Nomde replies that
he is hit and going down, too. Sorry, guys -- I was too late.
After Pooface and Nomde say they are already down, I don't bother to engage
1 on 3 with the 109's on the deck. Instead, I climb south and put out a radio
report of the position and altitude of the 109's. Additional RAF fighters then
come in, and I head north with them to clear the area out. Some of the RAF dive
in to fight a couple low 109's; the rest of us push on north chasing other 109's.
As we near A22 in Sicily, the 109's seem like they want to make their stand.
I am itching to mix it up with them. I've got altitude, ack at A22 seems down
(oddly), and we RAF fighters on the scene outnumber them handily. What I don't
have, though, is fuel. I've got just enough (if that) to make it back to Malta.
So, I overfly once, take a longing look, and head back south.
I'm so low on fuel on the way back that I fear not making it even at max-cruise
settings. About 25 miles from base, I reduce my RPM to minimum, shut off my
engine, and glide most of the way back. Close to the field, I turn my engine
back on and land for refueling.
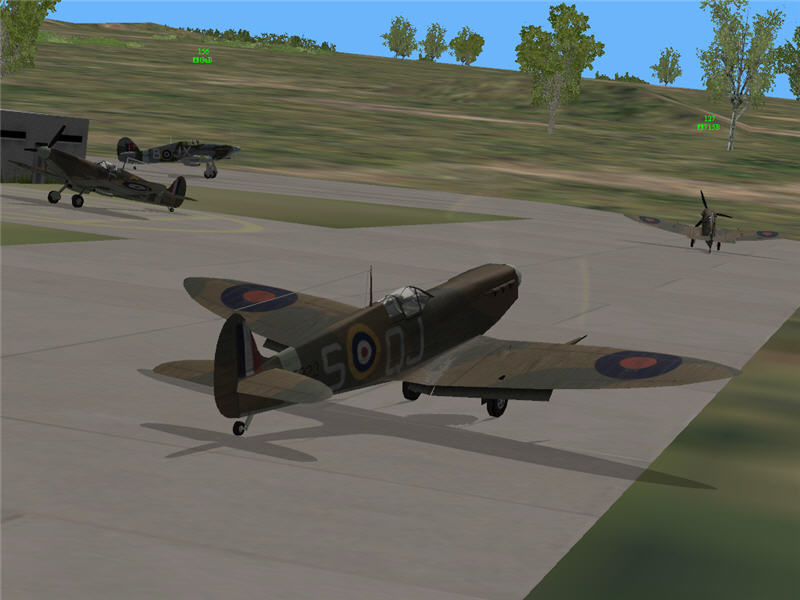
Most of Flight F lands at that time, too, and it is near the end of the frame,
so we don't launch again. From left to right, there is me (Brooke) at the rearm
pad, GaB in his Hurricane IIC on the runway, HB555 nearest in his Spitfire V,
and 715B in his Spitfire V with the engine off.
I had some good chances, but I didn't shoot down any enemies. I did keep my Spitfire Mk V safe, though.
by Brooke P. Anderson
e-mail: brooke@electraforge.com
Click here to go back to my scenario page, for
pictorials on other frames of this scenario, for pictorials of other scenarios,
and for links to other content on my site.