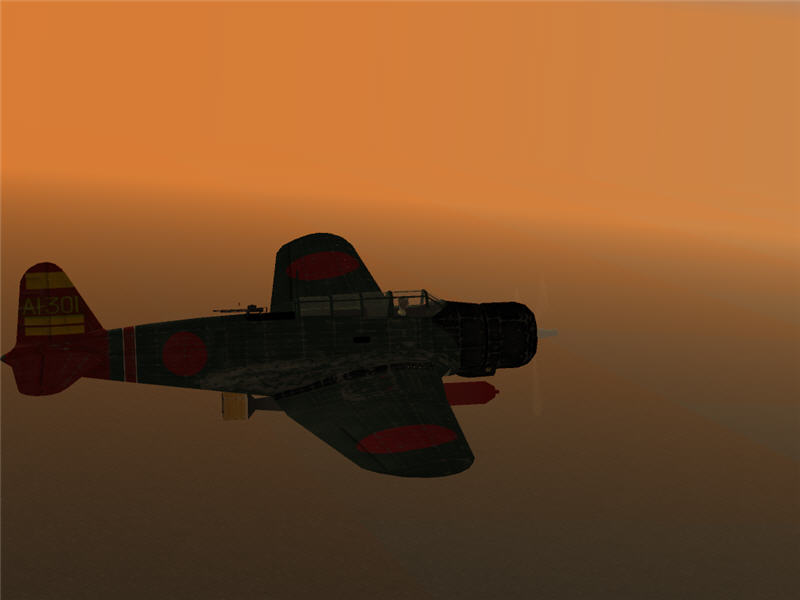
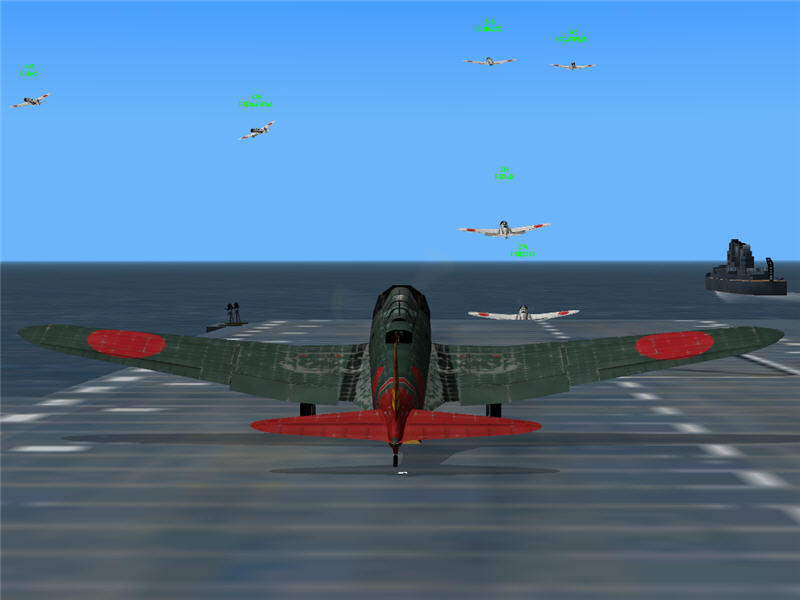
Brooke in his B5N2 Kate, climbing south from the Zuikaku after a dawn launch.
Brooke in his B5N2 Kate, climbing south from the Zuikaku after a dawn launch.
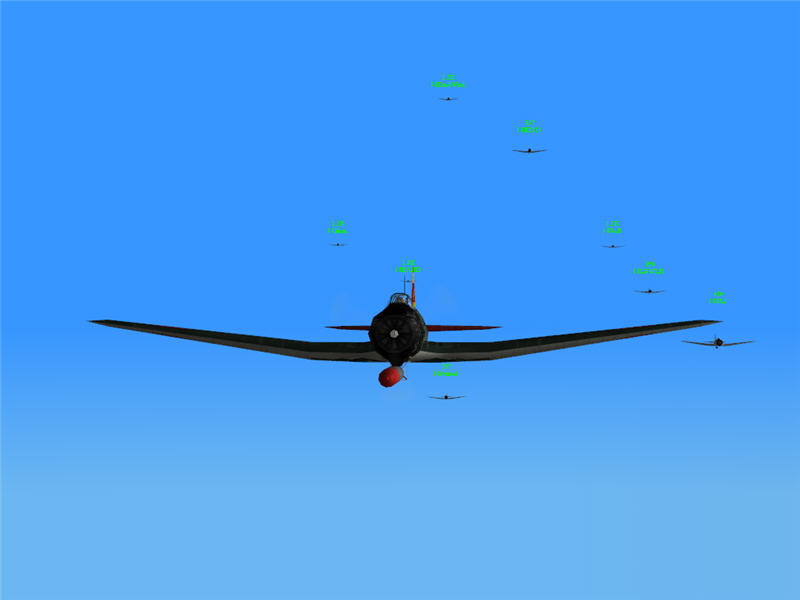
Pilots of VTZ and VTI torpedo-bombing squadrons flying south to attack the US
Navy fleets. Behind Brooke, from left to right: klem, HAND, Curval, DmdWind,
HB555, GaB, LNWLF1, and SA2.
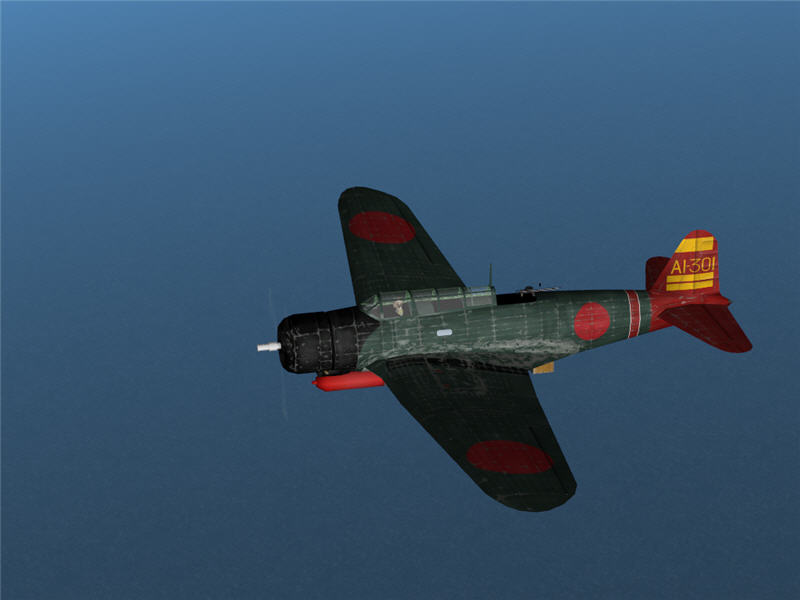
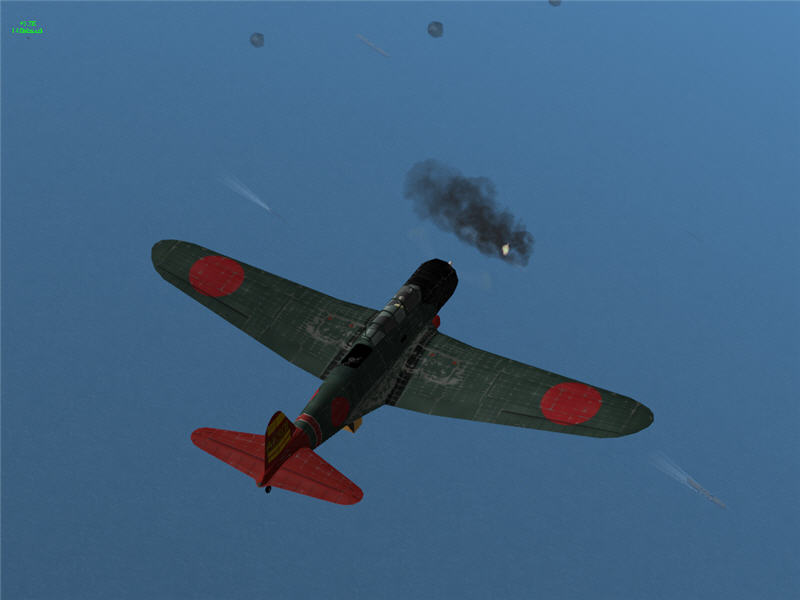
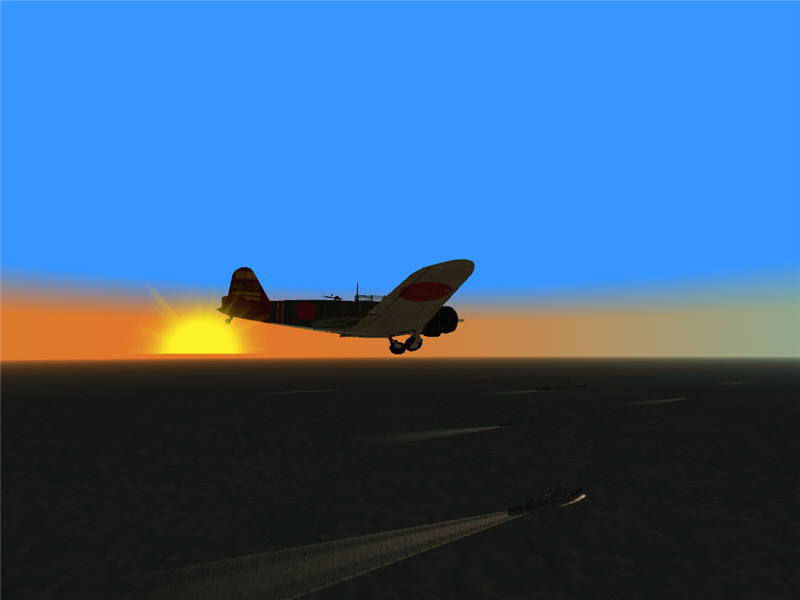
A picture of Brooke's B5N2 Kate with some better lighting now that the sun has
come up.
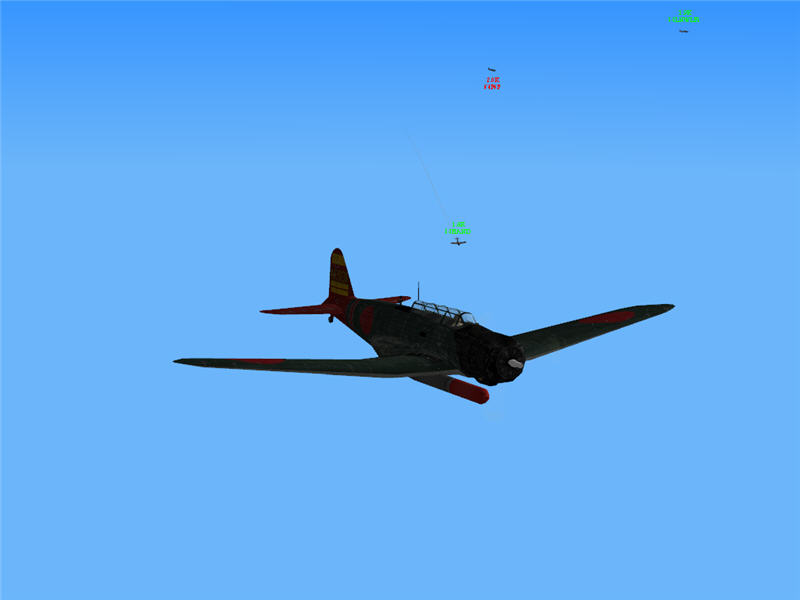
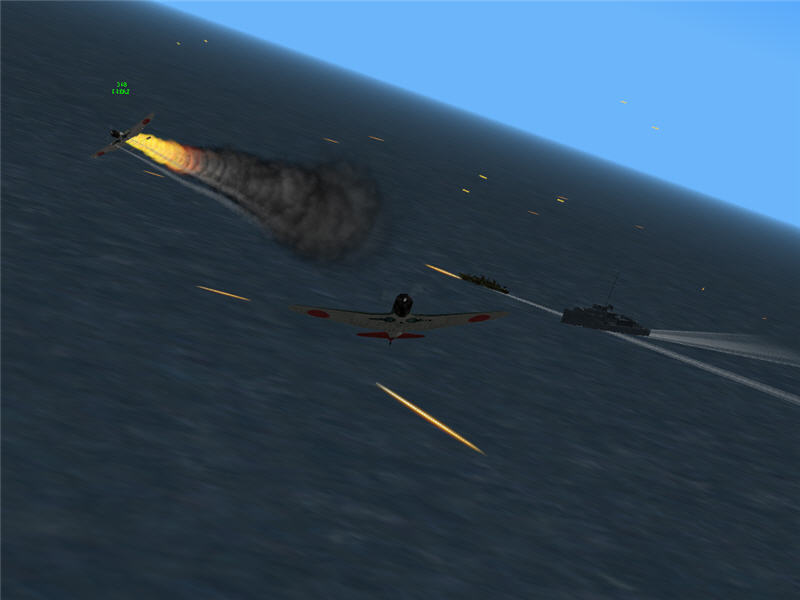
As VTZ and VTI squadrons got to within about 10 miles of the enemy fleets, they
are intercepted by 2-3 F4F Wildcats. One of the Wildcats (indicated by the red
icon) has just shot up HAND's Kate, which is now smoking. HAND has gone into
a dive to evade. HAND's plane is the aircraft just above Brooke's plane in this
picture. LNWLF1 is in the upper right.
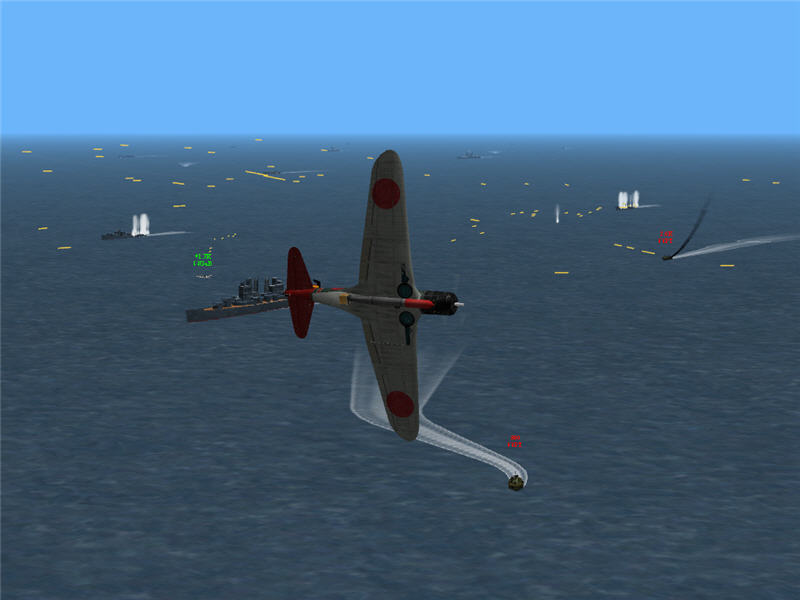
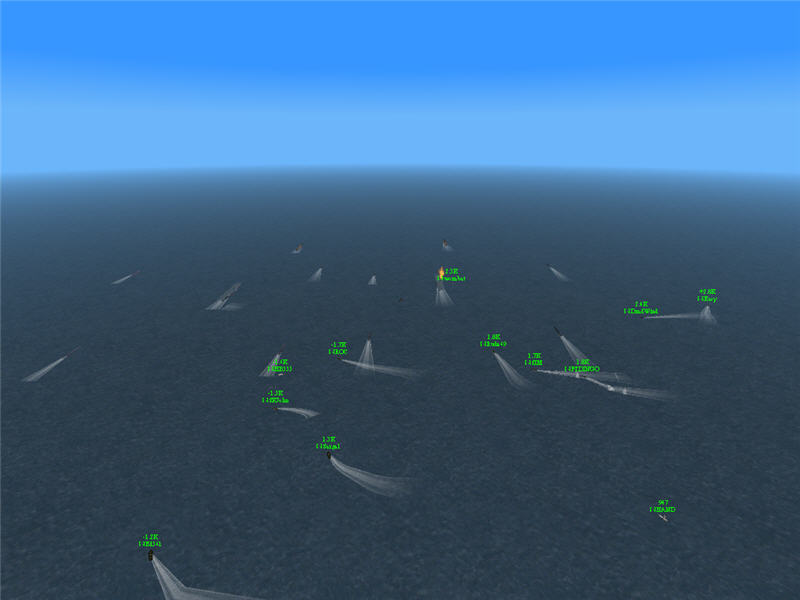
VTZ and VTI make it through the few F4F's and are now over the enemy fleet at
about 17,000 feet altitude. Here, Brooke is on the radio trying to find out
if the burning ship is the Lexington or Yorktown (which are our targets) or
another ship. Radio traffic says it is the Lex or Yorktown, but Brooke should
have studied his ship ID charts better, as it turned out to be the Chicago.
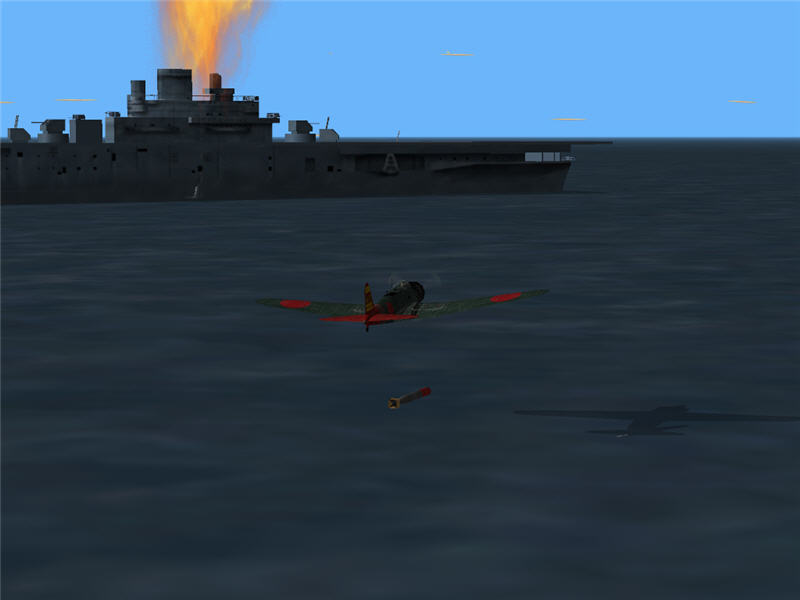
Brooke's torpedo drop for the burning ship. Although Brooke didn't see a wake
from his torpedo, judging it a dud at the time, later reports (thanks to Jordi's
analysis) indicate it hit the Chicago.
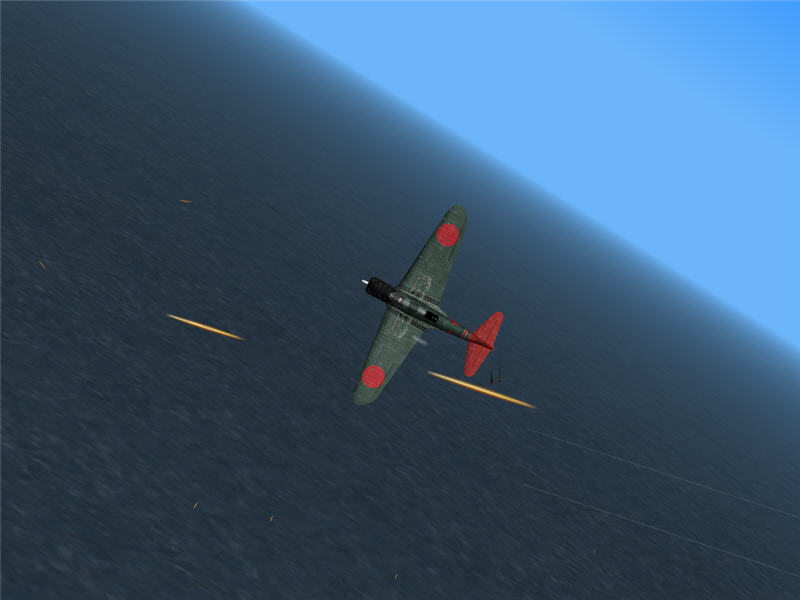
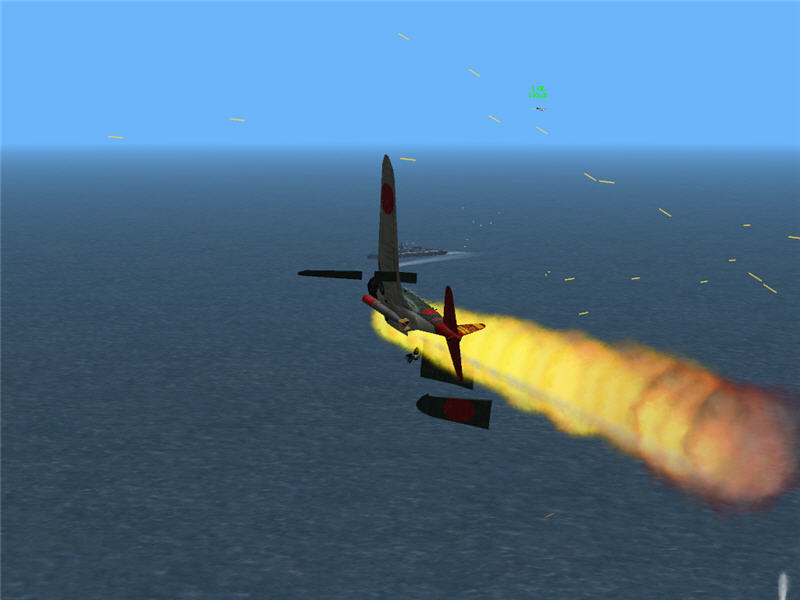
Brooke ran north after his drop, but was chased down by an F4F Wildcat. Seeing
the Wildcat closing to his 5 o'clock position, Brooke does a hard, vertical-bank
turn to his right, into the attacker to spoil the shot. The attacker has started
firing at Brooke. A moment later, the shots find their mark, and Brooke's plane
explodes. Shortly thereafter, the Chicago takes some more damage and sinks.
GaB is at the far upper left with HB555 to the right and higher. They are in
the thick of intense AA fire, and three Wildcats are on them.
VTZ and VTI torpedo-bombing squadrons launch again from the Zuikaku. They head
to the location of battle in mission 1, scout around a little, and find the
enemy fleets again. Brooke initially called for attacking the nearest carrier.
However, as he was over the top of the nearest carrier, he saw the burning carrier
farther ahead and called for all VTZ and VTI pilots who had not committed yet
to attacks to hit the burning carrier.
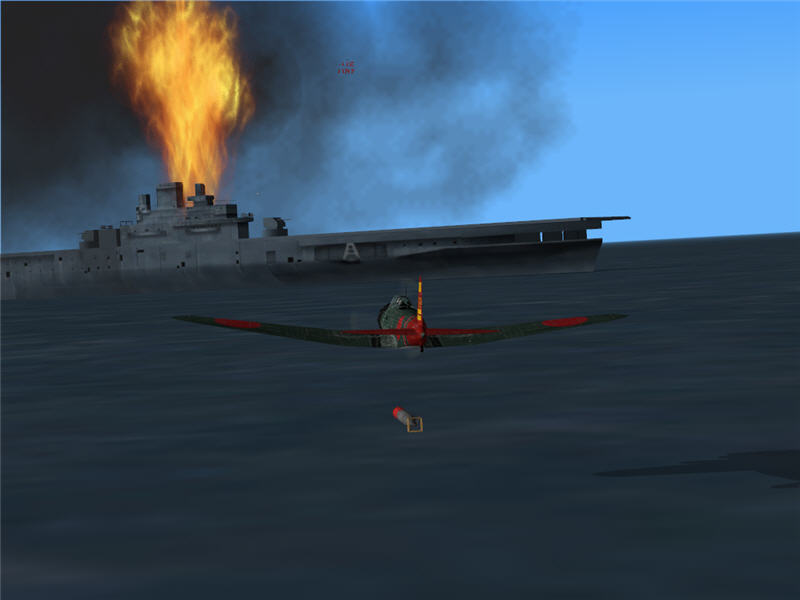
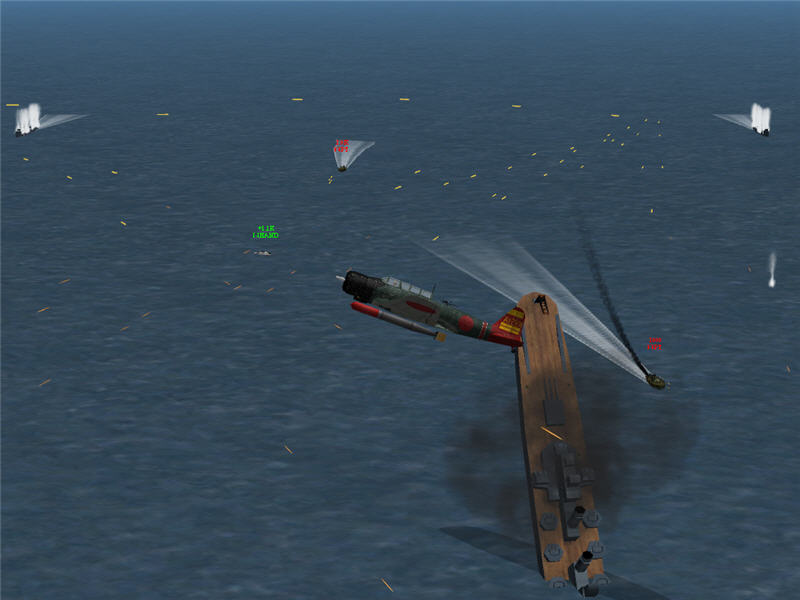
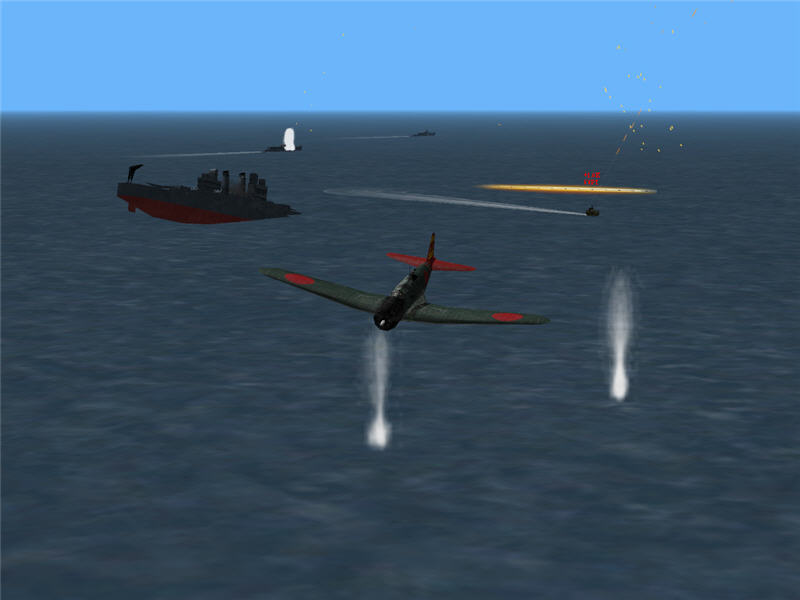
Brooke's drop for the burning carrier, which should be the Lexington or Yorktown.
Brooke pulls up after his drop both to evade the abundant antiaircraft fire
(visible as yellow streaks in the image) and to judge his torpedo drop. An enemy
destroyer and PT boat are visible in the background. Fellow VTZ pilot SA2 has
just been hit by AA fire, and his aircraft is set ablaze. Brooke looks back
as he pulls up. There is no wake from the torpedo again, appearing to be another
dud, but later reports (thanks to Jordi's analysis) indicate that it hit the
target ship.
Shortly after the previous image was taken, despite evasives, Brooke finds himself
the target of accurate AA fire. His vertical stabilizer has just been blown
off, pieces of which can be seen just to the rear of the aircraft. A wisp of
smoke is just starting to trail back from the left wing root, indicating a hit
to the wing tank. Immediately after this image was taken, AA fire (perhaps the
yellow streak just behind the left wing) blows off Brooke's left wing, and he
crashes into the sea.
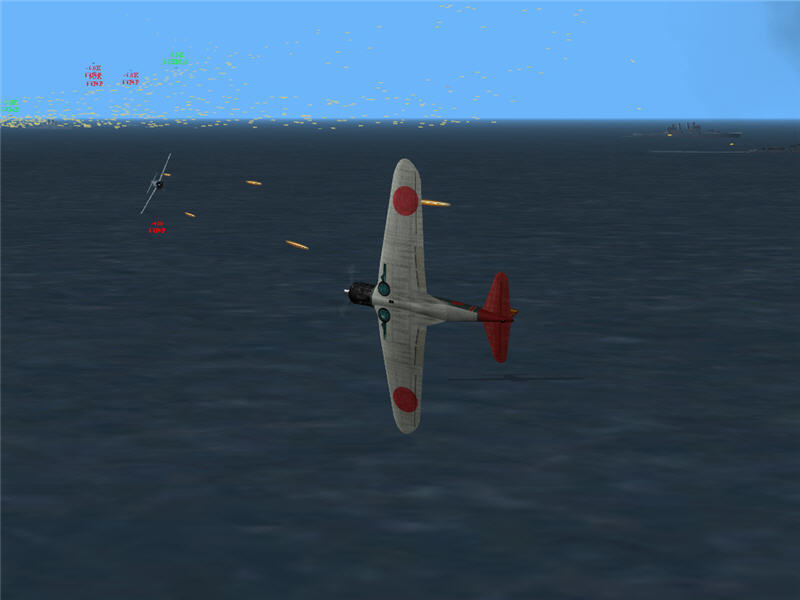
Brooke is spiraling down from altitude and bleeding off speed so that he can
begin a torpedo run on the cruiser. GaB, a pilot in VTI, is visible just over
the bow of the cruiser (the green icon) and has just dropped his torpedo. There
are enemy PT boats about, and AA fire.
Brooke is making his attack run on the cruiser when it begins to sink. GaB's
torpedo put her down! Brooke is able to hold his torpedo.
Brooke, with his saved torpedo, pulls up to get some distance from deadly AA
fire and enemy PT boats, to evade a bit, and to get a better view so that he
can pick a good lineup on another target. The cruiser is going down rapidly
at the bow. HAND's aircraft is the one just in front of Brooke's in this image.
An instant later, AA fire blows off Brooke's right wing and sets his plane ablaze.
He was not able to bail out. GaB is in the aircraft ahead and to the right of
Brooke's in this picture.
The Shoho has just been under attack, is damaged, and the day is getting late.
There isn't enough time to coordinate fleet maneuvers to get the fleets pointed
into the wind, and VTZ and VTI are ordered to launch. Brooke is in his takeoff
run, behind other members of VTZ and VTI (from left to right: SA2, DmdWind,
HAND, GaB, HB555, and LNWLF1). The Kates are running off the end of the runway,
dropping, but able to stay above the waves (stall horns blaring) long enough
to build speed and get into a climb. HB555 drops off the end of the deck with
Brooke following and ready to do the same.

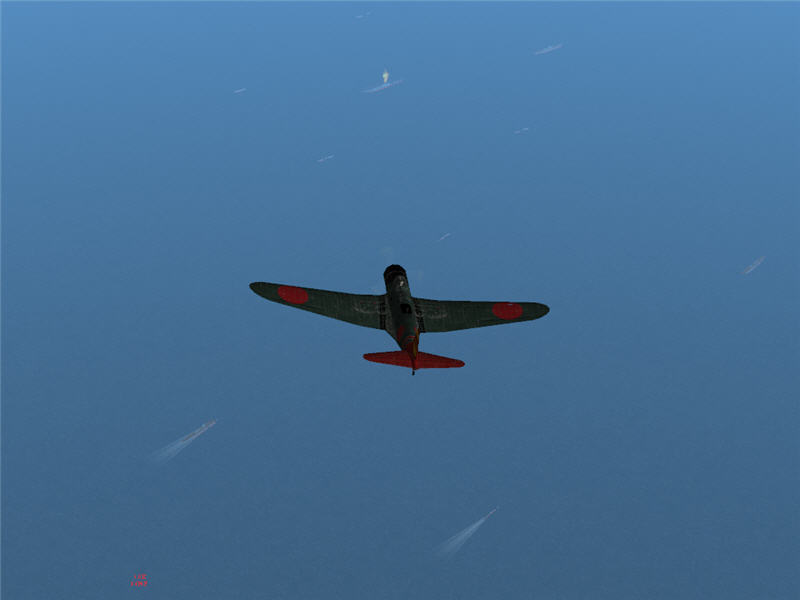
VTZ and VTI climbing away from the Shoho and Shokaku task groups. The Shoho
is the carrier on fire.
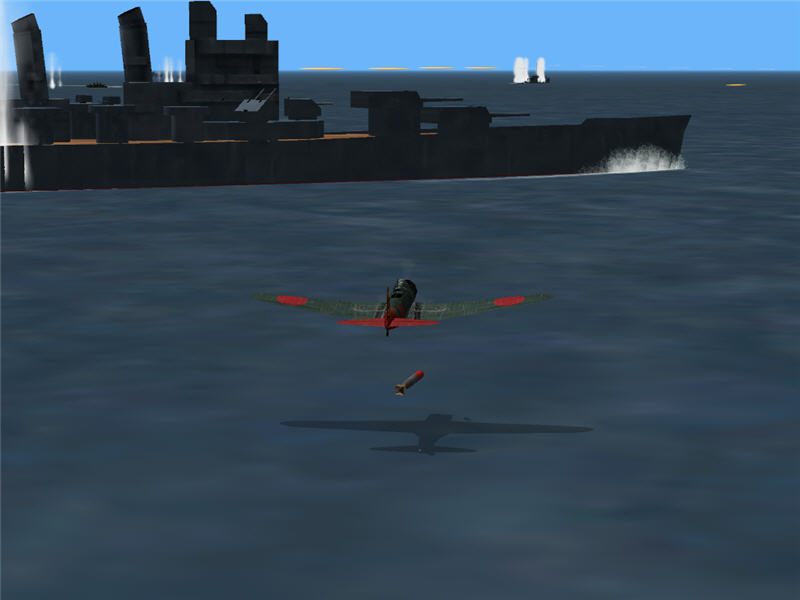
VTZ and VTI get to the location of the remaining enemy fleets. Brooke dropping
his torpedo for an enemy cruiser.
This time, the torpedo clearly is not a dud. It runs, hits the cruiser amidships,
and explodes. The enemy PT boat is firing at Brooke as he does a hard turn to
get the hell out of the area.
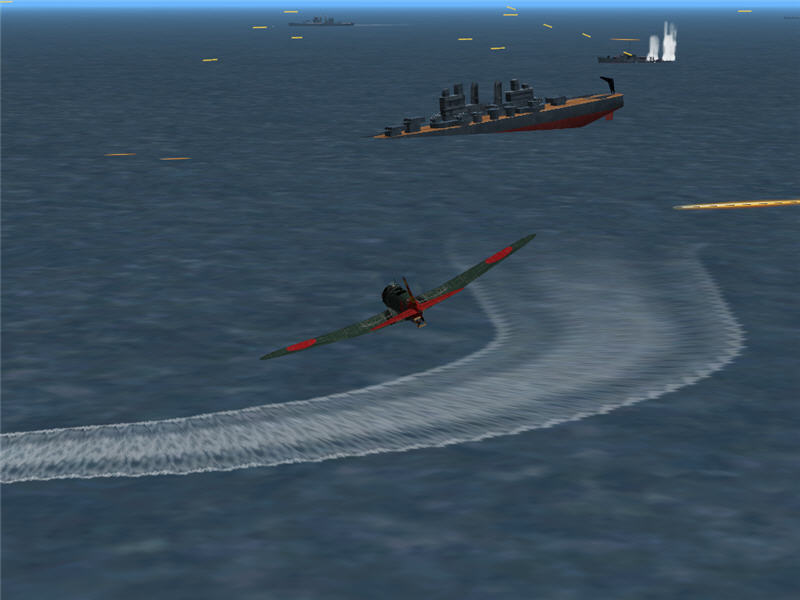
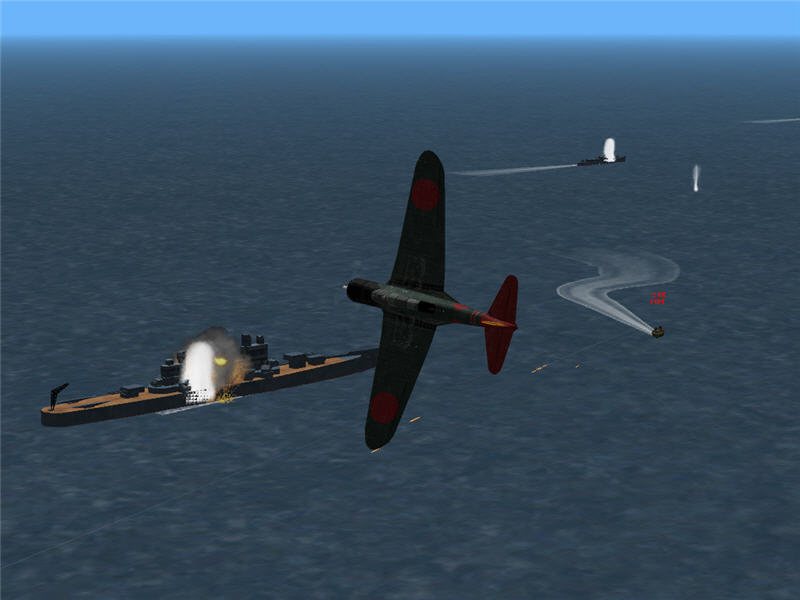
The cruiser is sinking bow first as Brooke runs out of the area. The enemy PT
boat continues to shoot as does other AA fire (such as the yellow streak above
his plane). Near misses are raising spashes near his aircraft.
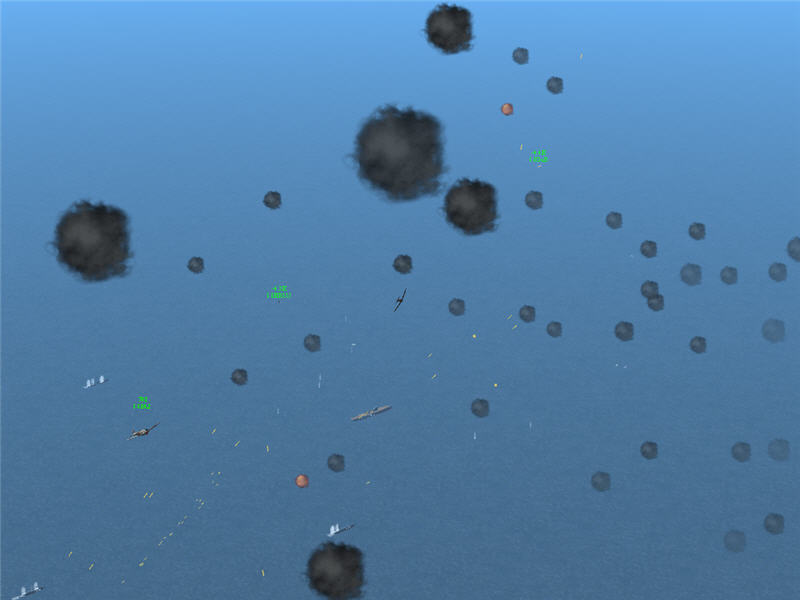
Brooke lives this time and makes it back to the IJN main fleet. This is a view
of it -- it now has many friendly PT boats helping to guard it. Some enemy PT
boats were able to get within extreme torpedo range and launch. The boats were
destroyed shortly thereafter, and Fleet Admiral Gypsy Baron was able to maneuver
the fleets to keep them away from the torpedoes. Brooke, with advantage of altitude
and view of torpedo wakes, offers info on location of torpedoes and suggestions
on which way to turn the fleet.
With not much daylight left, Brooke enters the landing pattern for the Shoho.
Here, he is lowering his landing gear.
Brooke ended Frame 3 with 3 torpedo hits, credit for the final blow to one of the USN cruisers, and 2 assists. The 2 assists are from Brooke's stint in a PT boat in between missions 2 and 3 (not pictured here), where he got some hits on enemy aircraft and PT boats.
by Brooke P. Anderson
e-mail: brooke@electraforge.com
Click here to go back to my scenario page, for
pictorials on other frames of this scenario, for pictorials of other scenarios,
and for links to other content on my site.