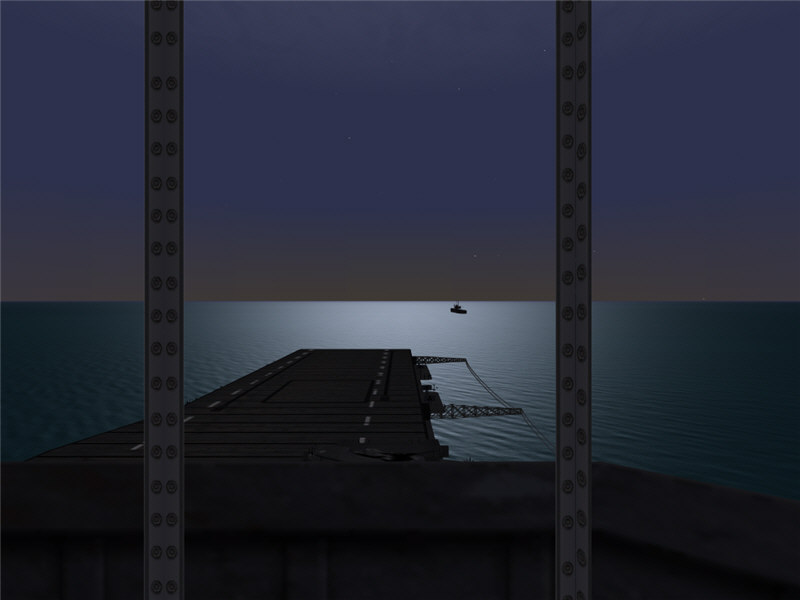
Predawn view from the bridge of the USS Lexington. Lady Lex is turned east into the wind, and we are getting ready for a launch at dawn. The cruiser USS New Orleans is visible ahead. t=0:00
After-Action Report
8/1/2009
by Brooke, GL, VT-2
This was a scenario that ran in the multiplayer on-line air-combat simulation Aces High.
I was the Group Leader (GL) of VT-2, the torpedo-bombing squadron on the USS Lexington. We were flying TBM Avengers. Today, VT-2 consisted of me (Brooke), Tudza, KKEN, Babalon, pope14, Beefcake, LTARhamr, Dipsy, and ROC (howdy, ROC!).
Predawn view from the bridge of the USS Lexington. Lady Lex is turned east into the wind, and we are getting ready for a launch at dawn. The cruiser USS New Orleans is visible ahead. t=0:00
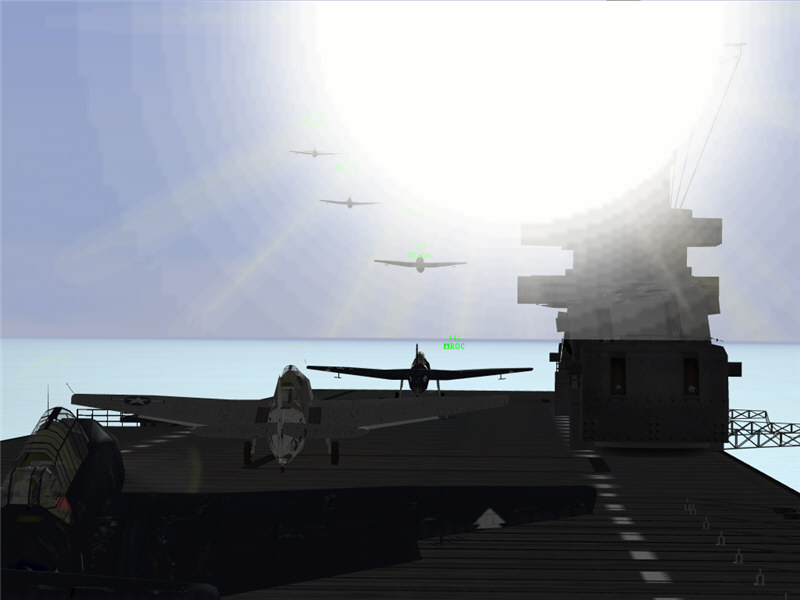
The Avengers of VT-2 launching into the rising sun. From top to bottom: Dipsy, KKEN, pope14, tudza, me, and LTARhamr. ROC and Beefcake are up, too. ROC's plane is not visible below the level of the deck from this angle, and Beefcake is not visible in the sun. t=0:07
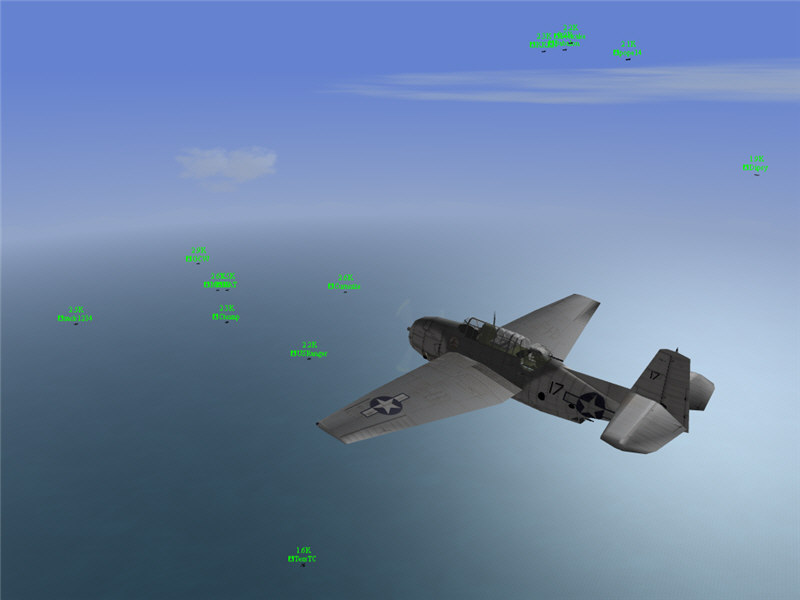
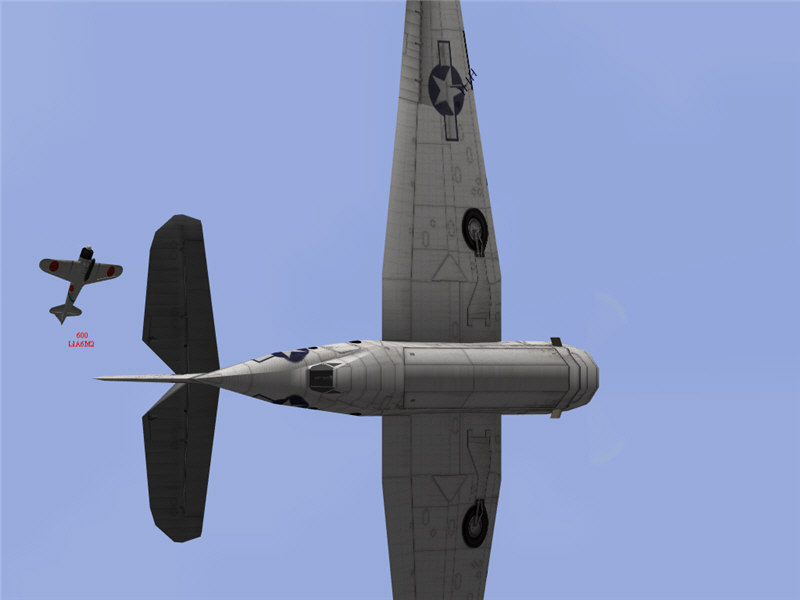
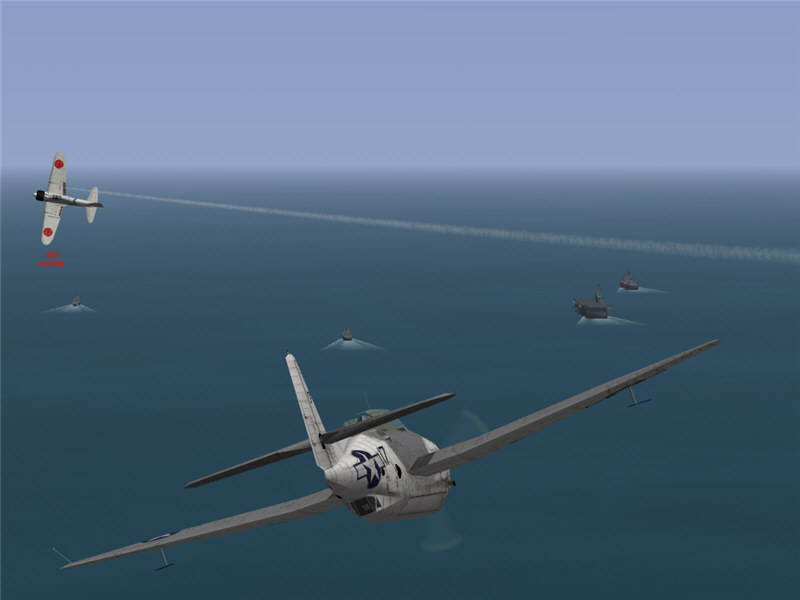
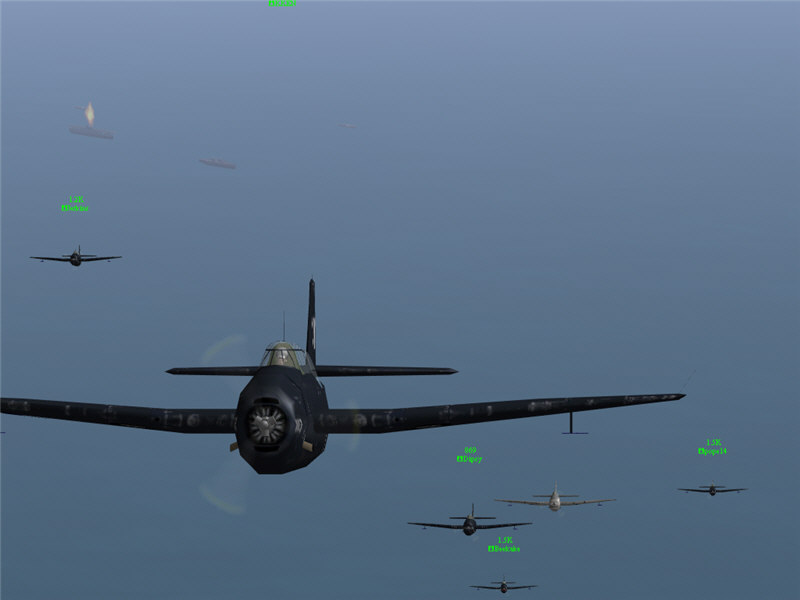
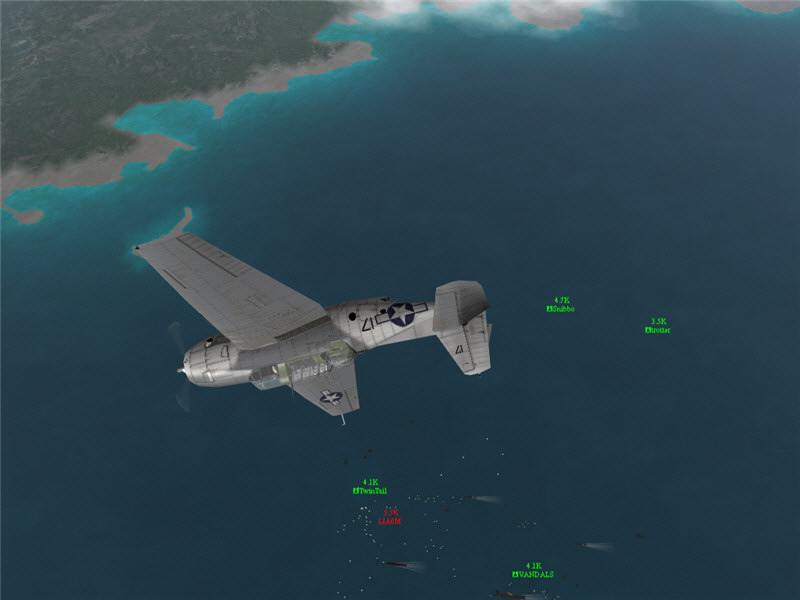
VT-2 on the way north to the IJN carriers. Along with us is VB-2 (Bombing Squadron 2), also from the Lexington. I position VT-2 slightly behind VB-2 so that they can lead the way. From left to right: zack1234, GCW, (can't tell), Chump, TexsTC, USRanger, and Curnutte, all from VB-2; and me, KKEN, Babalon, Beefcake, pope14, and Dipsy, all from VT-2. Our scouts have found all three IJN carriers, which are with the Invasion Group racing toward Port Moresby. I have asked KKEN to lead one flight (with Babalon, Beefcake, pope14, and Dipsy), and I'll lead another flight (with Tudza, ROC, and LTARhamr). When we get to the enemy CV, KKEN's flight will attack from the north side, and my flight will attack from the south side. t=0:33
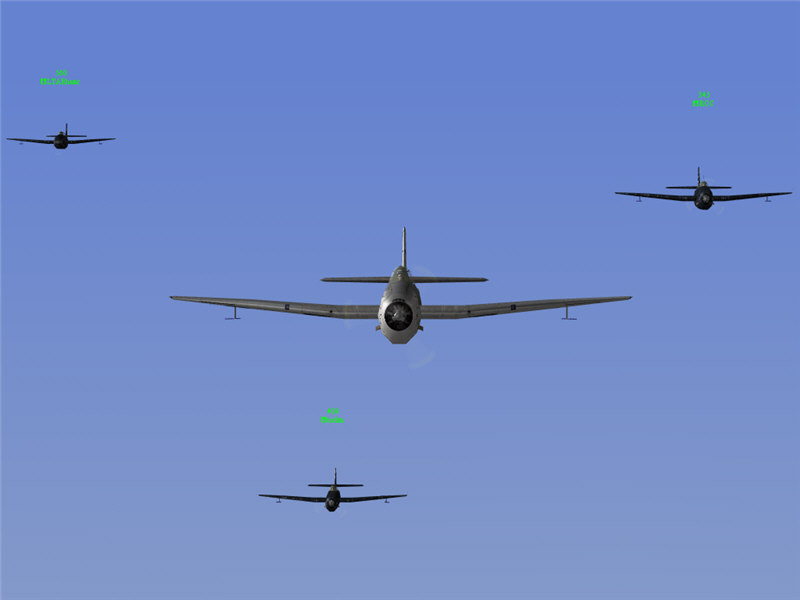
The guys with me. From left to right: LTARhamr, Tudza, me, and ROC. t=0:33
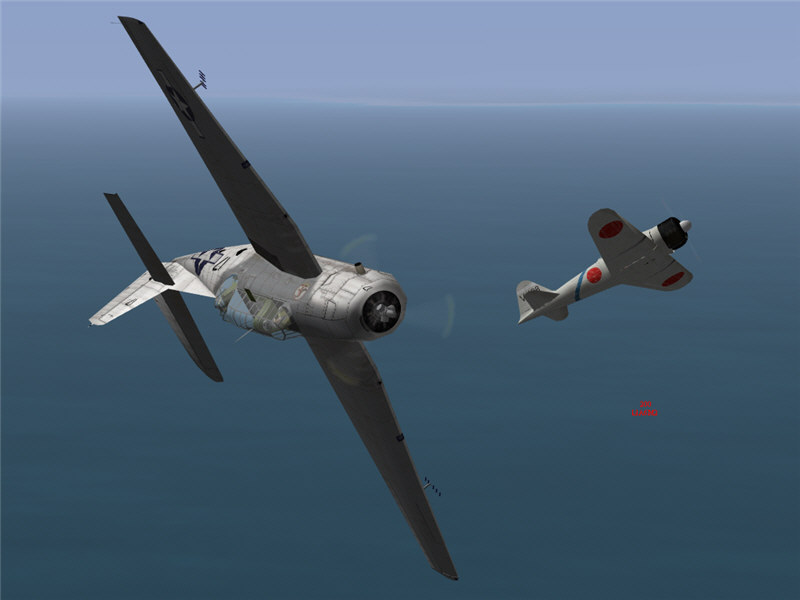
About 3 minutes after the above picture, we come across a lone bogie that ends up being an A6M2 Zero. He makes an attack run on us, gets fired at, then pulls up left an above me. It seems that he is pacing us, calling in more Zeros. I type put out a radio report of our situation and location. As he is within 1000 yards of me, I figure I'll try to flush him off of his perch.
ROC radios that he's with me, and I try climbing and coming left to get on his tail, but he pulls up and then cuts back right over the top of me. t=0:38
He goes over and does an attack run on KKEN's flight, gets fired at, then comes back over for me.
I do a diving barrel roll to stay away from him as best I can. I'm diving steeply and picking up speed, and he breaks off rather than continue to follow me in the dive. I started at about 18k altitude and end up at about 15k altitude. He goes over and attacks some of the planes by KKEN, and then latches onto Tudza. t=0:39
He shoots off the tail of Tudza's Avenger. t=0:42
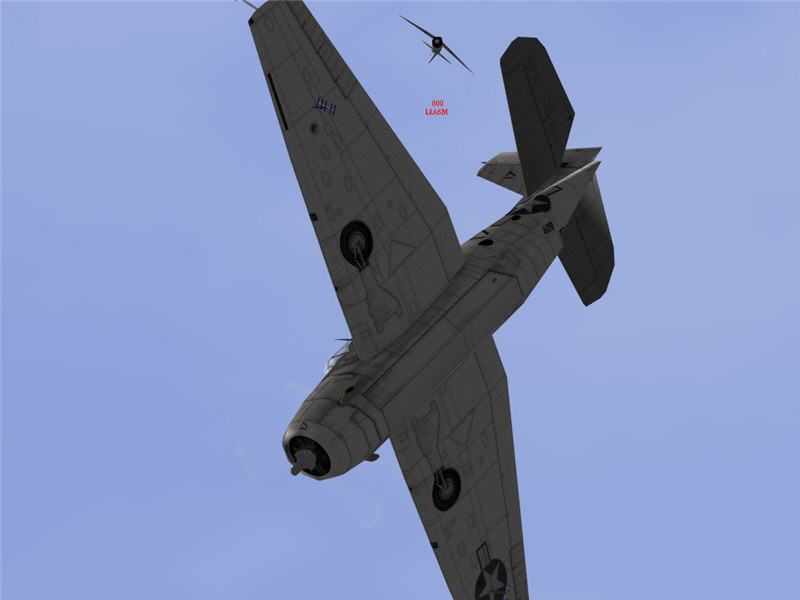
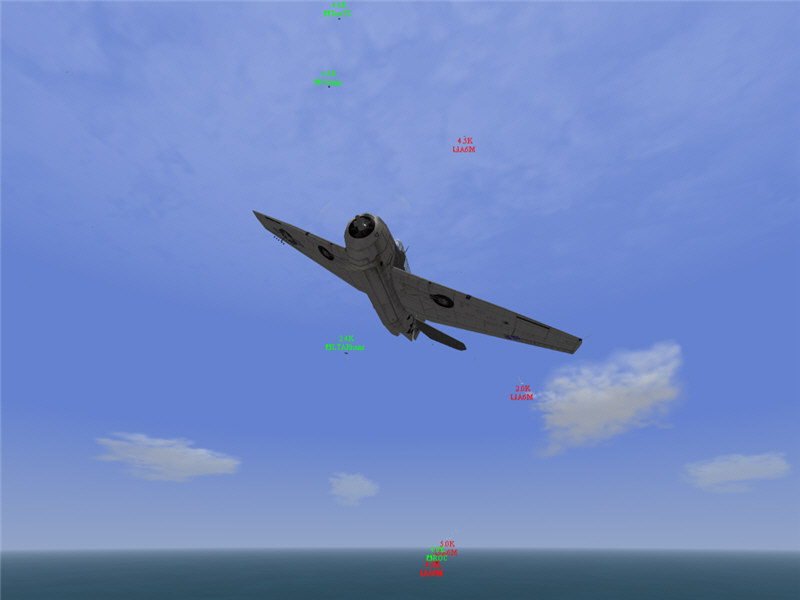
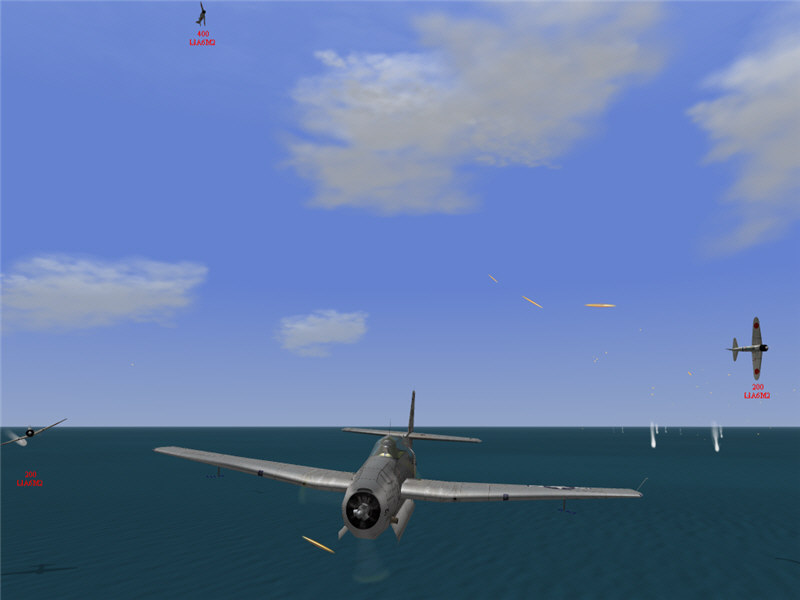
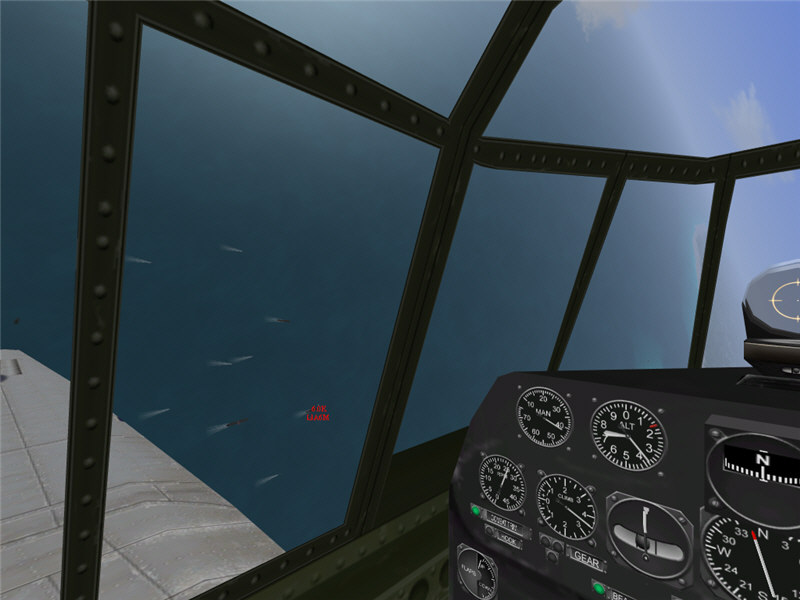
A view forward left from my cockpit as, unfortunately, a lot more Zeros come in. I'm going into a medium dive to build up speed and to see (although it's unlikely) if I can scoot by under them. ROC is diving as well and is just behind and below me. It's not looking very likely for us to get to the enemy carrier. t=0:42
Unfortunately, 2-3 Zeros do come after me. I build up a lot of speed so that they can't close too quickly.
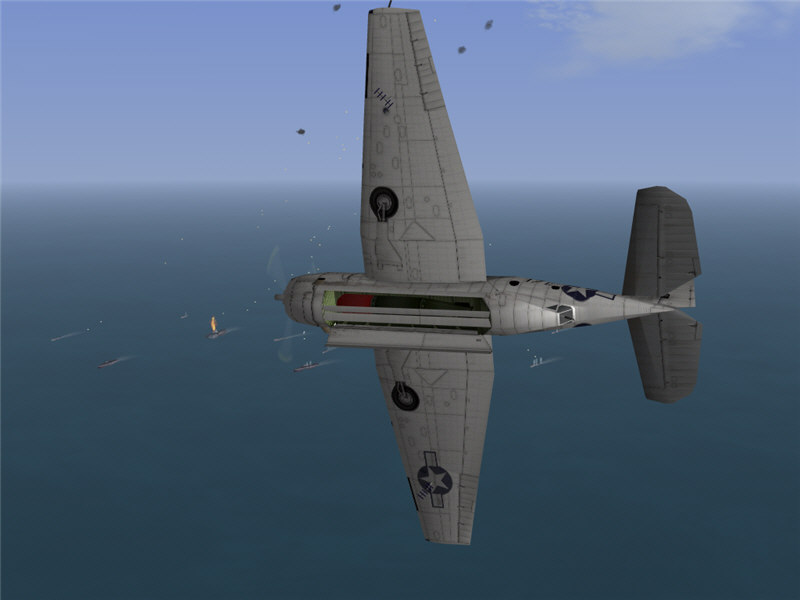
A view from my belly-gun position as I put some hits into one of the chasing Zeros. t=0:43
I go into some diving evasives as two Zeros close to within firing range. I'm going through part of a cloud here, but it isn't thick enough for them to lose sight of me. Curnutte is back there possibly tangling with one, and there is a Zero below me headed in ROC's direction (ROC is below and in front of me). At this point, ROC calls on the radio for me to head toward him. I look around, spot him, and dive toward him. I'm doing about 400 mph at that point. t=0:43
ROC comes hammering by, firing head on into the Zeros. t=0:44
Then LTARhamr (top of picture, middle) comes diving in from above, also firing on the Zeros. In the background, ROC is reversing. One of the two previously pursuing Zeros breaks off. There is another up higher maneuvering around to get on ROC or LTARhamr, and there is another one below out of the picture. ROC and LTARhamr definitely bought me some time. Thank you, ROC and LTARhamr! t=0:44
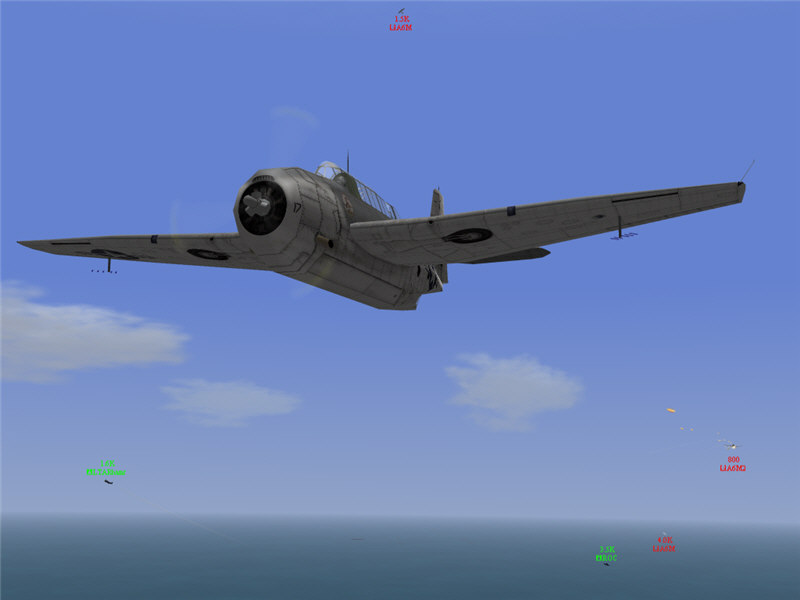
I open up on the pursuing Zero with my belly gun and start putting hits into him. I give him a fuel leak. LTARhamr is pulling out of his dive. ROC is diving and picking up speed with one of the Zeros in pursuit. Visible behind us is a portion of Crace's task force of cruisers and destroyers, which is racing toward the IJN fleet. We haven't spotted enemy ships yet. t=0:44
LTARhamr clears the Zero off of me, and I take a quick look ahead to see if I can spot the enemy carrier group. I do see it in the distance. I call it out on the radio and ask for all VT-2 pilots to make runs however they best can manage. I type a message on the radio getting out a good location report: "cv 7.11.4, zeros on us!" t=0:44
A view behind me as I finish my radio report. ROC is swarmed. He is shot down shortly after this picture. Sorry, ROC. :( TexsTC and Chump in Dauntlesses are entering the area (above middle), and LTARhamr is back there (middle picture). t=0:45
Behind and to my left, I see LTARhamr pounding through with a Zero in hot pursuit (and three others farther back). I call on the radio, "Hamr, I'll try to clear you!" and go into a lag roll to my right. t=0:46

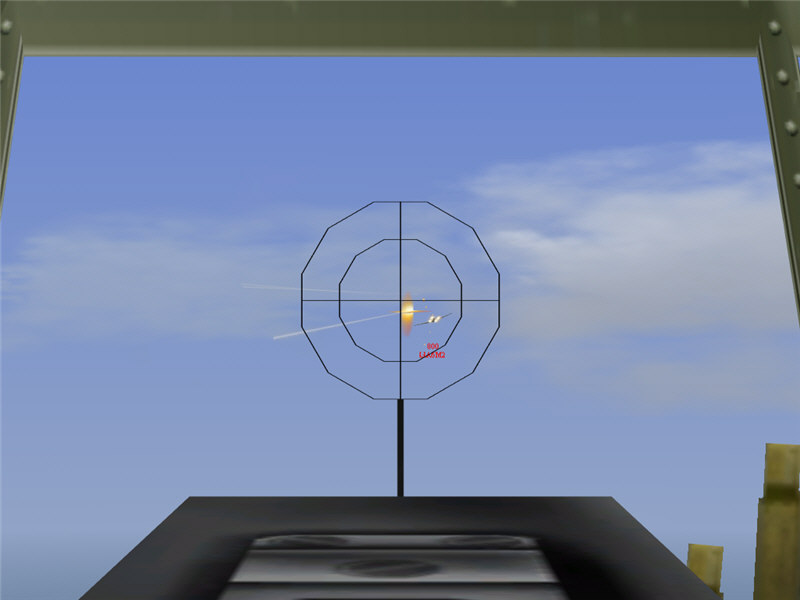
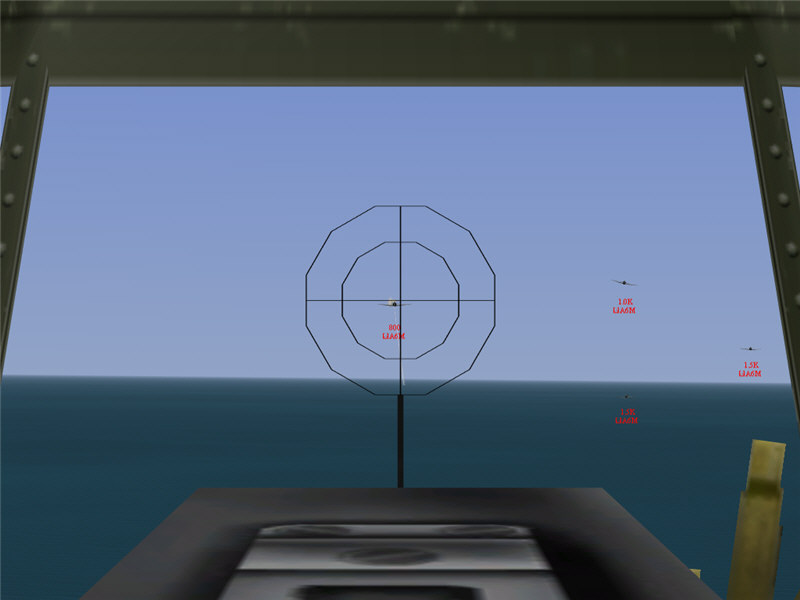
A view through my gunsight as I roll out onto the tail of the Zero that is chasing LTARhamr. I put a hit into him, and he starts to jink but continues chasing LTARhamr. I stay on the Zero, firing away, but I'm not getting more hits with my two 0.50 cal guns. He is pulling away from me. The enemy CV group is visible ahead and to my left. t=0:46
Finally, the Zero breaks off, turning hard to the left. I turn toward the carrier. The Zero continues his turn to come around and chase me. t=0:46
A view out of my belly-gun position as I try to put some hits into the Zero. Unfortunately, after a few rounds, I am out of ammo! The three other Zeros are chasing me, too. Well, nothing for it now than to press my attack on the CV and hope for the best. t=0:47
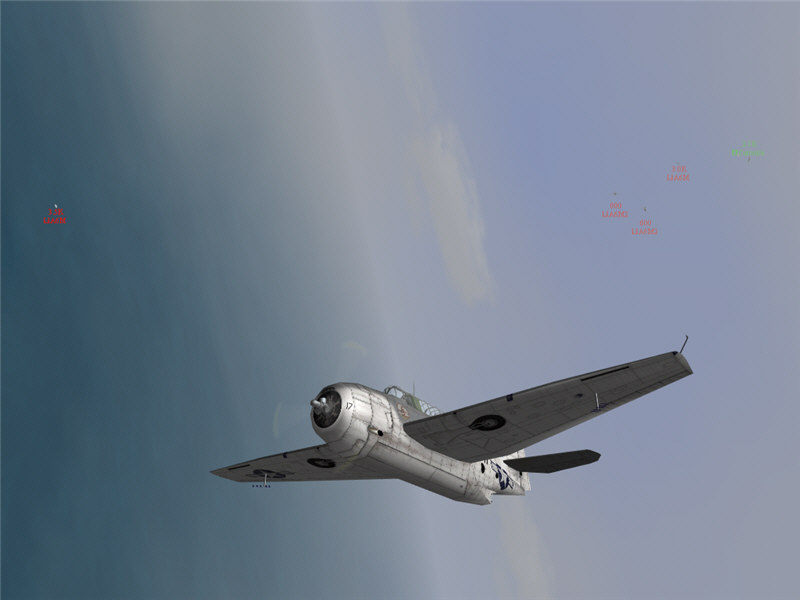
As the Zeros chase and fire at me, I fly ahead full throttle to get ahead of the enemy carrier in order to turn in for my attack. LTARhamr (right of picture) is in making his run. Go Hamr! t=0:47

I turn hard into the carrier to line up for my run and to bleed off my speed. LTARhamr has pulled up to clear the carrier, clearly post torpedo drop. The allied base a63 is visible on shore in the distance. t=0:46
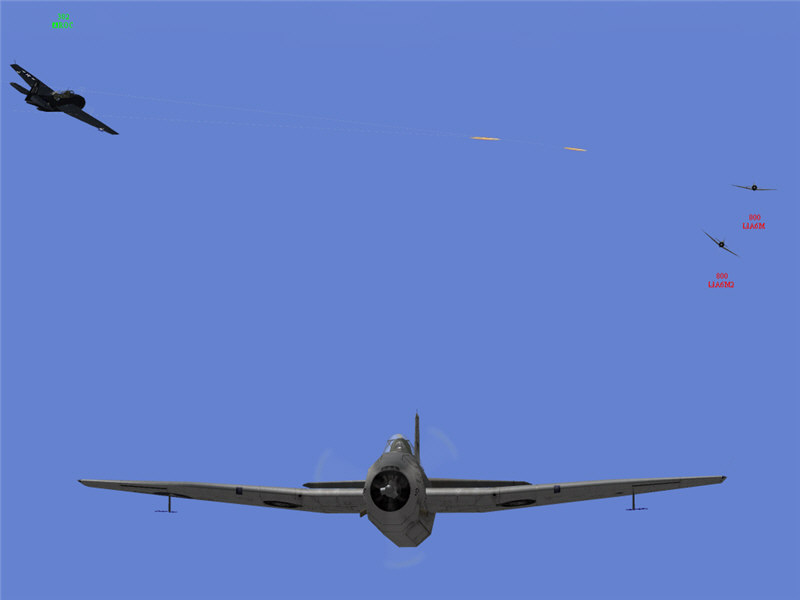
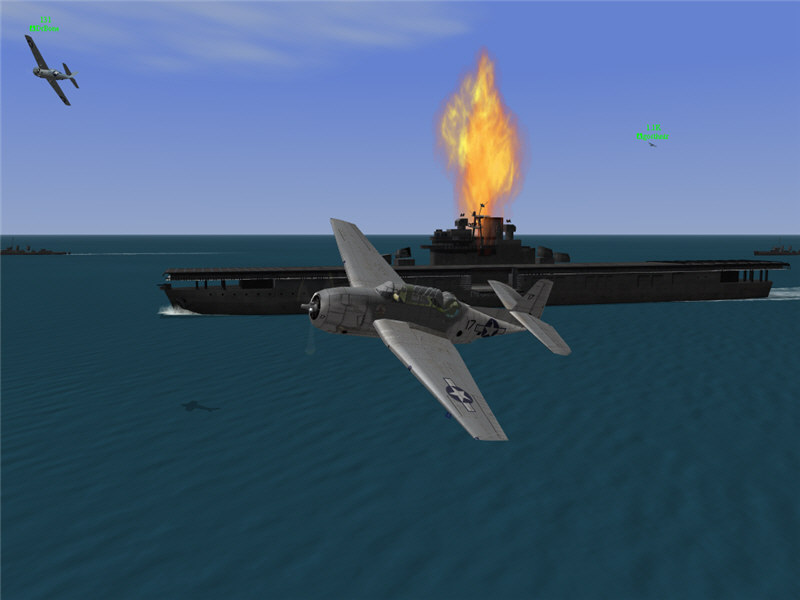
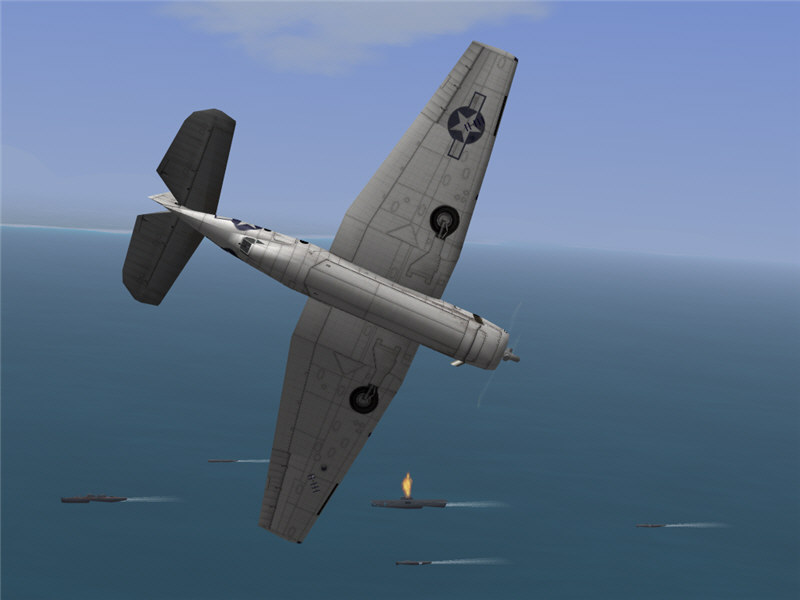
Bay doors open, I'm on my run. The explosion ahead of me is LTARhamr's Avenger -- the Zero got him. t=0:47
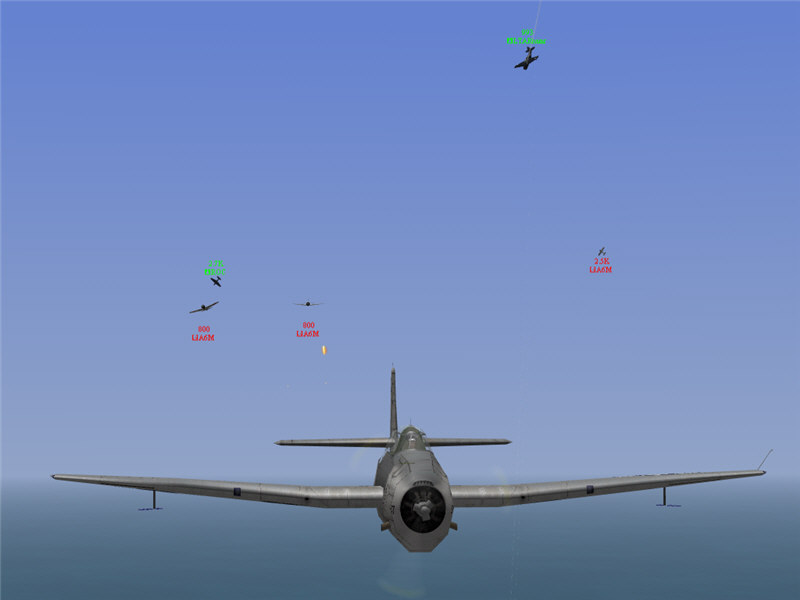
A view back at my Avenger. There are enough Zeros to get me, but it's the pest of a smoking Zero that gets me, my Avenger exploding a moment after this picture was taken. If it weren't for him, I might have at least lived to my drop point. So close! (It turns out the Zero that got me was flown by Hajo -- at whom I now shake my fist! :) ). t=0:47
I don't think any pilots from VT-2 survived this attack. Some did launch torpedoes. KKEN and some in his group were able to get in on the carrier from the other side. KKEN hit with a torpedo and possibly some others hit with torpedoes, but not enough to sink the CV.
After this, I took a look around from the cruiser in task group c34 and spotted two IJN carrier groups within 8" guns range. As having our cruiser within guns range of them was quite important, I asked KKEN to take control of VT-2 and to come up for another attack. I got into an 8" gun and put several hits into the closest carrier, and then I started to concentrate on the cruisers. We had a running gun battle with the Japanese for a while. I got many hits on the Japanese cruisers and knocked out various guns. There were other people manning our 8" guns as well -- we had a full complement. But it was two cruisers to one, and eventually they knocked out all of our 8" guns.
Meanwhile, the IJN did get an attack on the Lexington. They destroyed its radar and worked it over, but not enough to sink it. They also took out all of the fighter hangars at A3, denying us further P-39 fighters, and managed to capture Port Moresby, unfortunately for us. So, at this point, the Japanese have Port Moresby and have attacked, but not sunk, Lexington; and the USN has attacked two Japanese carriers, but not sunk any. The IJN carrier groups, earlier within about a 25-mile radius of each other, have also started to disperse. One was still near Port Moresby. One was about 25 miles SE of that. And one was near the tip of the penninsula, in 8.11. Our goal was to concentrate attacks on one CV at a time until it was down, but coordination of that was difficult with the enemy task groups being close together and harder to distinguish. The two close-together CV's were getting attacked. I tried to help focus effort on the southeastern-most carrier of the two in the Port Moresby area.
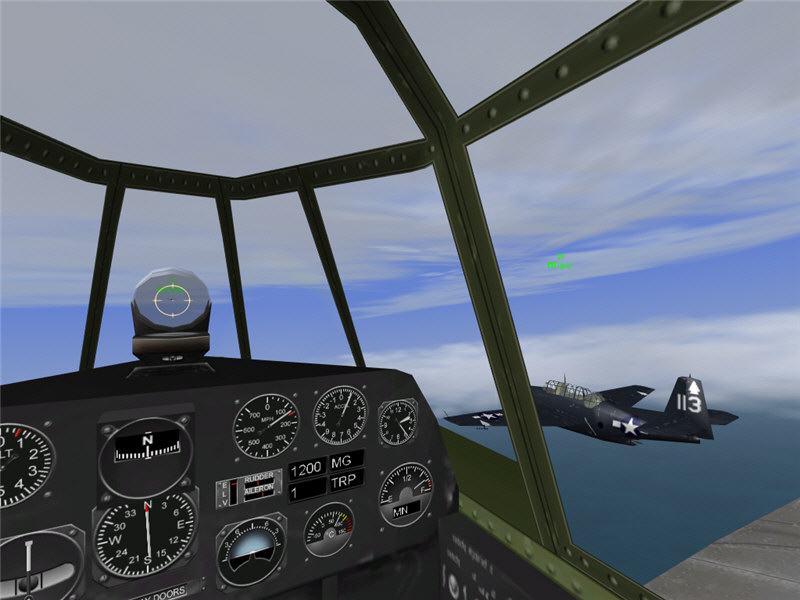
After the naval gun battle, I go back to and then depart from the damaged Lexington. I'm about 50 miles behind the rest of VT-2. Also in the picture are DrBone and gothntr in their Wildcats. t=1:18
On my way north, Memes joins me as a gunner. Other than that, we are by ourselves. I listen on the radio as VT-2 finds an enemy carrier in 6.11.5 and goes in to attack. I hear reports of many Zeros in the area, and relay that on ch 2. I hear "I'm going in!" and "Torpedo away!" and unfortunately lots of "I'm down." VT-2 is again all shot down in the attack. I think they got some torpedo hits, but still the carrier is up. I'm wondering what I'll be able to do, just one lone Avenger, other than go in and get shot down. I'm at 18k altitude, though, and figure I'll go have a look and see what it's like.
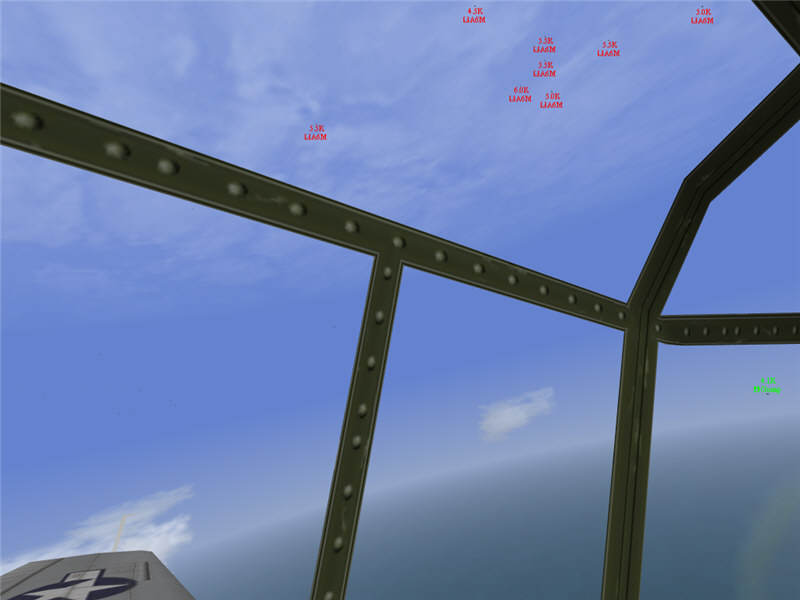
A view forward left from my cockpit as Memes (my gunner) and I spot a bunch of low aircraft. They look like B5N's (the low, white spots), and I put out a radio report: "Many B5N's or D3A's, 10k or lower, 6.11.5, headed south". t=1:54
A view forward right out of my cockpit as Memes and I spot the enemy carrier. As we get closer, I see what looks like an attack wave taking off and heading away from the CV and what might be one Zero (as it is the only one not flying in a formation). I don't see a lot of CAP, which is excellent. They probably are arranging everything after repelling the last attack. t=1:54
I pick a position away from the suspected Zero and dive in. The carrier starts turning and working to evade as I come in. As the area is clear of CAP, I adjust then make my run. t=1:55
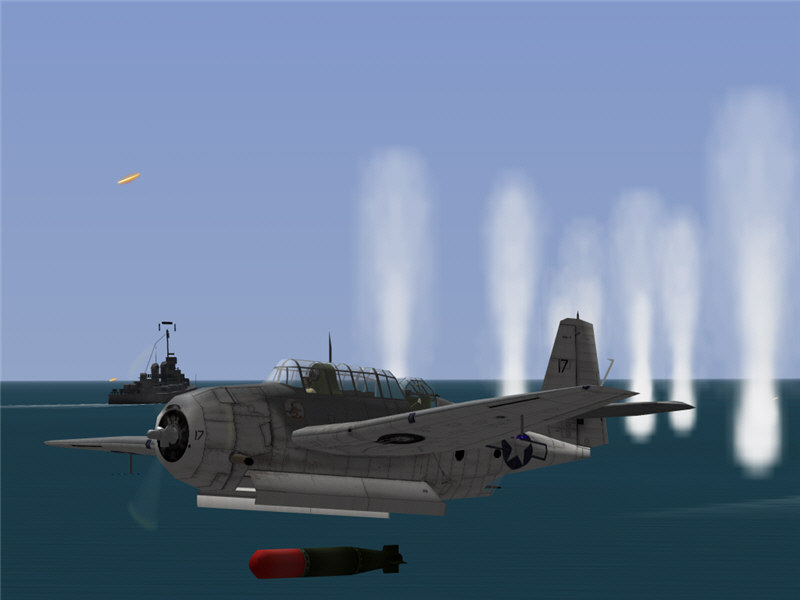
Torpedo away! t=1:57

I zoom past the CV, and my torpedo hits (although not visible in this picture -- film viewer has some quirks when ships are maneuvering). I call out the hit on the radio. I head south away from the carrier. Things look clear for me and Memes for a few minutes, and I think we are going to make it back, but then we see a bogie in the distance. . . . t=1:57
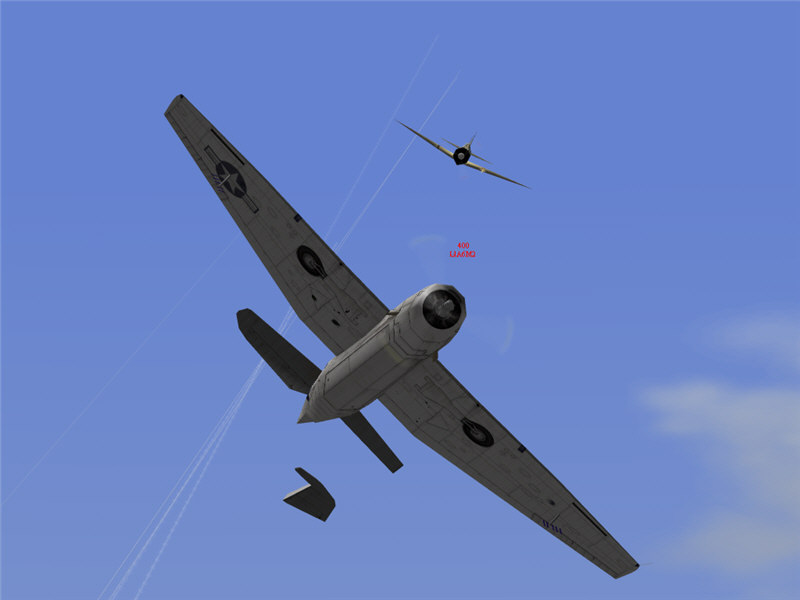
It turns out to be a lone Zero, which closes in and attacks us. Here, I work to evade, and he blows off my right elevator. This must be the Zero that was in the area when I came in on my attack run. t=1:59
I try to get him out in front of me (so that I can shoot him) with a lag barrel roll, but he evades with a hard climb. He climbs up, then does another run. t=1:59

I turn hard into him, but he nails me, and we (me and Memes are no more). It turns out the pilot is Fencer. Fencer and Hajo -- picking on me. t=2:00
What is left of VT-2 for the day climbs away from the Lexington (seen in the background). From left to right: Jerkins, KKEN, Dipsy, Beefcake, me, and pope14. As we fly north, we divide up into KKEN's flight (KKEN, Dipsy, Beefcake, and Jerkins) and my flight (me and pope14). t=2:11
Forming up with Dipsy on the way north, as we follow KKEN. t=2:15
As we fly north, we get a radio report that one Japanese CV has finally been sunk. It was attacked by VT-5 as well as some scouts and other personnel who were reassigned to VT duty. The report said that Colleen put in the final torpedo. Way to go, folks! VT-2 then was reassigned to the enemy carrier in 6.11.7. We had Tudza, who was out of lives for the day, with task group c34 reporting position and CAP status at the enemy carrier, which was very useful.
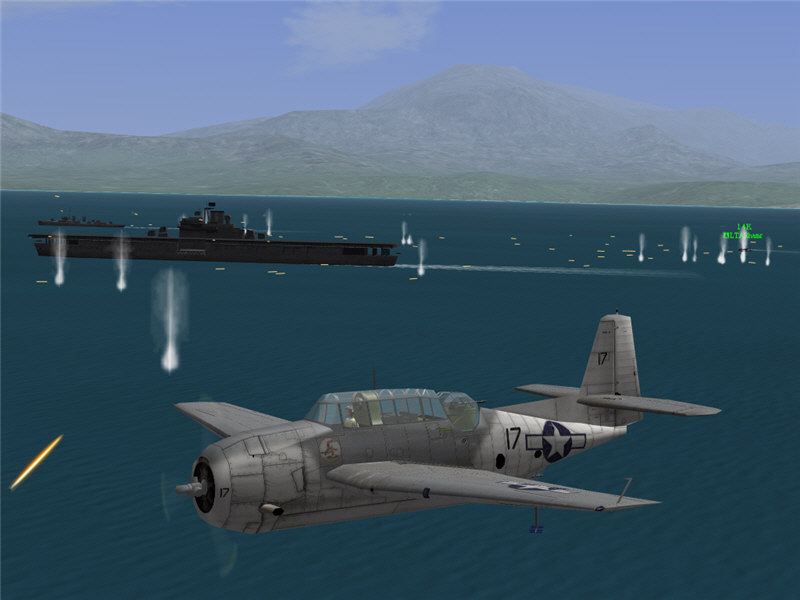
I see the enemy carrier, on fire off the coast of New Guinea. The area looks clear of CAP, and I ask for KKEN's flight to take the north side, while pope14 and I take the south side. t=2:48
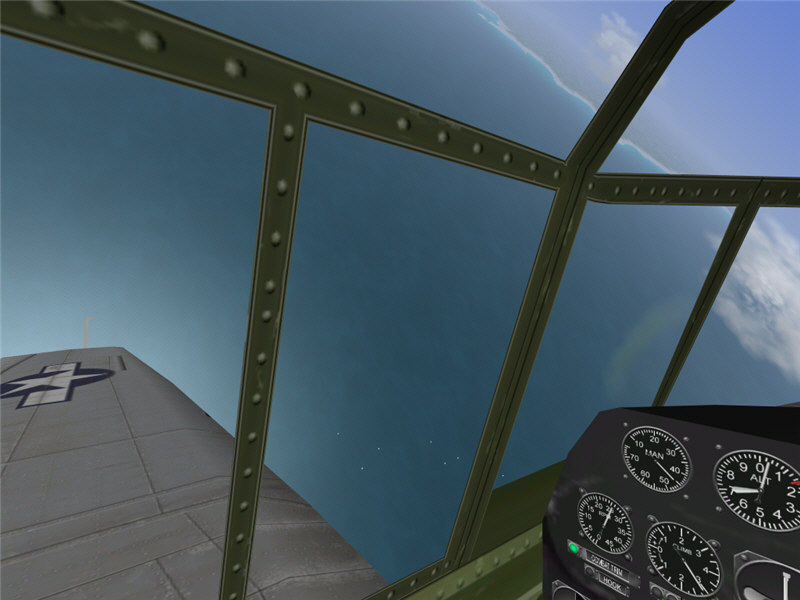
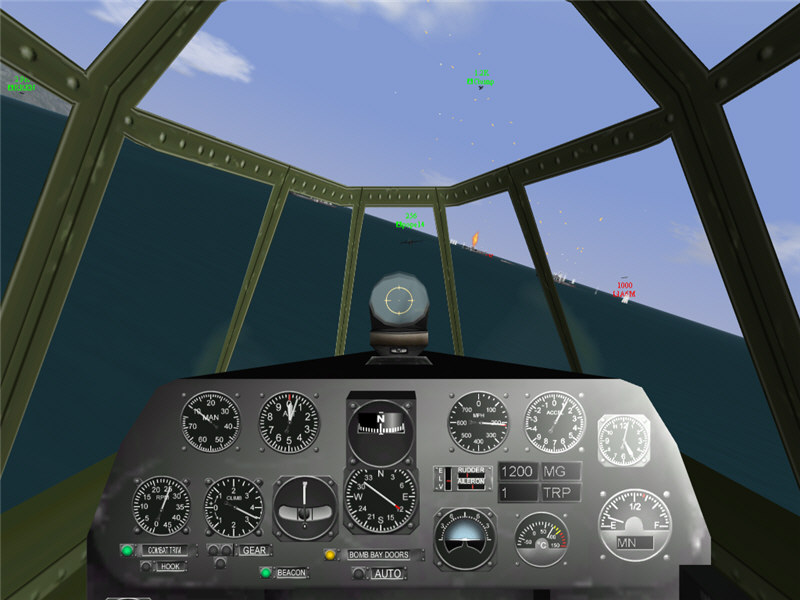
A view forward left out of my cockpit toward the enemy task group. The carrier is down there with its escorting cruiser and destroyers, which were probably worked over by our attacking fleet. However, there is another task group very near it, which has another cruiser in it, which might be fresh. A fresh cruiser will have possibly manned ack, which is deadly to torpedo bombers. I'm trying to pick out what my path will be. Also, there is a Zero coming up from the carrier. I call it out on the radio. This time, VT-2 has some escorting F4F's. t=2:49
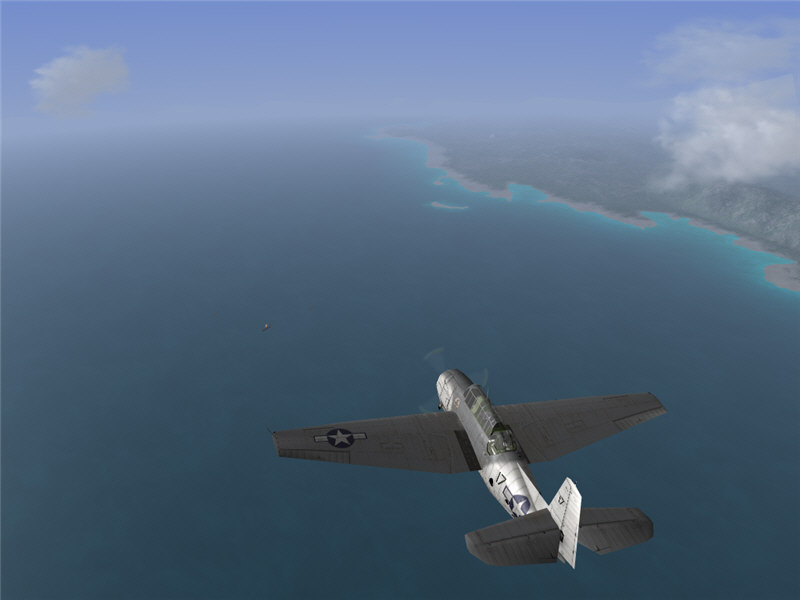
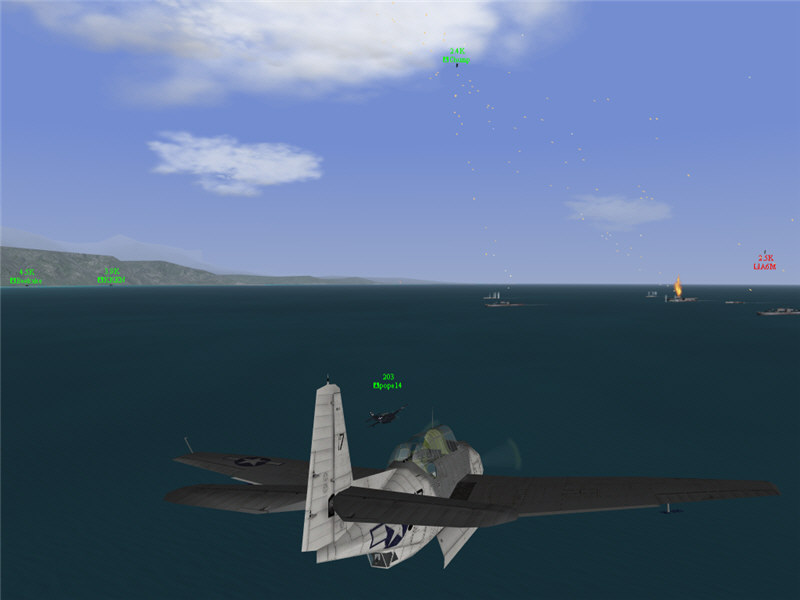
I roll over and start my dive in. Some Wildcats are down there getting on the Zero. From left to right: TwinTail, VANDALS, Snibbo, and trotter. t=1:50
Bay doors open, I turn in toward the enemy carrier. I have picked to come in in front of the left cruiser, from about 45 degrees to the carrier. I figure that will give me the best mix of separation from the cruiser and good angle on the carrier. t=1:50
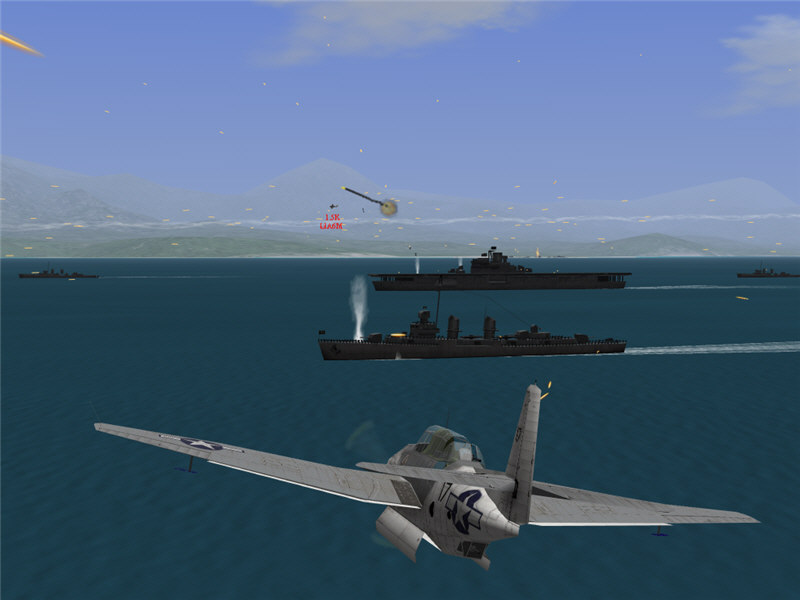
VT-2 is on its run. KKEN and Beefcake are approaching from the carrier's right as pope14 and I bore in from the carrier's forward left. I'm down near the surface of the water at about 150 mph. There is a Zero up from the carrier, though. I'm calling it out on the radio, hoping some of the fighter guys can get in here, and one of the Wildcat pilots is explaining to me that it's not much of a threat as the Zero has been timid. Nevertheless, the Zero turns and heads right at me. In concentrating on avoiding the headon attack, I actually hit the water without him ever firing a shot on me. &^%$!!! I am extremely upset with myself. I even mentioned to VT-2 to be careful of the new look of the water (post new version of AH) as it is harder to tell how close it is. Damn, damn, damn. I listen on the radio as VT-2 puts a couple of torpedo hits on the carrier, and it goes down. There are several VT-2 pilots who then retarget for the carriers's cruiser and put torpedoes into it (but it's much less damaged than the carrier and doesn't go down). Way to go, VT-2 (except for me)! t=2:51
A view out of my cockpit right before I hit the water while concentrating on avoiding the Zero coming at me. t=2:51
I joined KKEN as his gunner on the long flight back to base. VT-2 headed for base a4 in Australia rather than heading back to the Lexington. It was about 20 miles closer, and it was getting tight to be back in time. It was dark by the time we got near base.
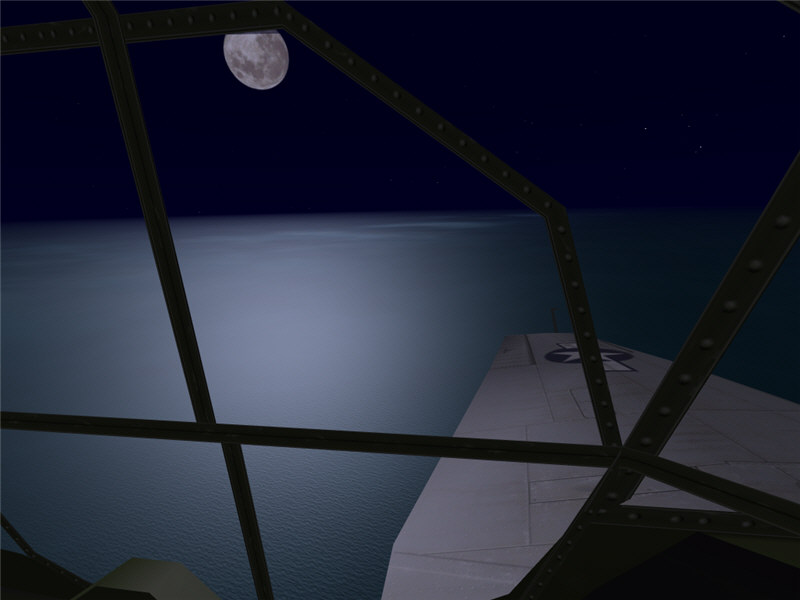
A view out the left of the plane at the beautiful moonlit water. t=3:26
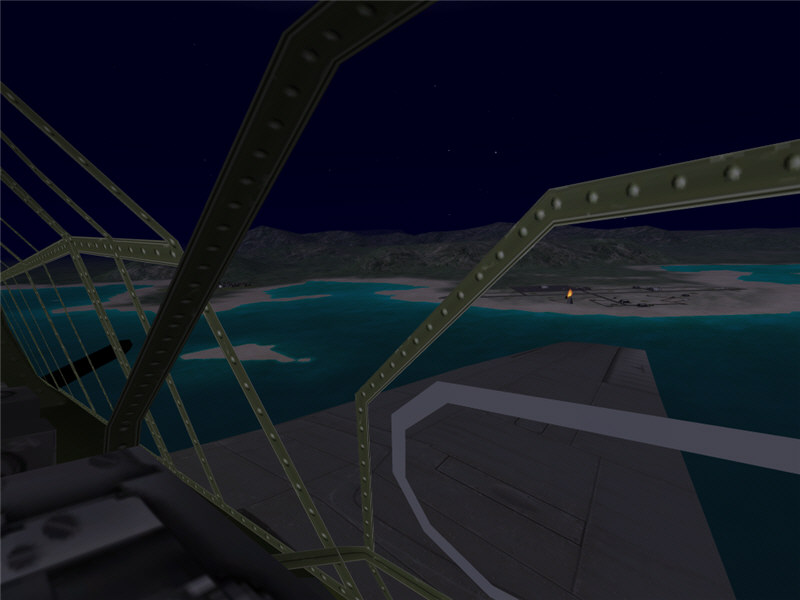
A view out the right of the plane at the base, the beautiful sholes, the water, and the night sky. t=3:27
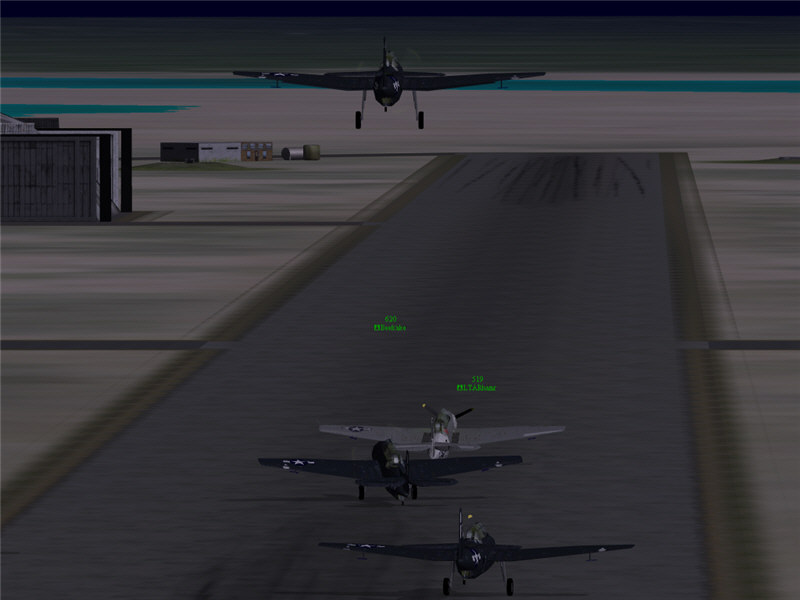
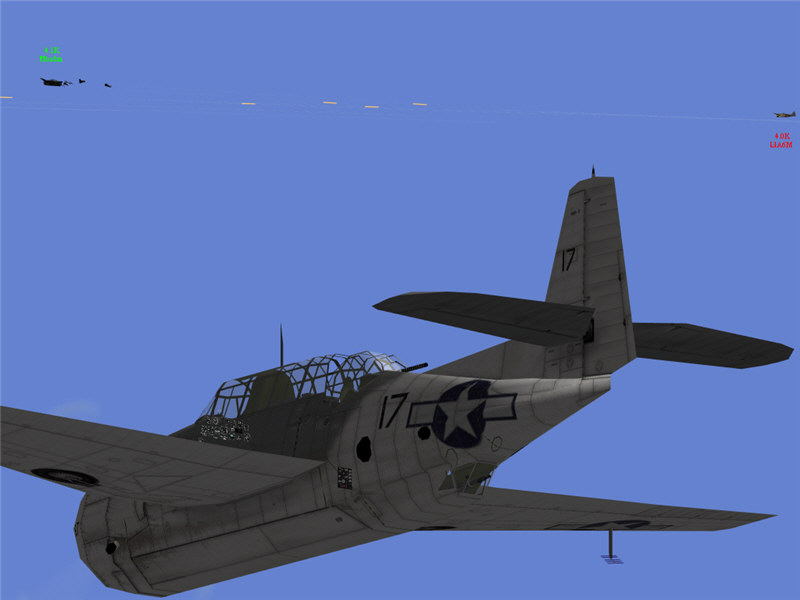
VT-2 landed and landing at a4. From top to bottom: Dipsy, KKEN, Beefcake, and LTARhamr. t=3:28
I got a torpedo hit on one carrier and died three times, not making it back to base.
VT-2 did well. It helped to sink two carriers (getting the final hits on one of them) and put some torpedoes into a cruiser.
-- Brooke, GL, VT-2