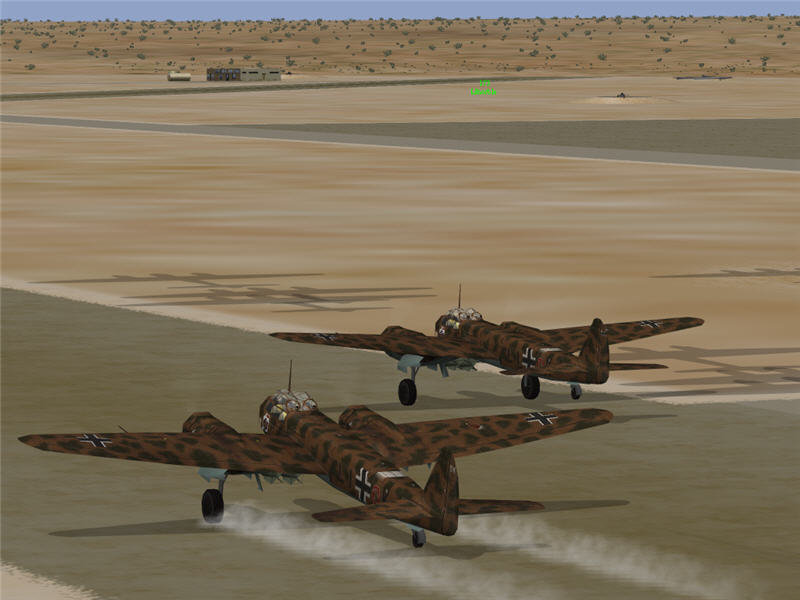
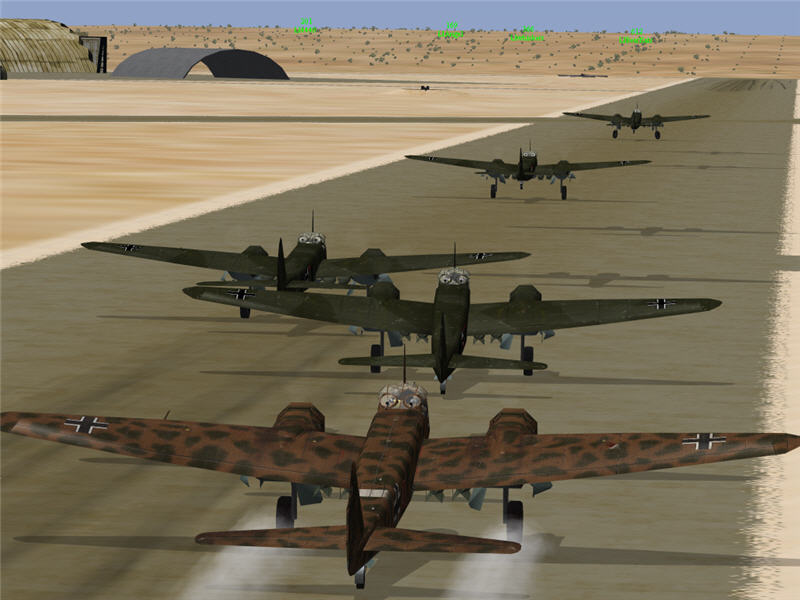
horble and I rumbling down the runway at Sfax (a64) in our Ju 88A-4's. We have four 500 kg bombs external, twenty 50 kg bombs internal, and 50% fuel. LG 1's mission is to destroy allied supply ships heading for Tripoli. t=0:00
After-Action Report
4/25/2009
by Brooke, pilot, I/LG 1
This was a scenario that ran in the multiplayer on-line air-combat simulation Aces High.
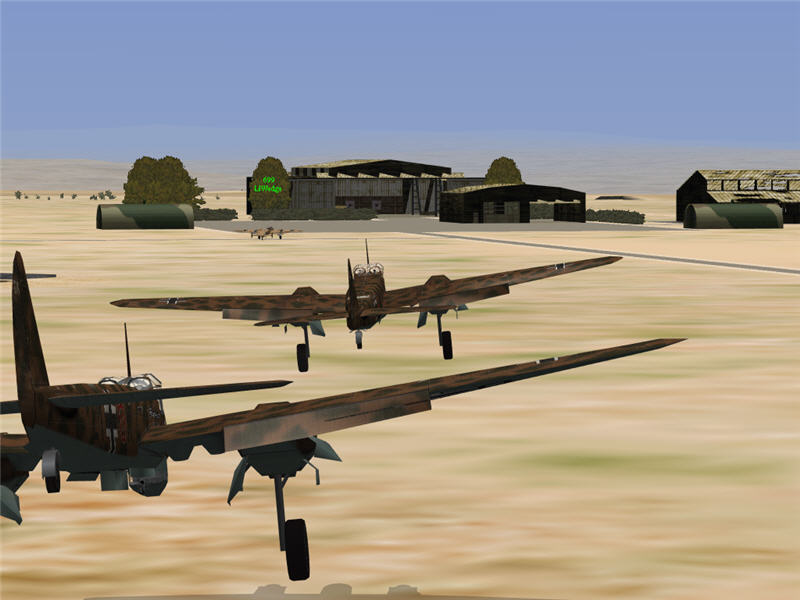
I was a pilot in I/LG 1, a squadron of Ju 88A-4 bombers. Today, I/LG 1 and III/LG 1 were flying together. The groups consisted of JVnotch (Group Leader), me (Brooke), JVZilla, Flossy, Hornet79, whiskers, jvshort, dtis30, horble, Angel, and SKColt.
horble and I rumbling down the runway at Sfax (a64) in our Ju 88A-4's. We have four 500 kg bombs external, twenty 50 kg bombs internal, and 50% fuel. LG 1's mission is to destroy allied supply ships heading for Tripoli. t=0:00
Shortly after takeoff, our escort joins up with us, and we have forward sweeps on this mission as well, going after the allied airfields at Ra's Adjir (v53) and Sabratah (a22).
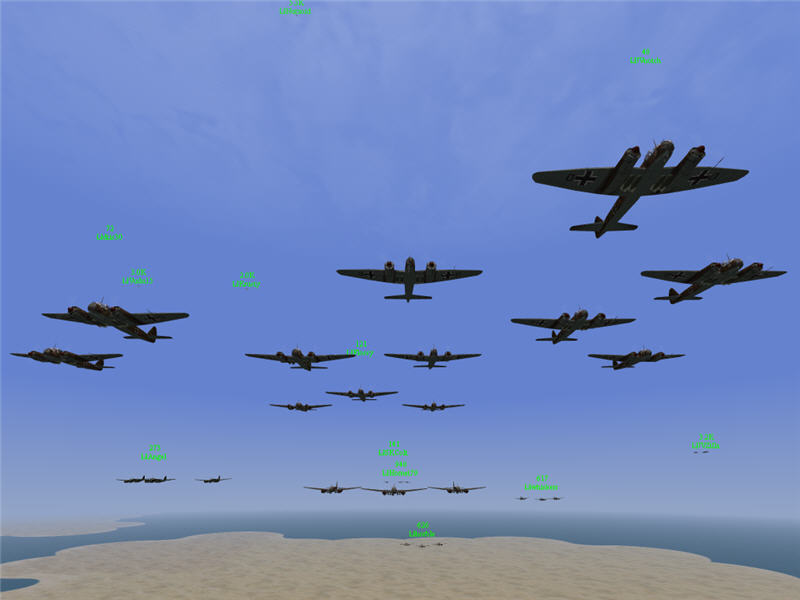
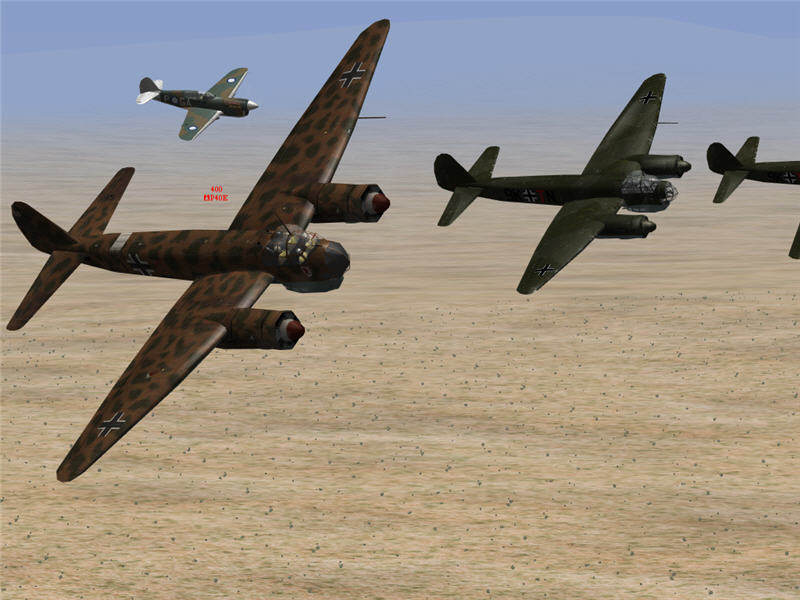
A picture of LG 1 as we overfly the islands just east of Sfax (a64). Here, we overfly a fight between our fighters and several allied Spitfires. Our fighters shoot down the Spitfires, but I am anticipating that the allies have seen our bomber formation, noticed that it probably contains all of our bombers, and were able to get out a radio report. From left to right in the picture: dtis30; Vudu15 (escort), Angel, Krusty (escort), Nutzoid (escort), Flossy, SKColt, Hornet79, horble, whiskers, JVnotch, me, and JVZilla. t=0:15
We fly for quite a distance, looking for the allied ships. I am happy that allied fighters did not find and swarm us. We get to a position out to sea, north of Tripoli. Since we still haven't seen the ships, JVnotch calls for LG 1 to split into two groups, one lead by JVnotch and the other lead by whiskers.

A picture left out of my cockpit as JVnotch's group turns to the north. I am in whiskers' group, and we contine east. In the picture: JVnotch, dtis30, and (below to my left) Angel. t=0:43
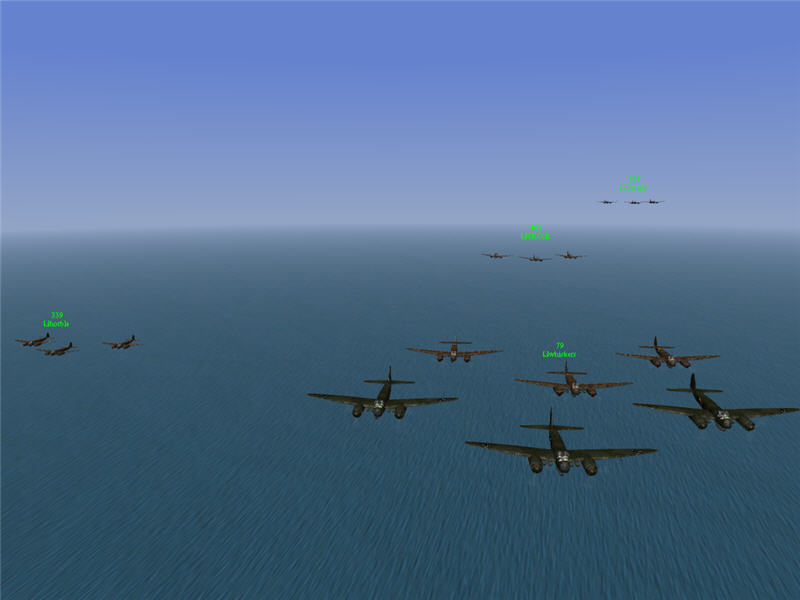
A picture of whiskers' group. From left to right: horble, whiskers, me, SKColt, and Flossy.
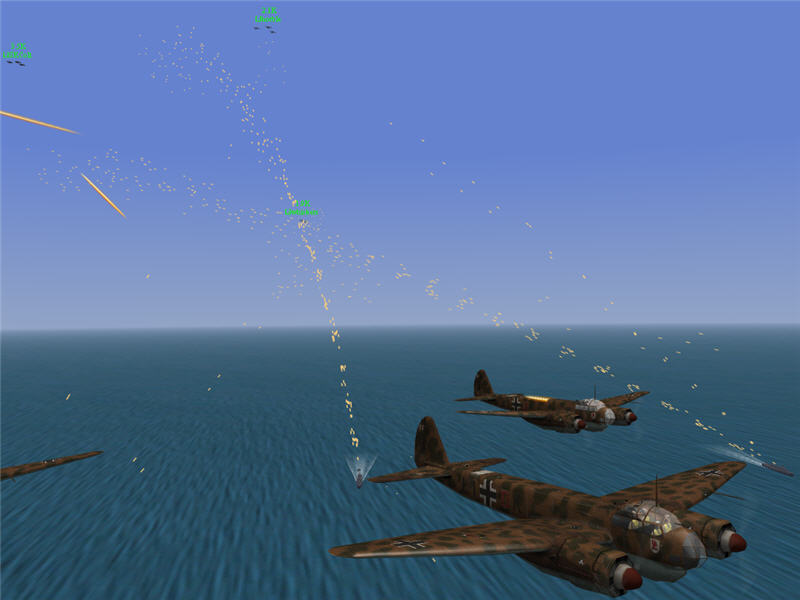
A view forward and zoomed in as I spot ships ahead (bottom middle of picture). We call it out on the radio and go in to attack. We are at 4000 ft altitude, to give some protection against the antiaircraft fire. I am just behind and under whiskers. t=0:47
As I approach the ships, they turn straight into me. "Ah, crap," I think, as that makes lining up especially hard -- the ship can break left or right as I drop, and my bombs will miss. If it turns to avoid my bombs, bombardiers behind me will not have the same trouble, but that is little help to me! Fortunately, just before I am about to drop, I see the ship start turning right, and now I can pick a direction and lead it.
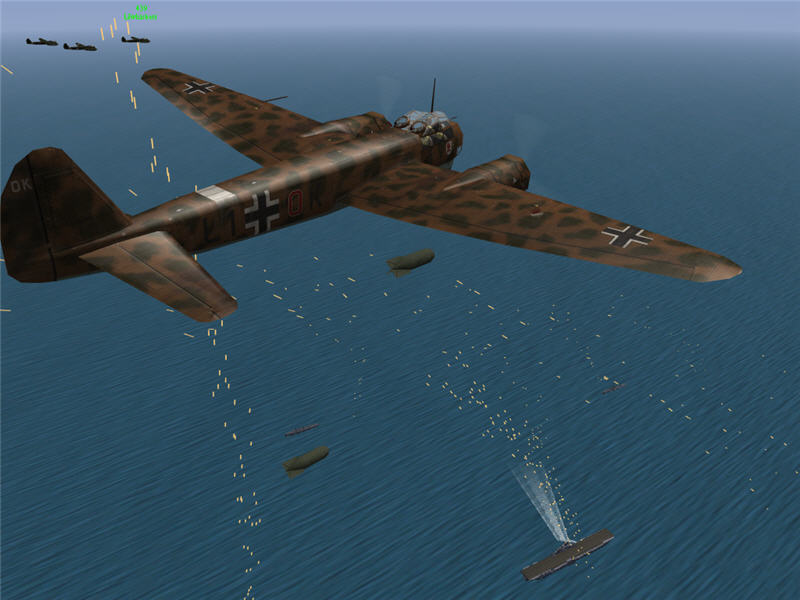
Bombs away on the CV! Ack is firing up at me and whiskers (who is off to my left). t=0:49
My 500 kg bombs rain down, and I see explosions all over, from bow to stern! The ship doesn't immediately go down, but within a few seconds of my bombs hitting, someone else's bombs hit as well, and the ship settles at the bow and goes down quickly. Scratch one CV! t=0:49
Meanwhile, JVnotch's group has found a second task group, has attacked, and has sunk its CV. Now, we search around for the remaining supply task group. We travel for quite some time east, then south and back west, back across the sea north of Tripoli. We don't find it, and we are getting desperately low on fuel, so we go back to attack the DD's in the task groups. JVnotch's group is first back into one of the task groups and reports raking over many DD's. whiskers' group goes for what we hope is the same group they attacked. One pilot called out that he heavily hit the forward, right DD. Once whiskers' group gets to the task group, I dive down to 1000 ft (now that the CV and its powerful ack are dead), and line up on the forward, right DD.
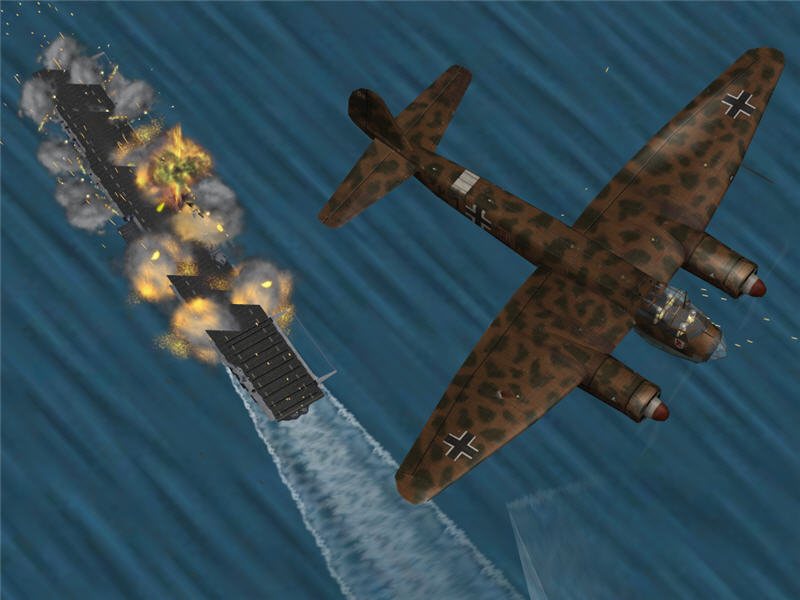
Bombs away on the DD. t=1:15
My bombs hit, and the whole topside of the ship erupts in explosions and flame, but unfortunately the ship doesn't go down. t=1:16
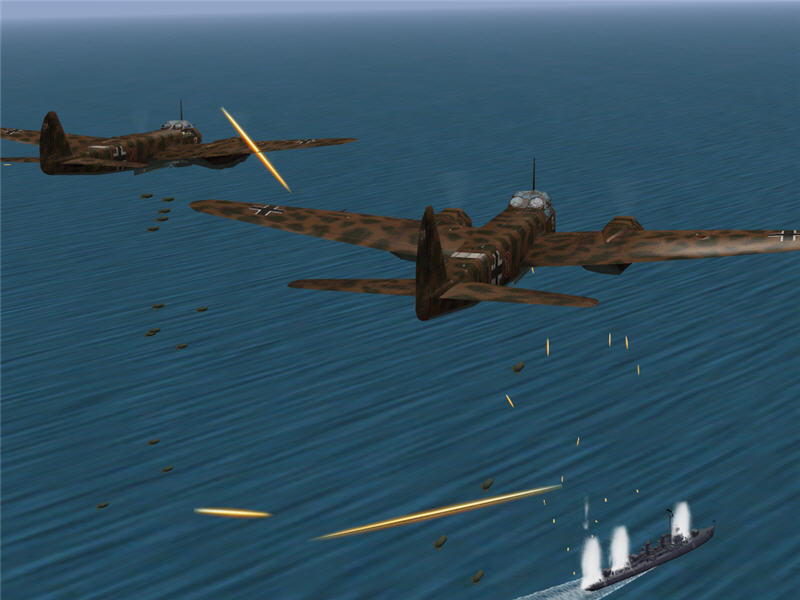
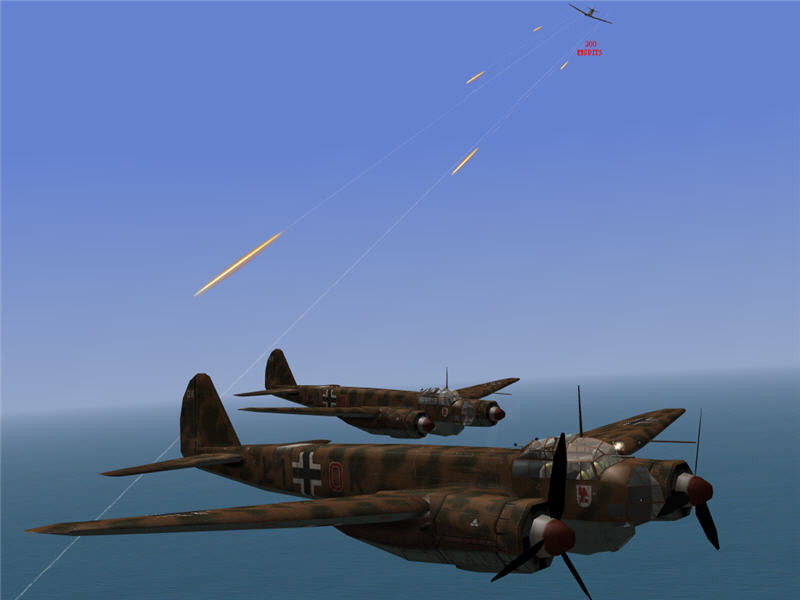
A picture as I leave the area. Ack is shooting up at whiskers and, as he comes in for his run, SKColt. I think that this must not be the task group attacked by JVnotch's group. I'm all excited by the bombing run and call out on the radio, "I have heavily hit the forward front ship. Go after the forward front ship if you can." "Forward front!" I meant to say "forward right." D'oh! I look back and see various other DD's plastered as well, but we are hitting all different DD's. Despite solid hits by several people, we sank at most one DD. Alas, we could have put down at least a couple, I think, if we had coordinated our efforts better. I didn't help with my "forward front" foolishness. Well, at least we sank two CV's. t=1:15
Now, unfortunately, we are realizing that we are quite desperately short on fuel. 50% just was not enough gas to cover the scouting. Everyone is turning back to base as soon as he has dropped his last bombs. We don't have the fuel to join back up together -- people are just making their way as best they can. I turn back to base, climb to 5000 ft (for a little better fuel efficiency), then play with my RPM to maximize my range. It still looks like I won't make it. I feather my props and turn off my engine to glide until I get to sea level. Off to my left in the distance, I can see horble and someone else -- whiskers? I can't tell. They are getting attacked by a Spitfire or two. I don't have the fuel to go full throttle to try to get out of the area.
One of the Spitfires comes over my way and attacks me as I glide along at 150 mph. He shoots up one of my engines, and it begins to leak oil. I shoot back. I don't hit him, but he flies off back to go attack the Ju 88's to my left. t=1:24
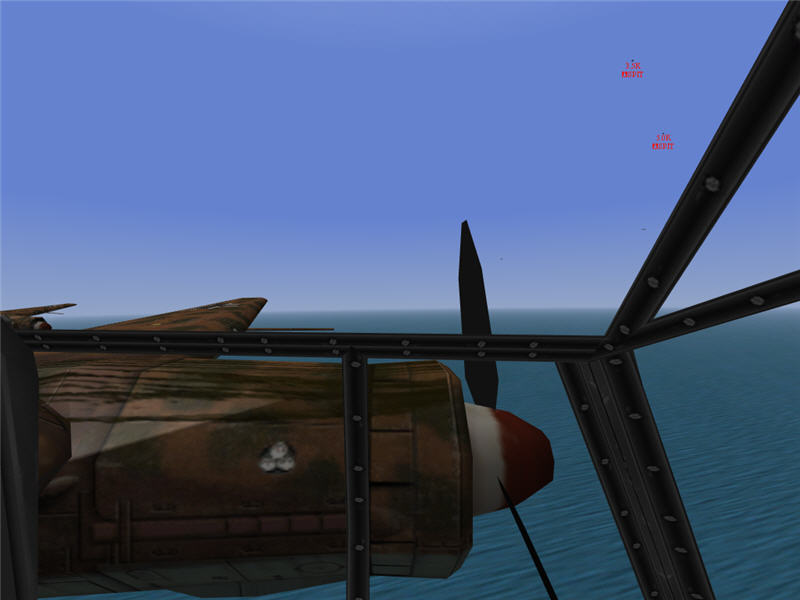
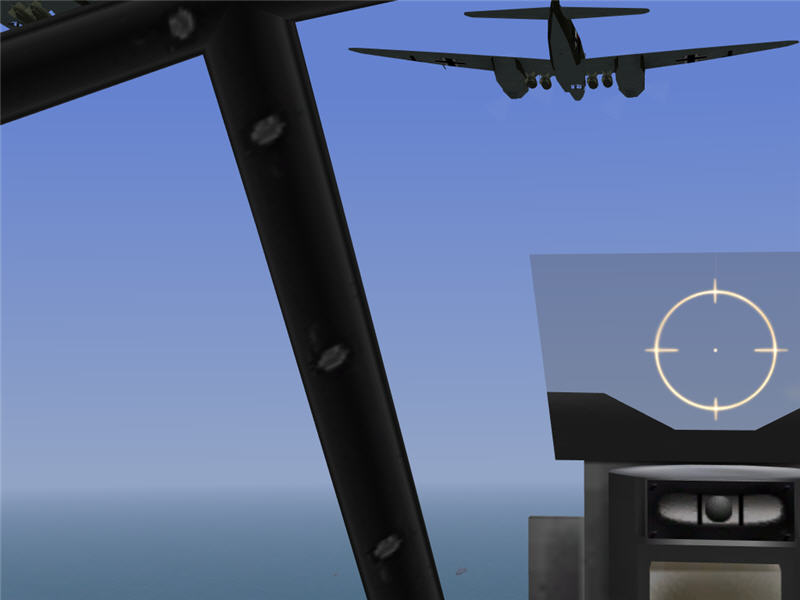
A view left out of my cockpit as the Spitfire goes back to attack the Ju 88's in the distance to my left. I glide down to the deck, then turn my engines on and set the RPM just high enough to keep me in level flight.

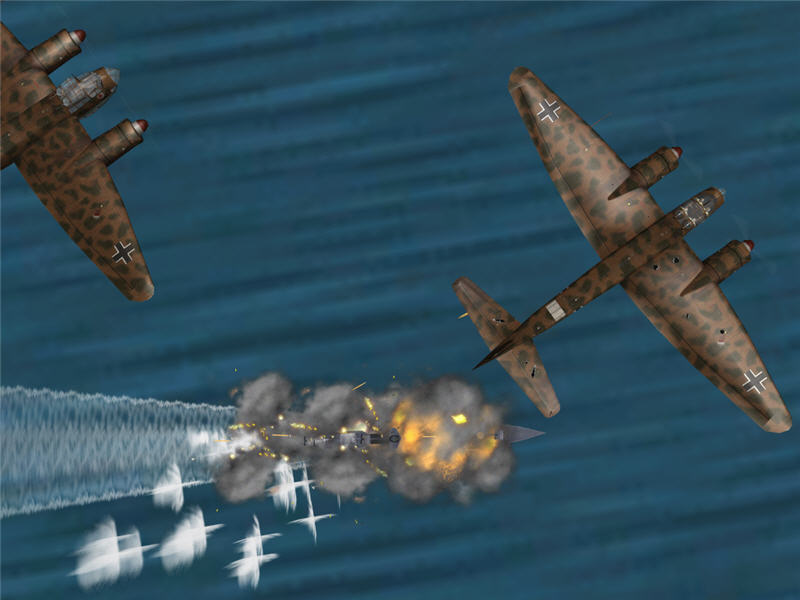
A view left out of my cockpit as one of the Spitfires comes back to attack me after harassing horble. He sets the engine on one of my bombers on fire. At this point, even with my best settings, I've got only minutes of fuel left, and I'm still 50-75 miles from Sfax. There is no hope of getting back, even without the attacking Spitfire. t=1:29
Rather than fight the Spitfire, I decide just to ditch in the water. Note to self: don't scrimp on fuel in bombers -- there is no significant advantage to it and many disadvantages, like having to swim home. t=1:29
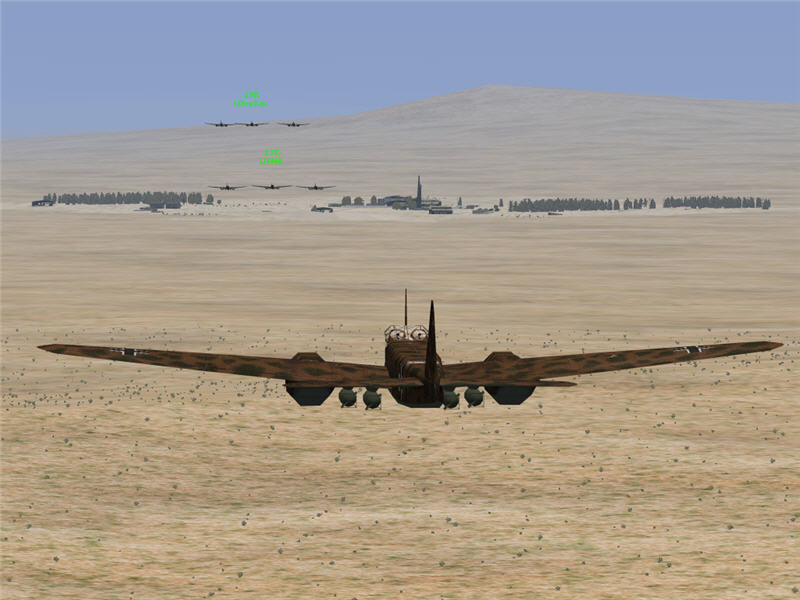
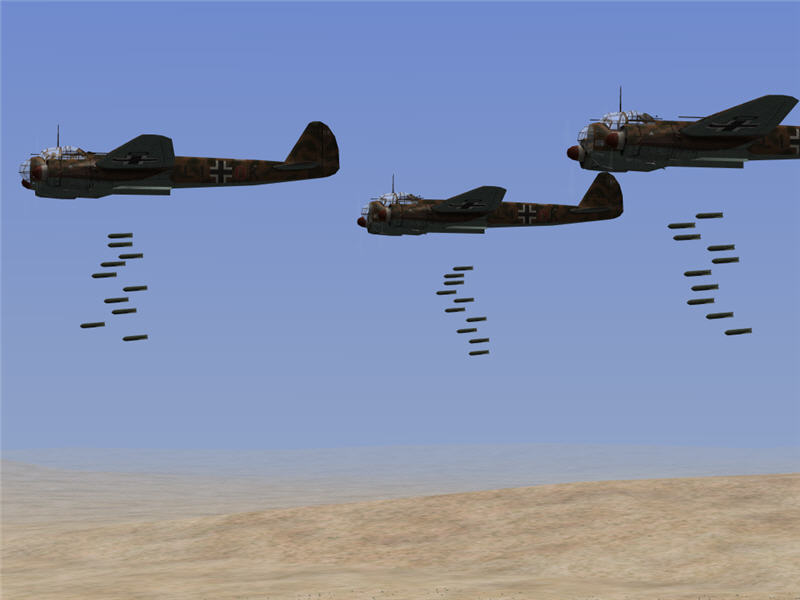
LG 1, now all on our second lives, takes off again from Sfax (a64). Our mission this time is to go hit the vehicle hangars at Faid (v46). This time, our glorious commander, BearKats, is with us in Ju 88's. From front to back: BearKats, whiskers, 4440, Angel, and me. Not shown (behind me) are: jvshort, Fariz (Fariz, what are you doing as a bomber pilot? :) ), JVnotch, Flossy, SKColt, and dtis30. t=1:37
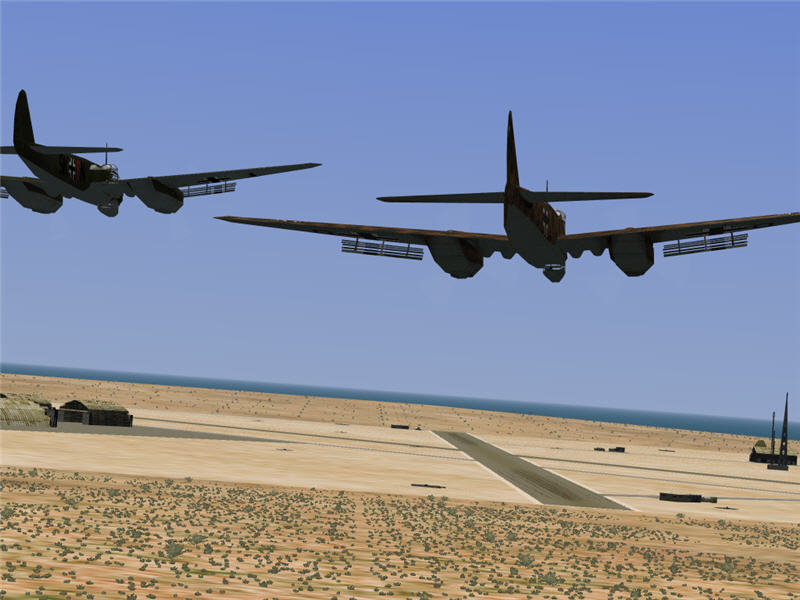
I am following BearKats and 4440, going in to hit the base at Faid (v46). My assignment is the VH near the map room, and I'm going in at 2000 ft (about 1000 ft above ground level). The area looks clear. t=1:51
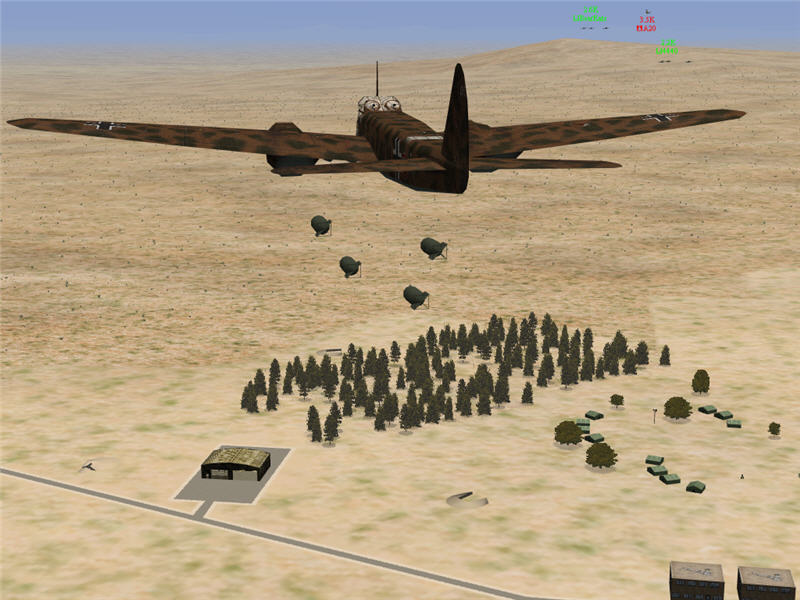
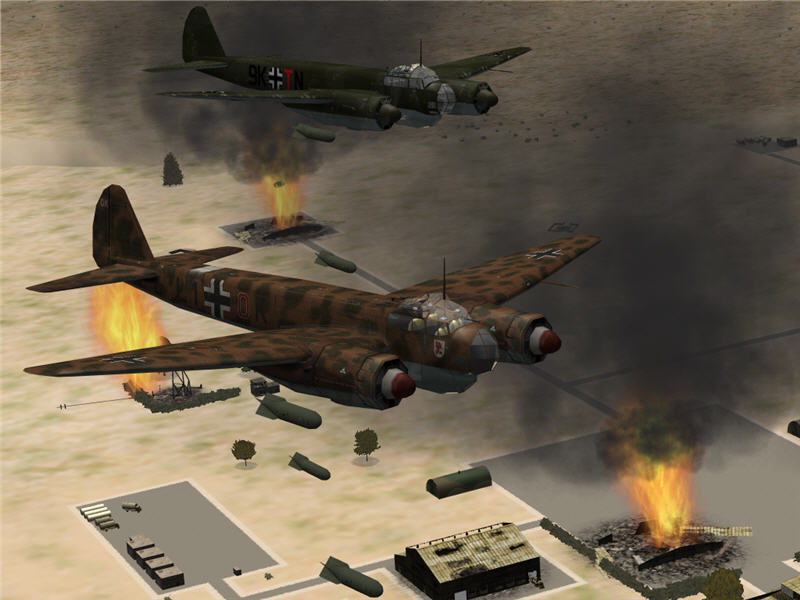
Bombs away on my target. There are some A-20's in the area. One is attacking BearKats and 4440. t=1:52
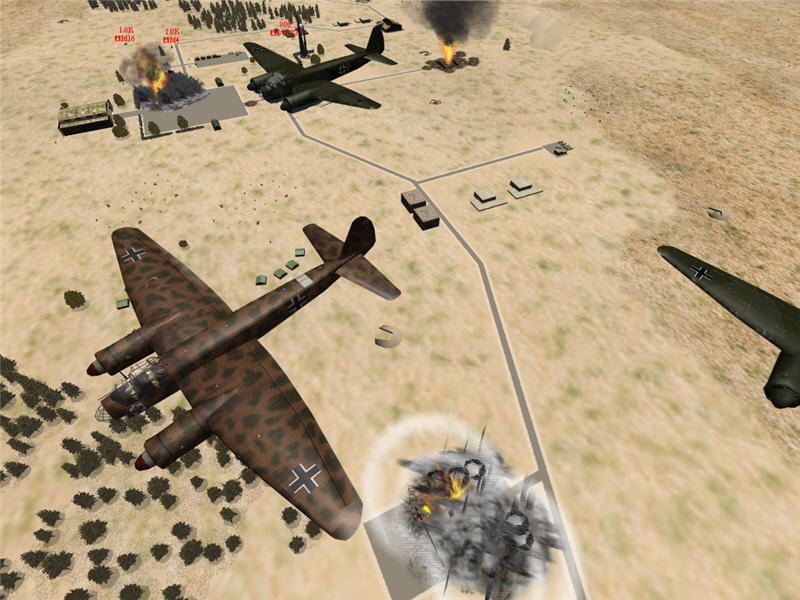
My bombs obliterate the VH. In the upper left, the main-pad VH is just now expoding as well. The other VH is already burning. All three VH's are therefore down. Some enemy tanks and AA vehicles are visible on the base. t=1:52
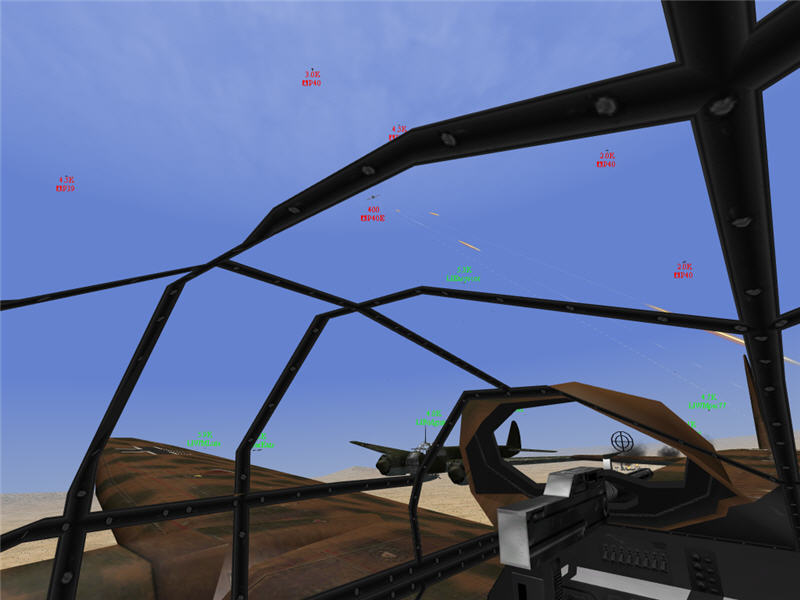
A view right side and up from my gunners position. What looked clear moments ago now is no longer clear. We have Luftwaffe fighters around, but many enemy P-40E's and some P-39D's are racing in (as well as an A-20 or two still around). Here, a P-40E is opening fire on me. The smoke from the destroyed VH's can be seen behind my bombers. In picture from left to right: WMLute, BearKats, fudgums, Easyscor, a couple I can't tell, and WMpac77. t=1:53
I break right, and the P-40E comes racing past. I can see his colors -- an RAAF fighter.
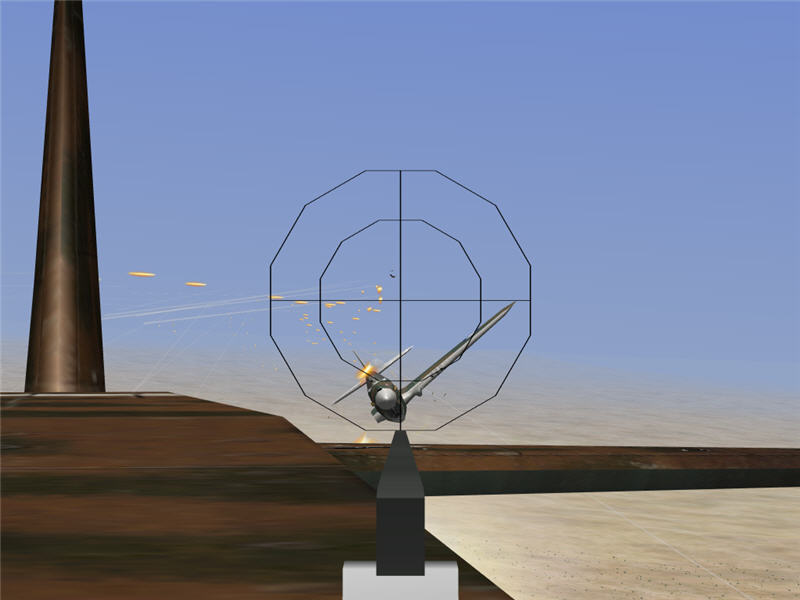
He comes around again, and I jump to my guns. He destroys one of my Ju 88's, but I let him have it and blow off his right wing. t=1:54
After this, Luftwaffe fighters come in and clear the P-40's around me. Thanks, fighters! Some others of LG 1 were shot down and are now done for the day. Of the remaining, command tells us to rearm and go for v46 again.
I race back to Sfax (a64). I come in at high speed, then pop by air brakes once I'm almost on the field. I slow down quickly, then flaps and gear out, and put her down. I go back up with fresh planes and full bombs. t=2:07
I'm up along with whiskers and maybe one other set of Ju 88's about 30 seconds behind a forward group of Ju 88's led by BearKats. The front group takes out the VH's at Faid (v46), so those of us trailing are ordered to attack ground vehicles. As I come in, people give me the location of an enemy tank to go after, approaching the south side of the base.
I line up and drop my 500 kg bombs (all of them) toward the moving Sherman tank, trying my best to lead him. The burning base at Faid is visible in the background. t=2:22
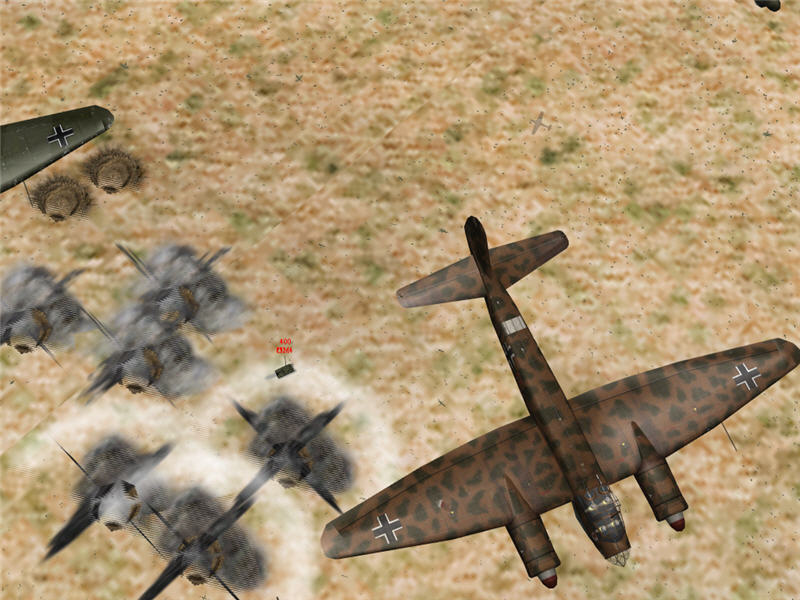
I don't score a direct hit, but my 500 kg bombs bracket closely enough that the tank is destroyed. t=2:22
Folks radio me the location of another enemy tank. I line up and drop a salvo of my 50 kg bombs. t=2:24
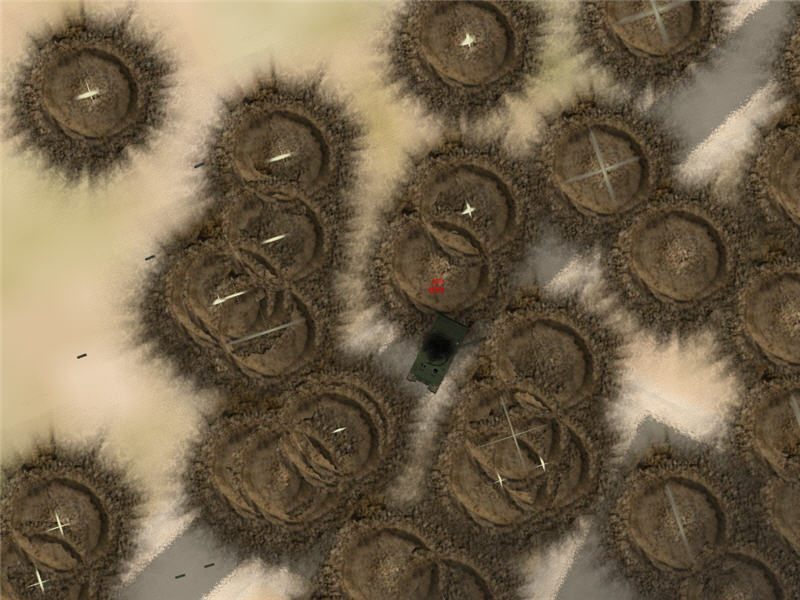
The land around the tank looks like a moonscape, but he survives. My 50 kg bombs were not enough to do him in. I have one more salvo, but it is too late, and I leave to land at a nearby base.
Landing at v105. Wedge in his Bf 110 is on the ground ahead of me. t=2:28
In mission 1, I helped sink a CV, got a bunch of hits on a DD that was not subsequently sunk, and ditched in the sea. In mission 2, I destroyed a VH and shot down a P-40E. In mission 3, I got an assist on the Sherman.
-- Brooke, I/LG 1