Battle of Britain 2008, Frame 3
After-Action Report
11/15/2008
by Brooke, GL, I/JG3
This was a scenario that ran in the multiplayer
on-line air-combat simulation Aces
High.
I was the Group Leader (GL) of I/JG3. I/JG3 consisted of me (Brooke), FlyinFin,
KKEN, Rapier, Gazoom1, Babalon, DaPup, and lowZX14. We were in Bf 109E-4's,
loaded with 100% fuel. Our takeoff field was A47 (Boulogne-Colembert).
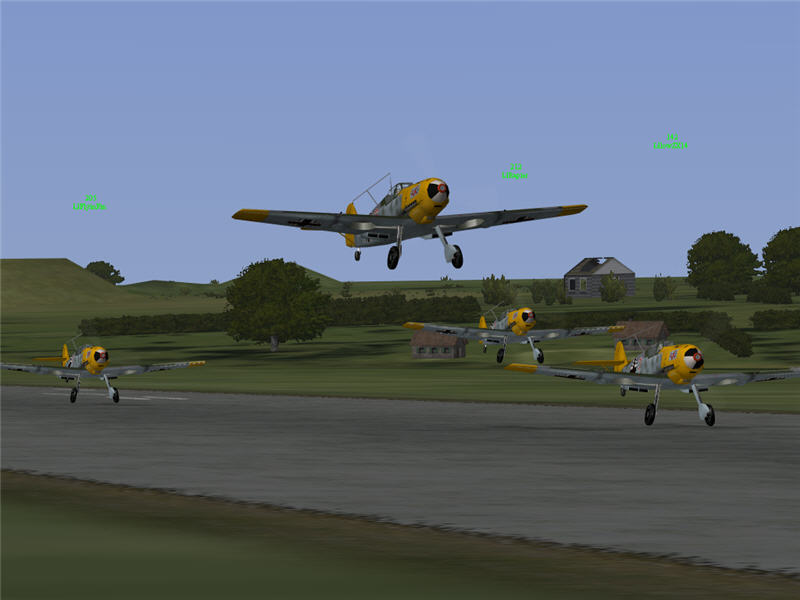
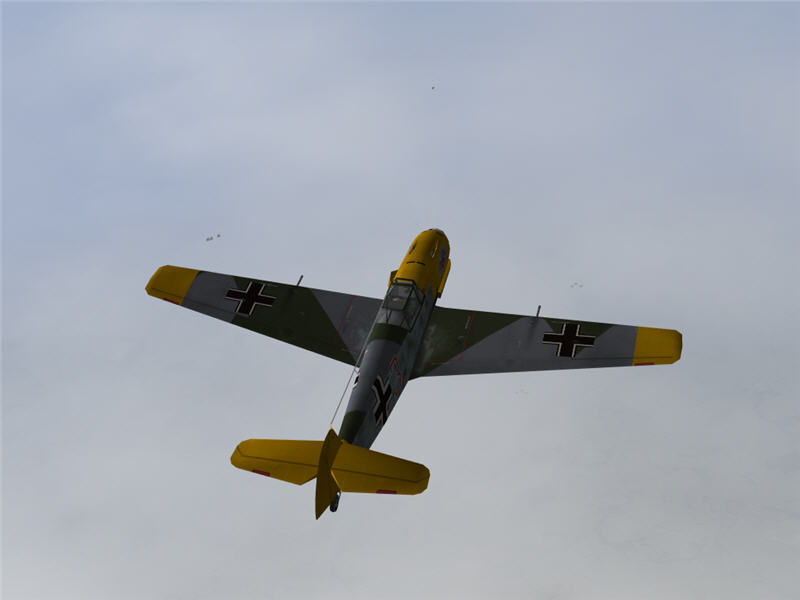
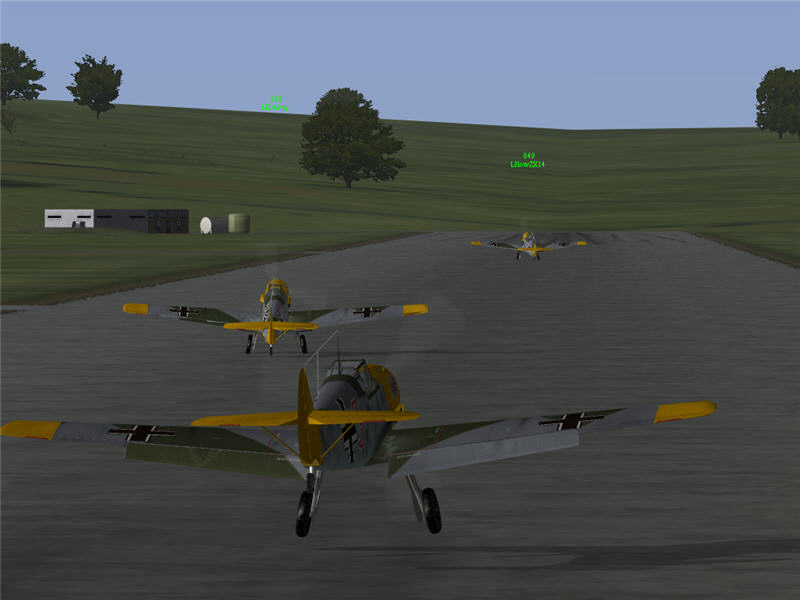
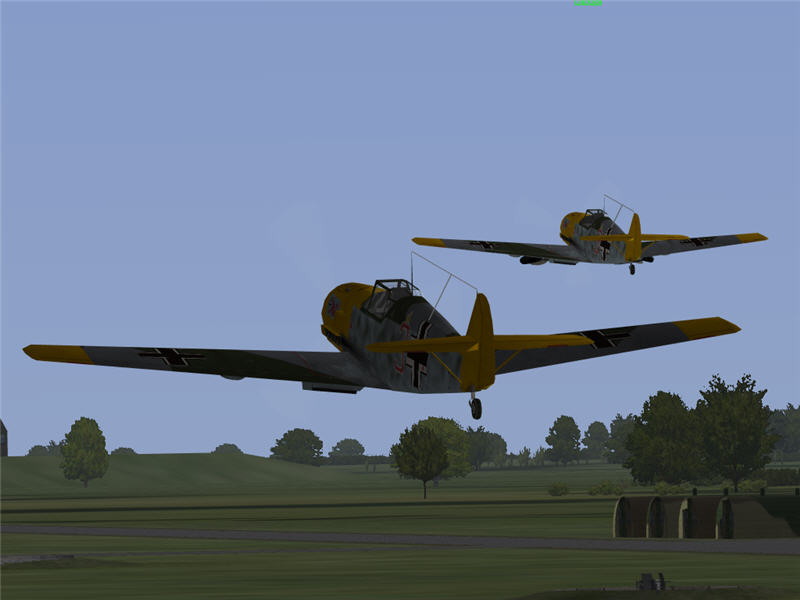
A flight from I/JG3 takes off at our home field of Boulogne-Colembert (A47).
From left to right: FlyinFin, me (Brooke), Rapier, and lowZX14. The other flight
is taking off as well, but is not in the picture. Today, we are to escort I/KG1's
Ju 88's. t=0:00
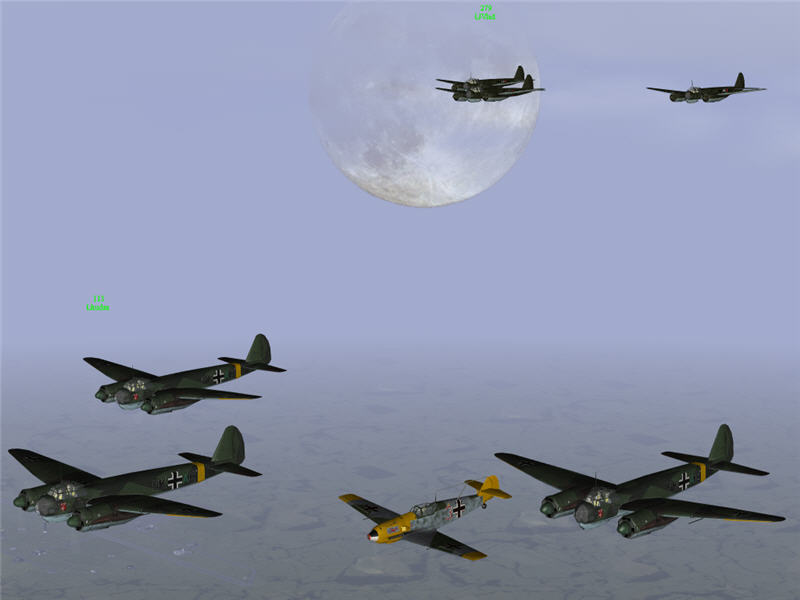
A view forward out of my cockpit as we meet up with I/KG1 (bombers visible to
my lower left). From left to right: the bombers (Beefcake, the GL of I/KG1,
Nutzoid, and gas50), KKEN, lowZX14, Babalon, and DaPup. t=0:12

We cross the cloudy coast of England, with members of another Bf 109 squadron
escorting as well. From left to right: Babalon, lowZX14, FlyinFin, thrila, me,
the bombers, Twizzty, KKEN, and Eagle. I/KG1's target is the fighter hangars
at Malling (A10) and Gravesend (A7). t=0:25
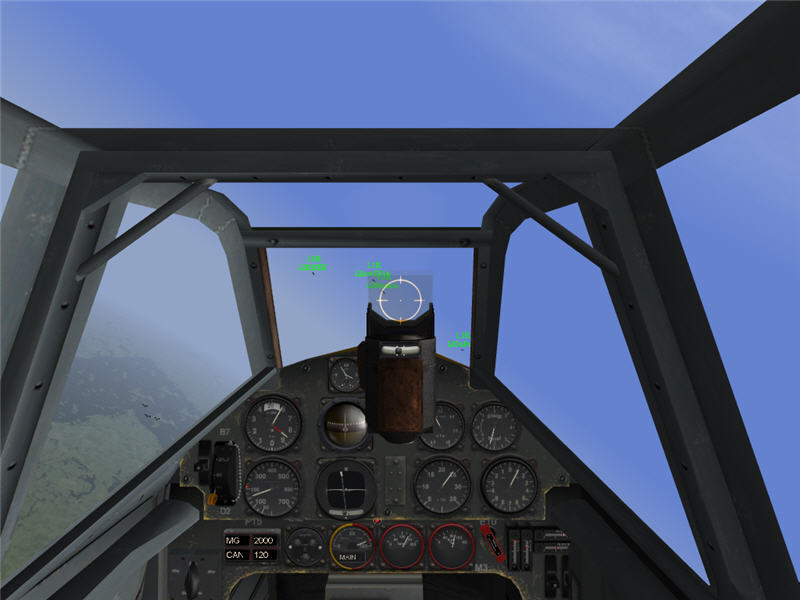
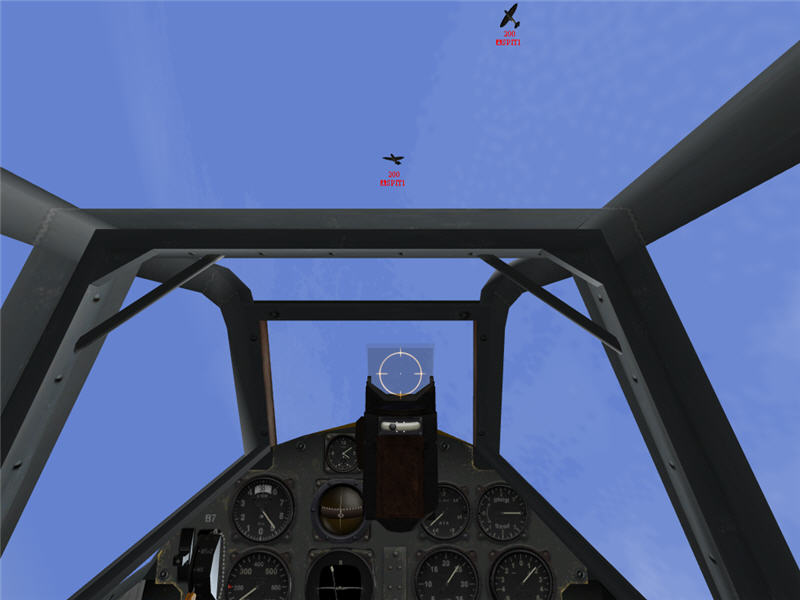
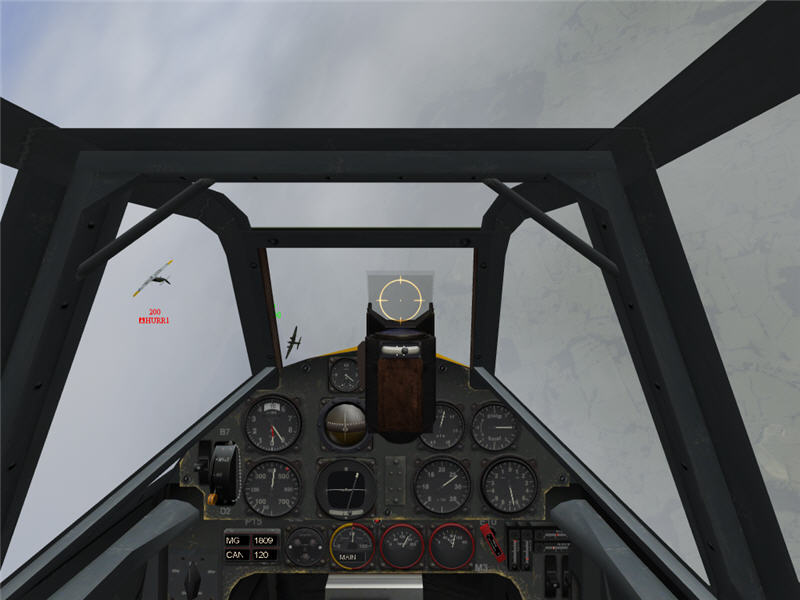
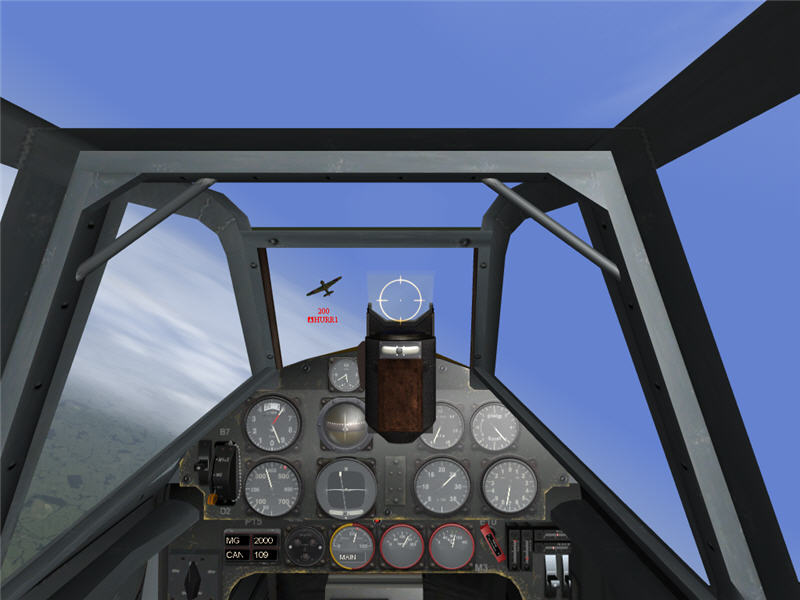
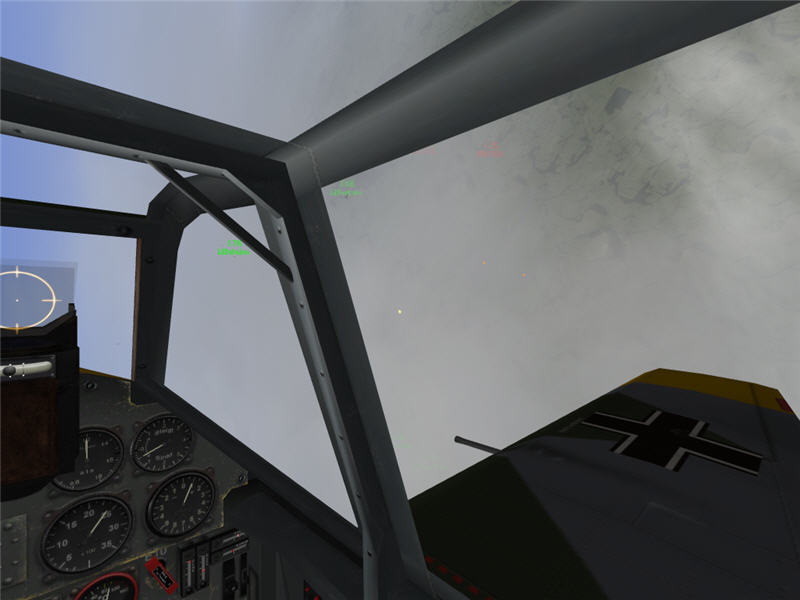
A view out of my cockpit as we cross into England and see bogies ahead. The
bogies are the dots to my forward right.
The bogies are Spitfires, up at 25,000-29,000 ft altitude. Fencer's group of
109's has already tangled with some of them, and others are headed our way.
In the picture from left to right: Fencer, gavagai, me, Hobo, and trotter. t=0:26
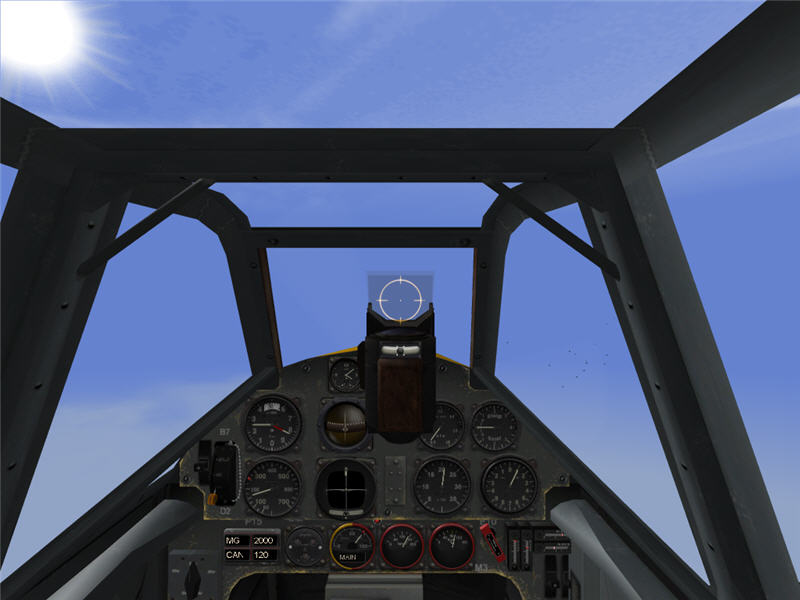
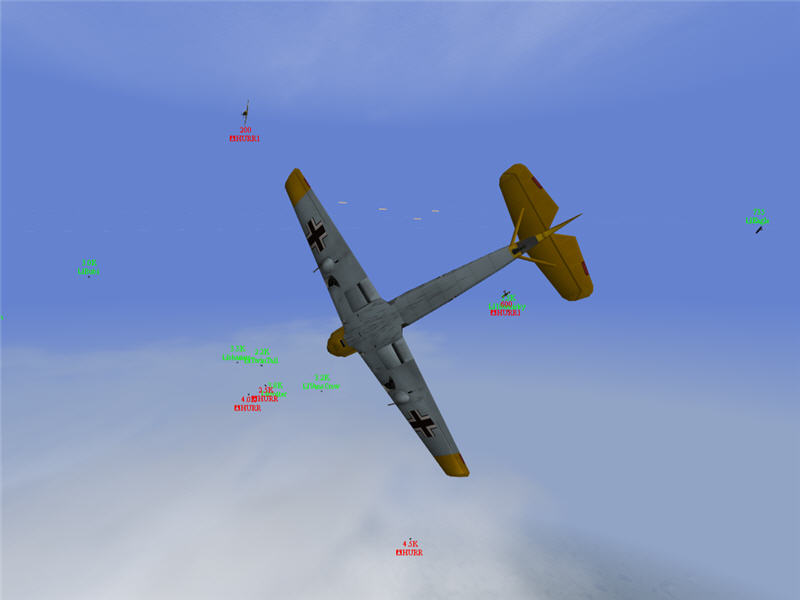
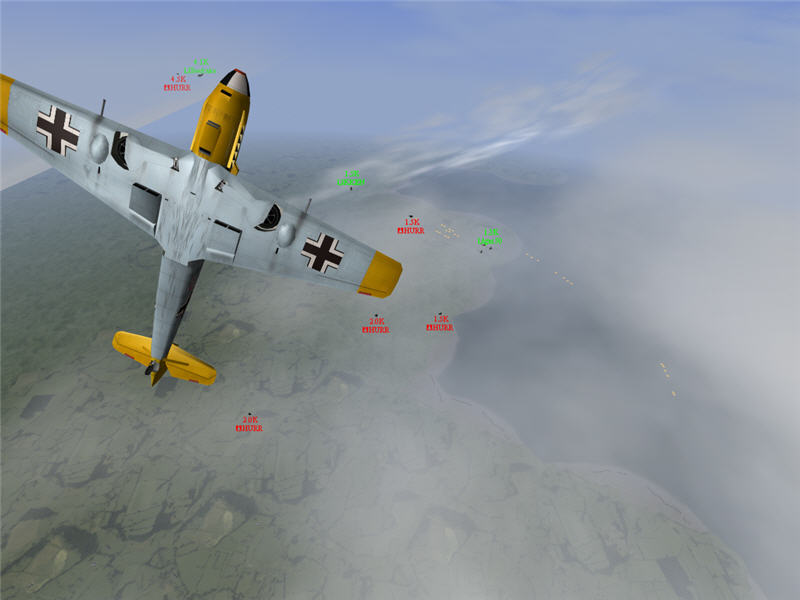
A view out of my cockpit as I go for a pair of Spitfire Mk. I's. I'm chasing
them into a high yo yo, up to 29,000 ft. I'm not quite able to get guns to bear
(as I'm slow and sluggish up here at 29k). However, I'm getting them turning,
and they aren't going for the bombers.
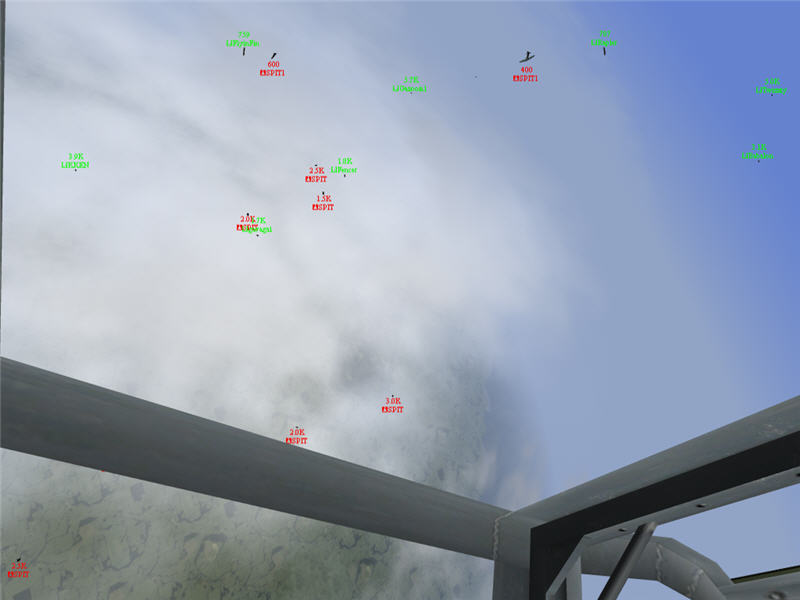
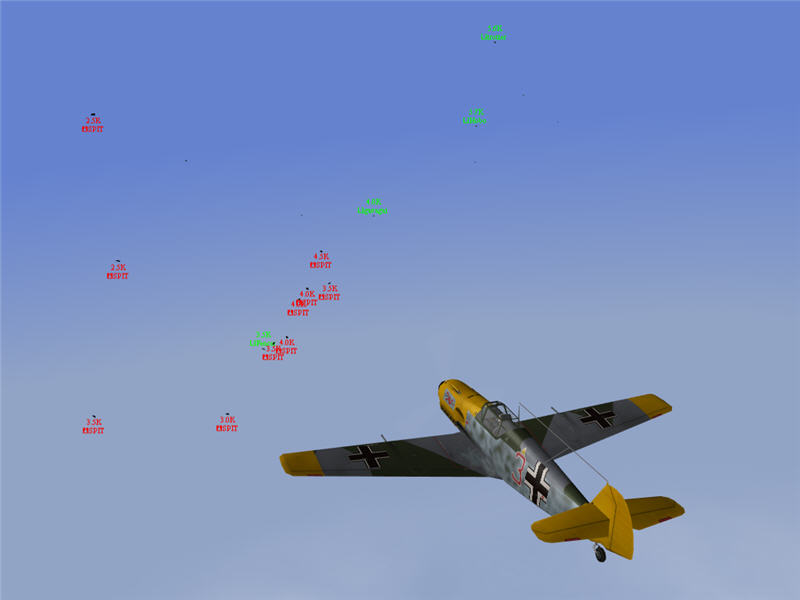
A view (up, forward, and left) out of my cockpit as the battle devolves into
a swirling fight up above 20k. Fencer's group and I/JG3 are in the area mixing
it up perhaps as well as pilots from other squadrons. From left to right: KKEN,
FlyinFIn, gavagai, Fencer, Gazoom1, Rapier, Twizzty, and Babalon.
At this point, I have only done a few circles with Spitfires, but that is enough
for the bombers to get ahead of us. As it is a swirling fight now, with the
Spitfires not going after the bombers and with at least equal odds of LW fighters
to Spitfires (or better), I call for all unengaged fighters to get back to the
bombers before we all get stripped away.
A view back from my cockpit after I have left the fight and am on my way back
to the bombers, with much of I/JG3 doing the same. Visible from left to right:
gavagai, Hobo, Rapier, Eagle, 18whisky, trotter, Viper981, Babalon, DaPup, and
lowZX14. t=0:28
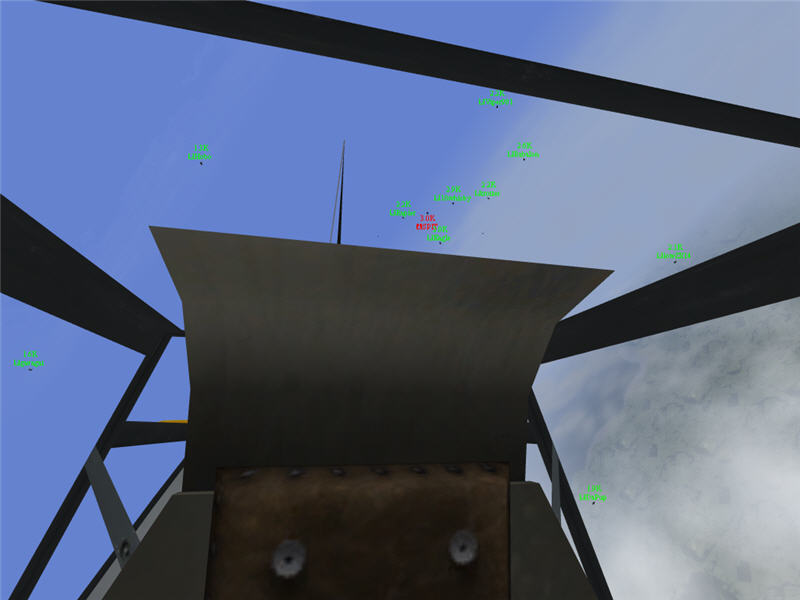
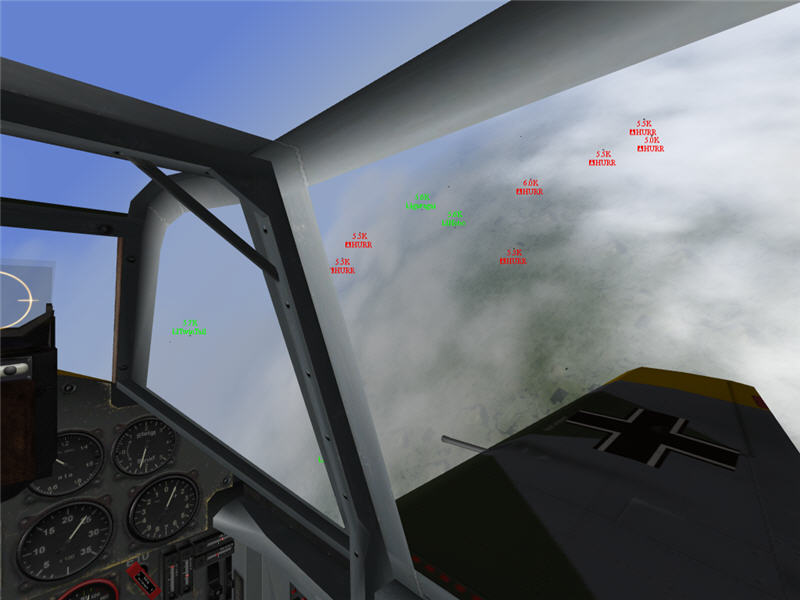
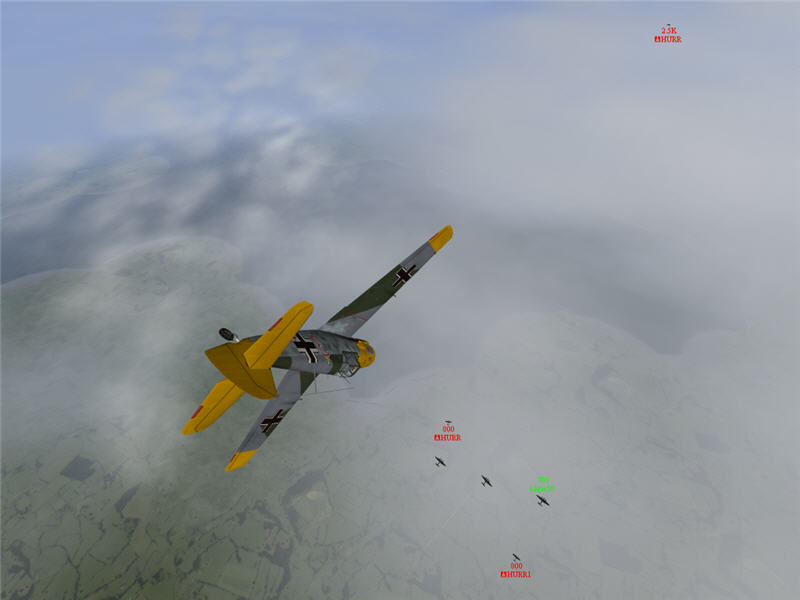
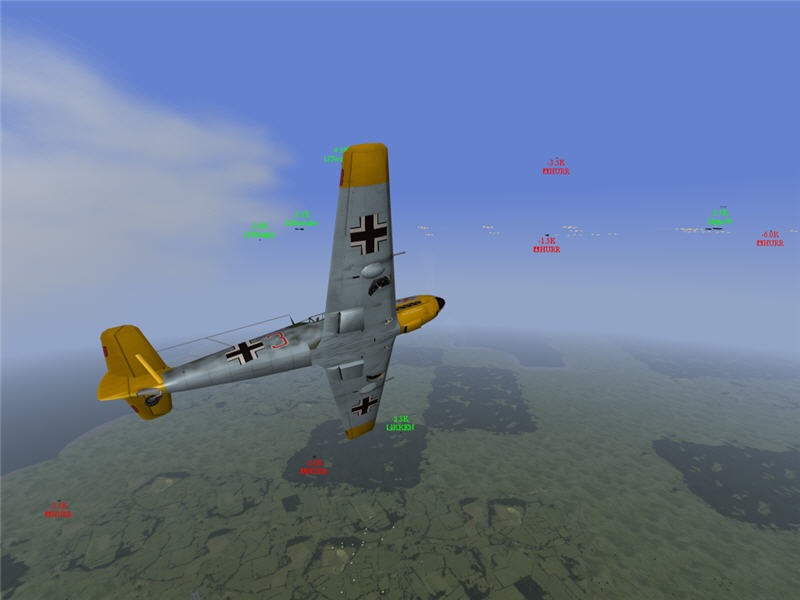
A view looking right from my cockpit as I near the bombers' position. I hear
warnings on the radio and see the first planes of a larger group of high Hurricanes
approaching from the bombers' 4 o'clock. The Hurricanes are working their way
through a LW squadron that was to the right, and some of the pilots that exitted
the previous fight with the Spitfires are heading to intercept. I'm climbing,
as the Hurricanes are reported to be above 25k. Visible from left to right:
Bubi, Hobo, TwinTail, trotter, Viper981, shamus, Twizzty, Fencer, and Gazoom1.
t=0:31
I mix it up with the high Hurricane Mk I's. Some of I/JG3 is over the bombers,
and others of I/JG3 are fighting these Hurricanes. I briefly maneuver around
with some Hurricanes, not landing any hits, but I contribute to them turning
hard instead of making headway to the bombers. They might not even see the bombers
anymore now that they are in this fight. Once I see that they are in a swirling
fight with enough LW fighters to keep it that way, I call for I/JG3 in this
fight to get back to the bombers.
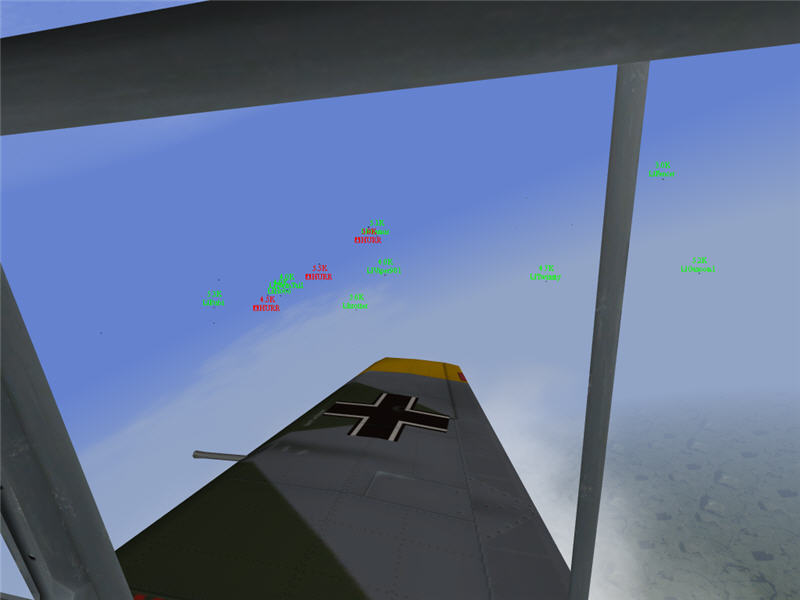
A view forward right from my cockpit as I and several others race to catch up
to the bombers. Another squadron of Hurricanes came in a bit away from and lower
than the high group we just tangled with, and we see them as all of us start
to converge on the bombers' position. Visible from left to right: TwinTail,
gavagai, and Hobo. t=0:32
I dive in. I don't get any hits as the Hurricanes turn hard to get out of my
sights, but I cause the ones I attack to bleed off speed and altitude and to
veer away from their courses to the bombers. We are able to keep the bombers
moderately clear for now, and they drop on their target. Once these Hurricanes
are swirling around at lower speed, I exit the fight and ask for any I/JG3 not
at the bombers to get back to the bombers. Visible from left to right: TwinTail
and Hobo. t=0:33
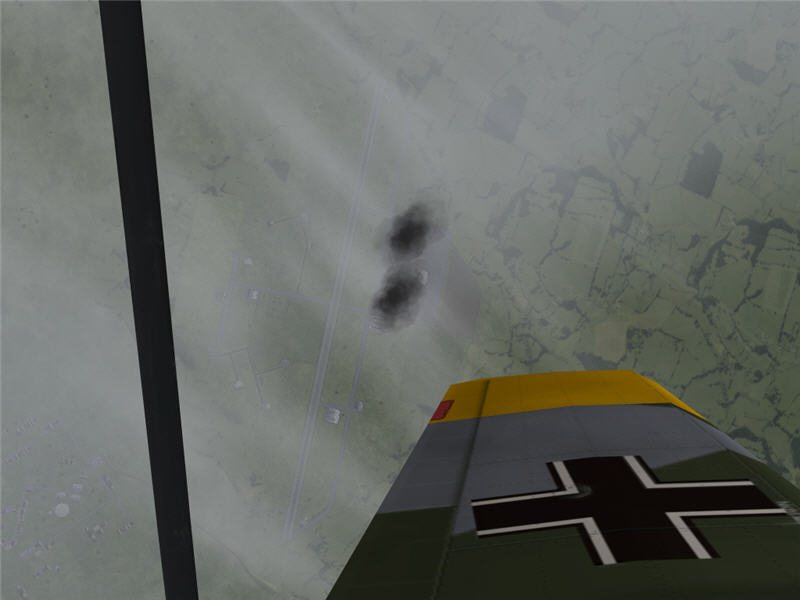
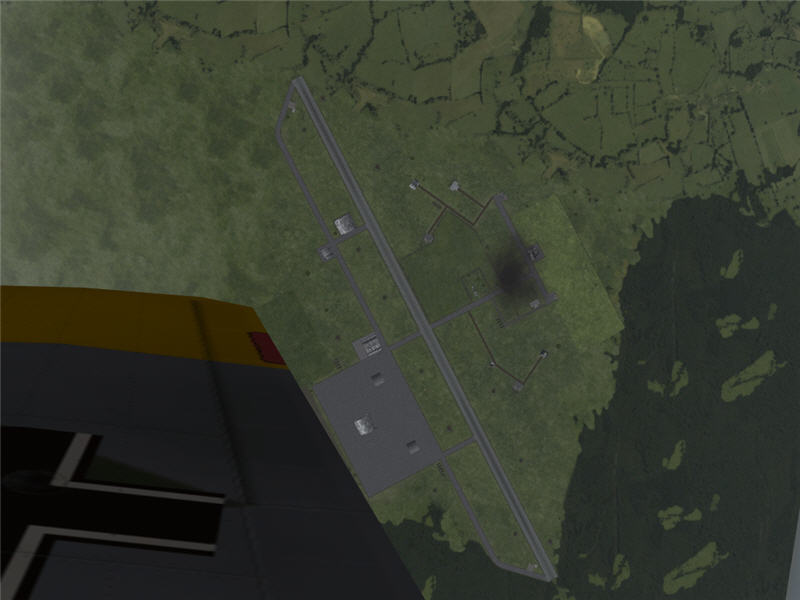
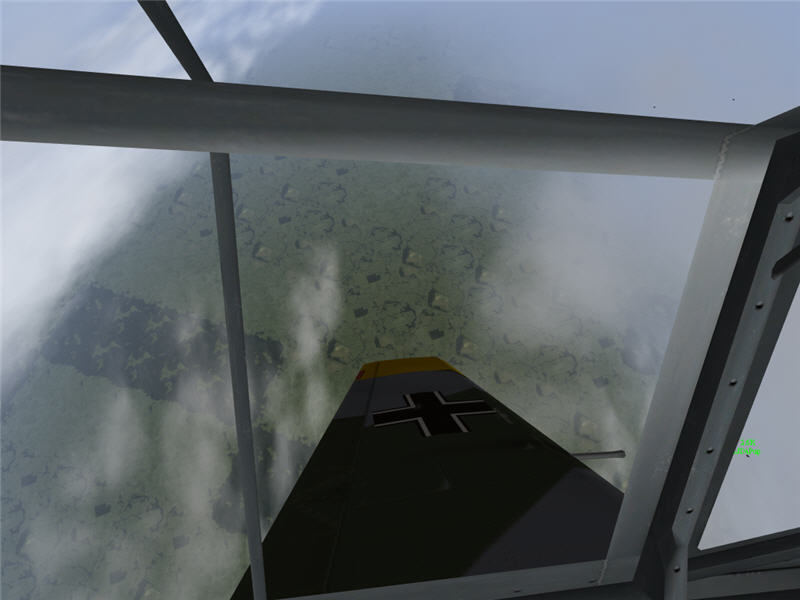
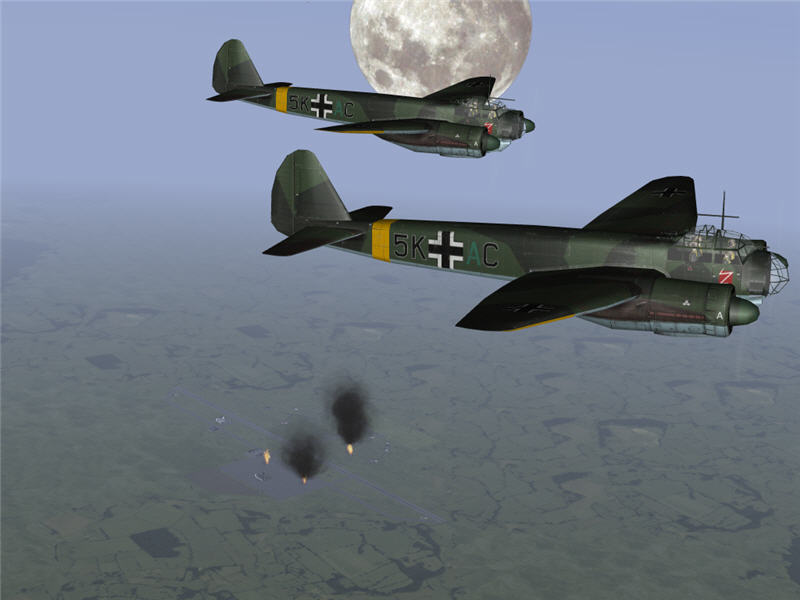
A zoomed-in view left out of my cockpit as, on my way back to the bombers, I
overfly Malling (A10). I/KG1 has knocked out two fighter hangars (the buildings
giving off the black smoke). Now only one fighter hangar remains.
A zoomed-in view right out of my cockpit as, on my way back to the bombers,
I overfly Gravesend (A7). I/KG1 has knocked out a fighter hangar (the building
giving off the black smoke). t=0:36
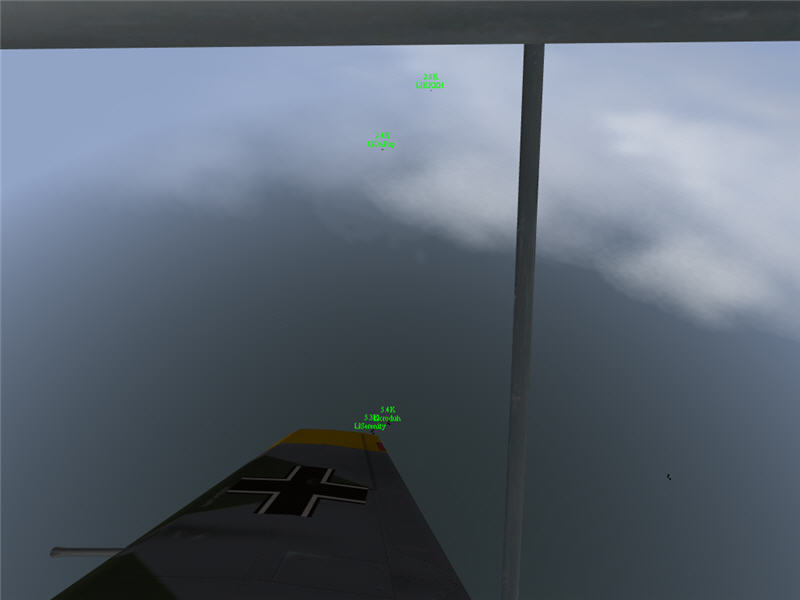
I finally chase down and meet up with the bombers north of Gravesend. I have
called out to them my bomb-damage report at Gravesend and Malling. They are
coming back around for another pass, but are starting to split up, which always
creates anxiety for us fighter excorts. The three bomber formations are just
visible in this picture through the clouds. One (in front of my left wingtip)
is turning back around to come south. A second (in front of my right wing, near
the iron cross) is still heading north. A third formation (just barely visible
just below my right wing, midway along the wing) is trailing the second and
heading north. I pick one group to cover and ask I/JG3 pilots just to cover
whatever bombers they happen to be closest to, hoping that we'll be lucky and
have no bombers uncovered. t=0:38
About 30 seconds after the bombers split up, a group of Hurricane Mk I's attack
out of the clouds. gas50 is one of the formations most-heavily attacked. I wasn't
near him initially but was able to come diving in before the Hurricanes got
repeated passes on him. Fortunately, gas50 hasn't lost any bombers, but he does
have a fuel leak in the middle aircraft (the thin trail of white smoke). t=0:38
A view out of my cockpit as I clear a Hurricane Mk I off gas50. I have a lot
of speed built up (over 400 mph indicated) as I got there as fast as I could.
Now I pull hard up and over to come back around for more clearing. Beefcake
(GL of I/KG1) is being attacked by a Hurricane, and gas50 has several on him,
but his gunners are firing back and making the Hurricanes pay a price for the
attack. KKEN is here, too, helping to clear gas50. Visible in the picture from
left to right: Beefcake, me, KKEN, and gas50.
I am doing my best to chase Hurricanes off the tail of gas50 and then get right
back to him to repeat the process. It seems like every Hurricane we clear is
replaced by another one or two. Fortunately, more LW fighters are showing up,
and some Hurricanes are now too low to make more passes. But at this point,
I am fearing that we are going to lose many bombers, as the Hurricanes are getting
gunnery passes. You can see the gunfire from the Hurricanes as well as gas50's
gunners in this picture. Also we are near Gravesend (I think) and the field
is sending up AA fire toward KKEN. Visible from left to right: Twizzty, Beefcake,
TwinTail, me, KKEN, and gas50.
Miraculously, once we finally drive the Hurricanes off, gas50 and Beefcake
have not lost a bomber. I have totally lost track of Nutzoid, though, and assume
that he was shot down. We get the fighters back over the remnants of I/KG1 and
head back to the coast and toward home.

Then, there is another miraculous event. As we cross over the English coast,
we see Nutzoid down on the deck, and he hasn't lost any bombers! Amazing! Nutzoid
is the formation of bombers, very dimly visible, in front of my left wing, in
front of the iron cross. Visible from left to right are: gavagai, Nutzoid, me,
Beefcake, gas50, TwinTail, and Twizzty. t=0:50
The trip across the Channel is uneventful, but we are very low on fuel by the
time the bombers are across the French coast.
Rapier has shut off his engine to glide part of the way back to our home base.
I fly by underneath him. t=1:07
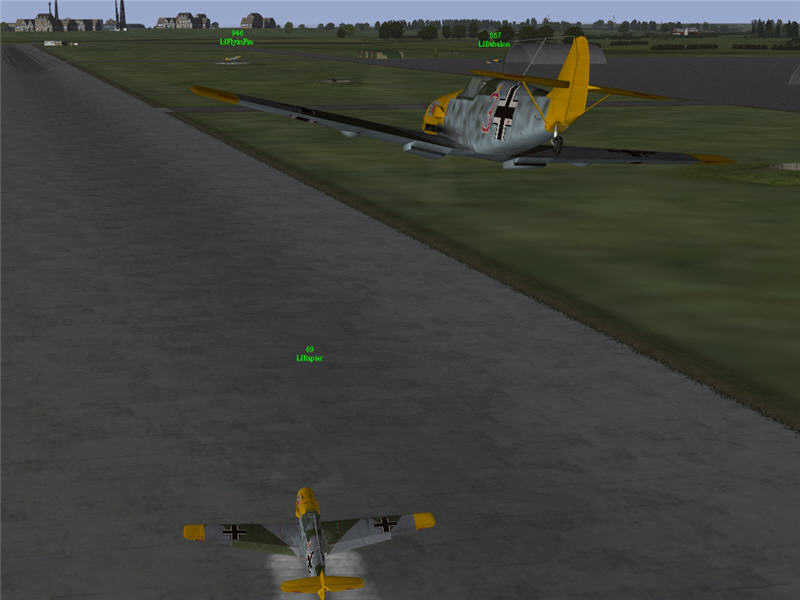
Landing back home. From left to right: DaPup, me, and lowZX14. Other I/JG3 pilots
are already down or on their way. t=1:10 We lost Gazoom1 in one of the big fights
with Hurricanes, so he is up on Ju 87 duty.
Me and KKEN taking off on I/JG3's next mission. The rest of I/JG3 is launching
as well. t=1:25
At first, our mission was again to escort I/KG1, but Kermit (the LW CO), ordered
us to escort I/KG53 instead if we could manage to rendezvous with them. We could
and headed that way.
A view to the right out of my cockpit as I/JG3 meets up with the Ju 88's of
I/KG53 at the French coast. Visible from left to right: Serenity (GL of I/KG53),
croduh, DaPup, and KKEN. The bomber formation trailing croduh is tudza or Vlad
(who are the other two members of I/KG53). Time is tight, so I/KG3 is heading
straight to its target (A12, if I recall correctly) without climbing much. I/JG3
is their only escort this time. t=1:43
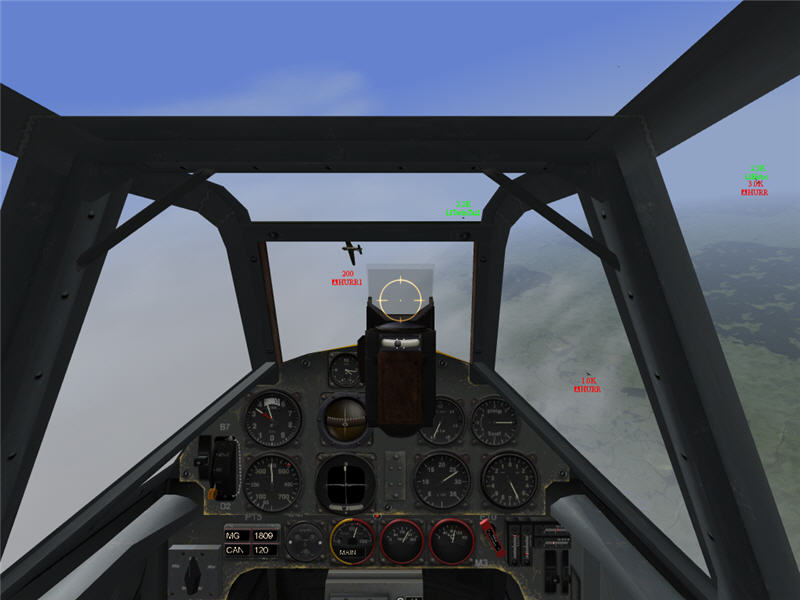
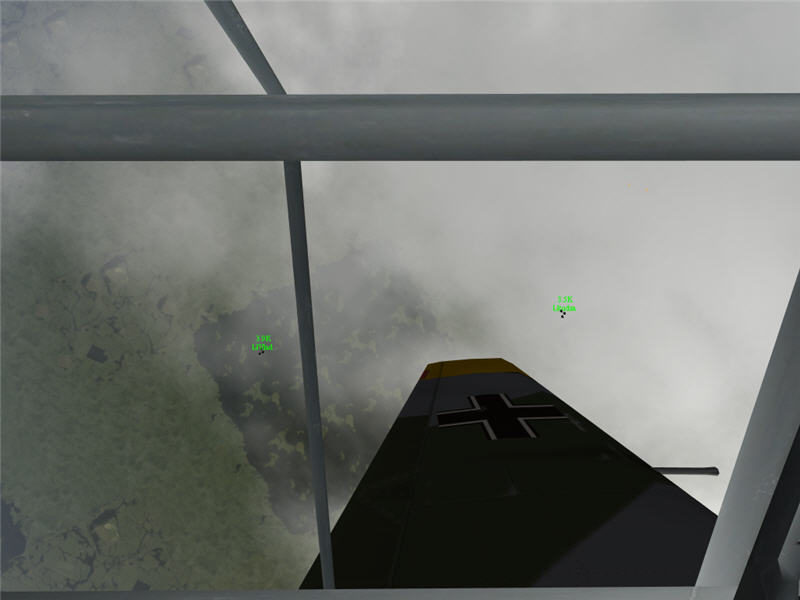
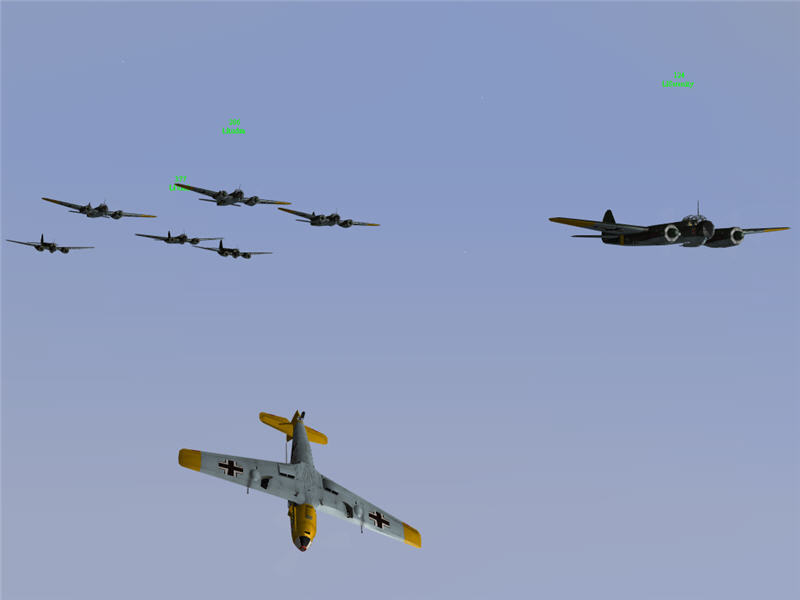
A view left out of my cockpit as we cross into England. There are two bogies
I and DaPup are seeing 10 o'clock to the bombers. The bogies are the two black
dots in the upper right of the picture. DaPup is in the lower right. I am banking
left to head toward them. I call for the rest of I/JG3 to stay with the bombers.
t=1:56
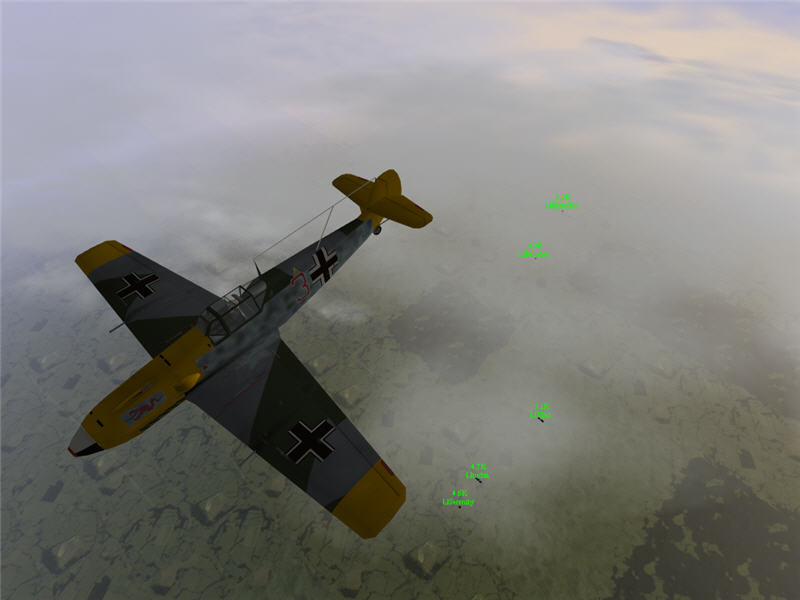
The bogies turn out to be two Hurricane Mk I's, and DaPup and I attack. A view
out my cockpit as I go for one of them. He breaks hard left, and I don't get
any hits. DaPup and I tangle with them for a while until it is clear they are
no longer going to get to the bombers, then I call for us to disengage and head
back to the bombers.
A view forward right out of my cockpit as I cross over A12 on my way back to
the bombers. I/KG53 has hit it, and it looks like the last fighter hangar is
still up, as I see only two hangars on fire (the dull orange spots). The brighter
yellow spot might be an aircraft exploding, as that's not at the airfield. It
looks like other bombers are either attacking or have just finished attacking.
Visible from left to right are: Babalon and Beefcake. I call Serenity to tell
him that the FH is still up but then get told via radio that the field is in
fact confirmed destroyed, and I relay that information. t=1:59
A view of tudza in his Ju 88's as he flies past A12 or A11.
Sometime around when I/KG53 went for its target, it got spread out. A little
after that, it got attacked by Hurricanes (or at least Serenity did). We had
some of I/JG3 with him, but I was still making my way back at that time. KKEN
was damaged in the fighting, and lowZX14 got a kill but was shot down.
A view left out of my cockpit as I join up with tudza and Vlad. They are clear.
t=2:02
Serenity (down to one bomber), tudza, and Vlad all get back together, and we
have the survivors of I/JG3 over them. KKEN's engine quit short of the coast.
He glided as far as he could, then bailed out. I'm not sure what happened to
croduh -- I think he might have had catastrophic mechanical failure because
he "vanished without a trace" (i.e., got disconnected). t=2:07
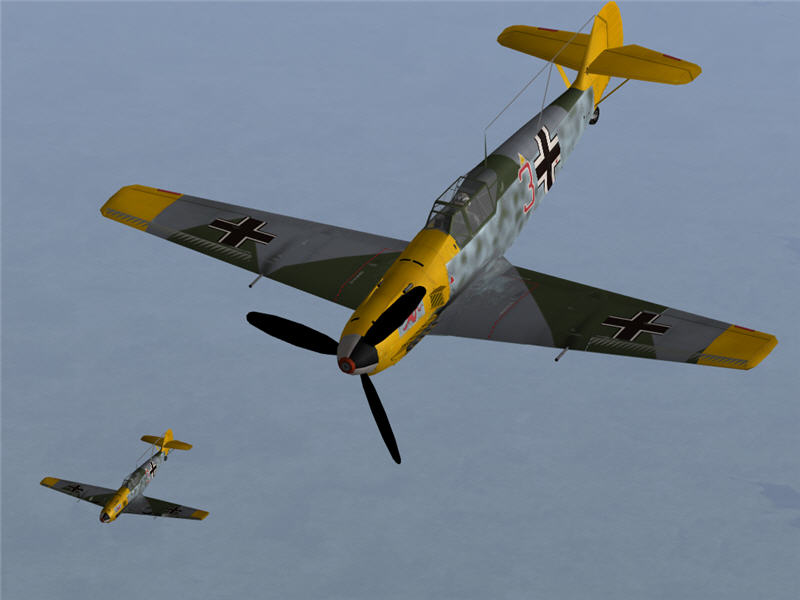
Me in tight formation with tudza (between his #1 and #2 bombers) for a publicity
shot. We have just crossed into France. Vlad is above and behind. t=2:24
Now that we are in France and safe, I bid I/KG53 farewell and split S away.
Serenity calls me a "show off." t=2:26
I buzz our home airfield on my way back before I land, zooming over Rapier and
past FlyinFin and Babalon. t=2:29
Conclusion
I got 0 kills and landed back at base after each mission.
I/JG3 got 5 kills, 4 assists, and lost 3 Bf 109's. Overall, I/JG3 did very
well at its most-important task: helping to protect the bombers. In the first
mission, I/KG1 lost no Ju 88's. In the second mission, I/KG53 lost two Ju 88's
to enemy attack. Excellent work, guys!
-- Brooke, GL, I/JG3