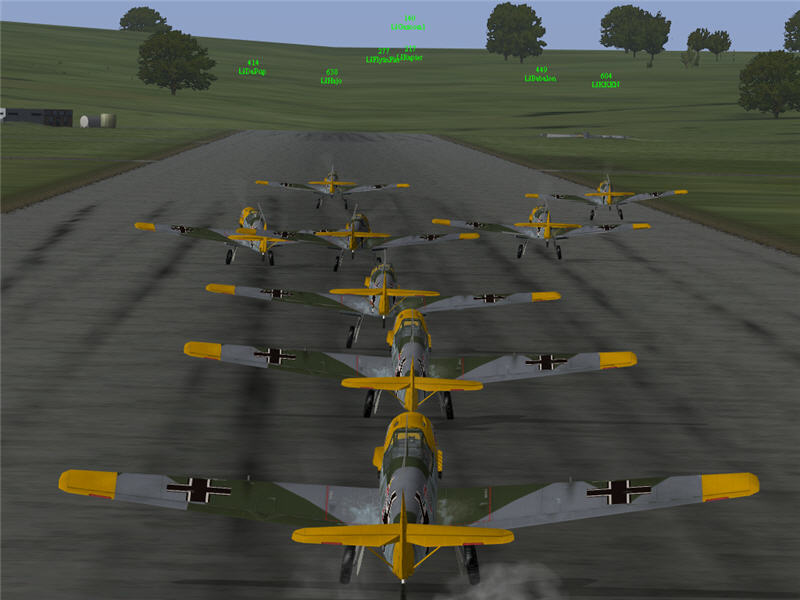
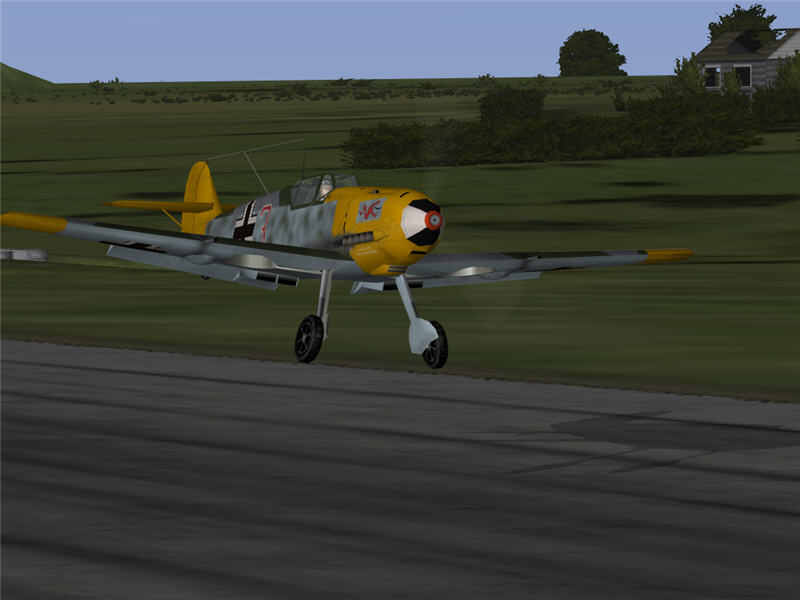
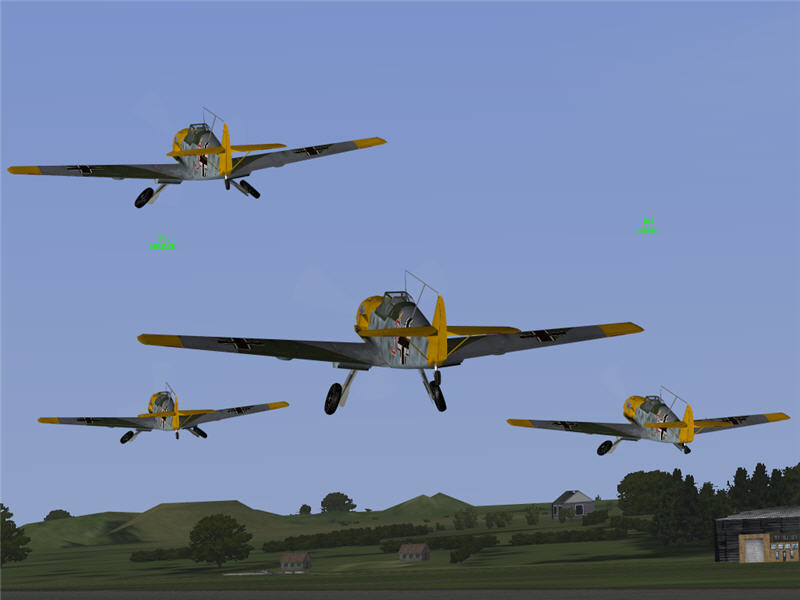
I/JG3 roaring down the runway at Boulogne-Colembert in our beautiful Bf 109E-4's. From top to bottom: Hajo, KKEN, Babalon, DaPup, me (Brooke), FlyinFin, Rapier, and Gazoom1. t=0:00
After-Action Report
11/8/2008
by Brooke, GL, I/JG3
This was a scenario that ran in the multiplayer on-line air-combat simulation Aces High.
I was the Group Leader (GL) of I/JG3. I/JG3 consisted of me (Brooke), FlyinFin, KKEN, Rapier, Gazoom1, Babalon, Hajo, and DaPup. We were in Bf 109E-4's, loaded with 100% fuel. Our takeoff field was A47 (Boulogne-Colembert).
I/JG3 roaring down the runway at Boulogne-Colembert in our beautiful Bf 109E-4's.
From top to bottom: Hajo, KKEN, Babalon, DaPup, me (Brooke), FlyinFin, Rapier,
and Gazoom1. t=0:00
A view forward-right out of my cockpit as I bank over the bombers. We are rendezvousing
with I/KG53, a Ju 88 bomber squadron. The bombers are, from left to right: Serenity
(the GL of I/KG53), SwatCH, Hoffy, tudza, and CAT691. t=0:11
Me and DaPup over the bomber stream as we near the coast of France. I/KG53 is
to go hit Manston (A14). We also have EG210 as an escort squadron for the bombers.
There were scouts near the coast, reported by our airfield observers (i.e., flashing fields). A couple of Bf 110's from EG210 chased him off, and the way was clear from then on for our bombers. We made it all the way to Manston without trouble.
Approaching Manston from the southwest, Serenity drops his bombs. t=0:44
After the first drop on Manston, there were still fighter hangars up, so I/KG53 continued NE then turned back for another run.
A view off my right wing after I/KG53 does its second run on Manston (A14).
The result of the 2nd bomb run: two fighter hangars down. From left to right:
SwatCH, Hoffy, Serenity, tudza, and CAT691. t=0:59
Since not all bombers in I/KG53 dropped both internal and external loads already,
I/KG53 did another bomb run on nearby Eastchurch (A13). After the run, two fighter
hangars are down and one is up. From left to right: me, Hoffy, and an unknown
set of bombers. Now the bombers are out of ordnance, and I/JG3 is very low on
fuel. We head directly back toward the coast of France. t=1:04
After this run, we lost CAT691. I think he bravely went back on his own to go hit Manston or Eastchurch one last time, and in getting I/JG3 sorted out over the main body of bombers for the trip home, we didn't see him go back and didn't arrange for any escort to go with him. He got jumped by RAF fighters and shot down.
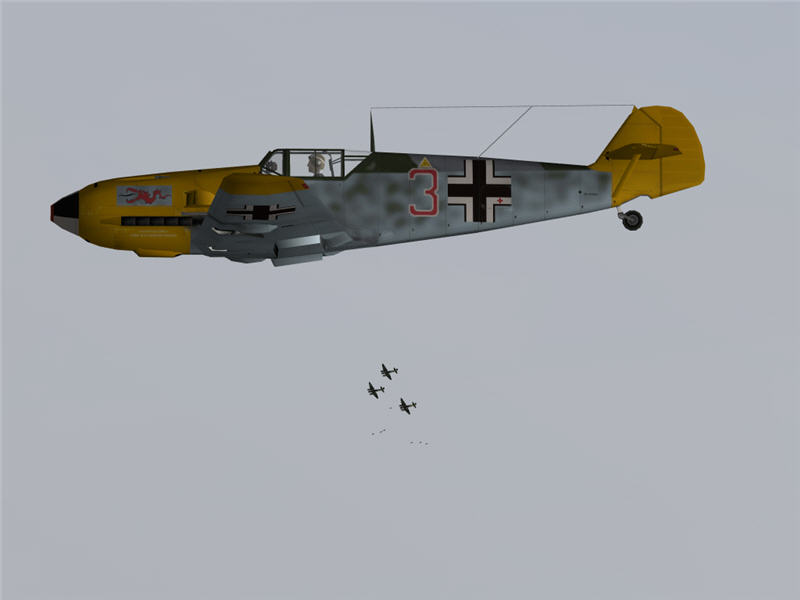
The rest of us make it across the channel without trouble. I do a close pass
on the bombers as we cross the coast of France. From left to right: me, Serenity,
SwatCH, tudza, and Hoffy. t=1:21
As we flew across the channel, we heard that other groups destroyed the final fighter hangars at Manston and Eastchurch, completing destruction of those fields (A14 and A13).
Landing back home. t=1:24
We wait for the bombers to get back to their airfield, rearm, and get back up.
Then I/JG3 takes off again for escort. From top to bottom: DaPup, me, KKEN,
and Hajo. The rest of I/JG3 is behind me. t=1:44
We don't have much time to get to target and back, so the bombers set a course directy to target. Also, they will be climbing only to 8500 ft. altitude. The target this time is a11. We all worry about being able to make it in time. When we rendezvous with the bombers, we find that there are only two formations, Serenity and tudza. I'm not sure where the other pilots went.

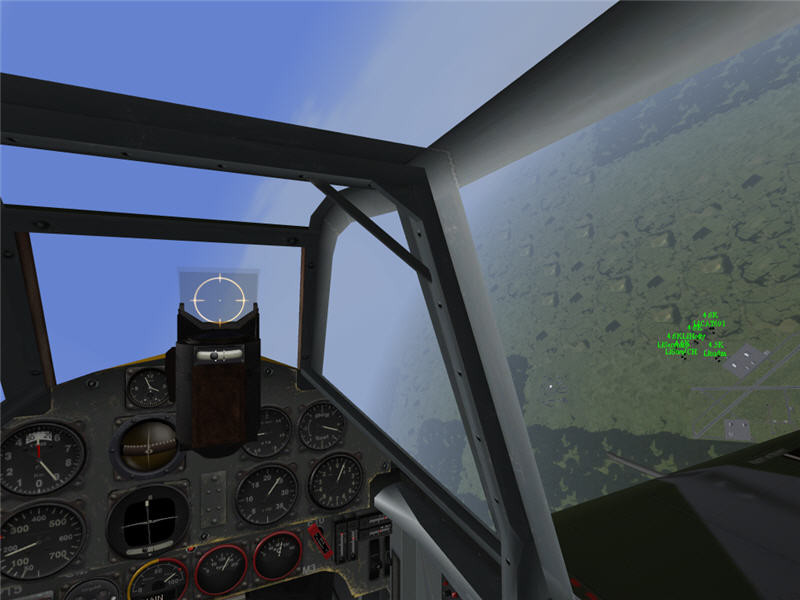
The crossing of the channel is uneventful, but AAA starts up as we cross over
Dover, and I take an ack hit in my left wing root. Fortunately, it didn't seem
to damage anything important. Below me are visible Serenity and tudza (against
the clouds) and the Dover or Folkstone port (p106 or p105) in the bottom right.
t=2:01
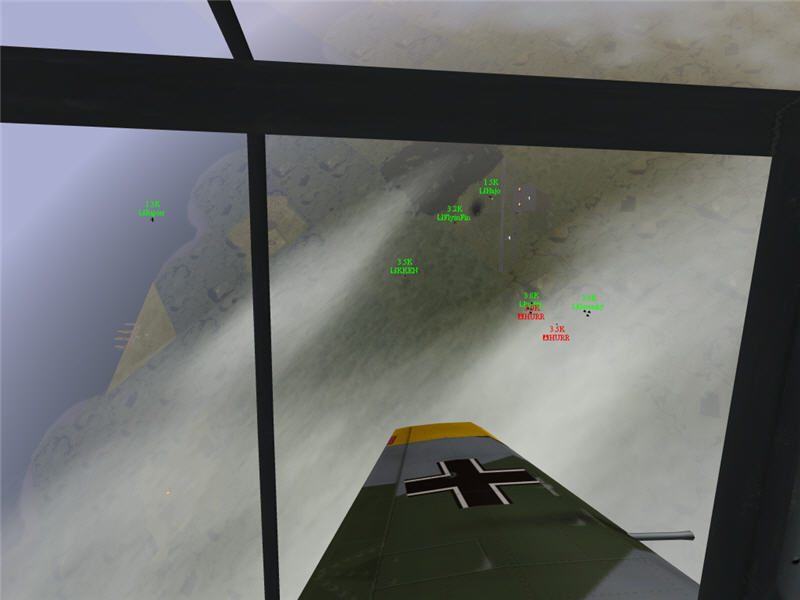
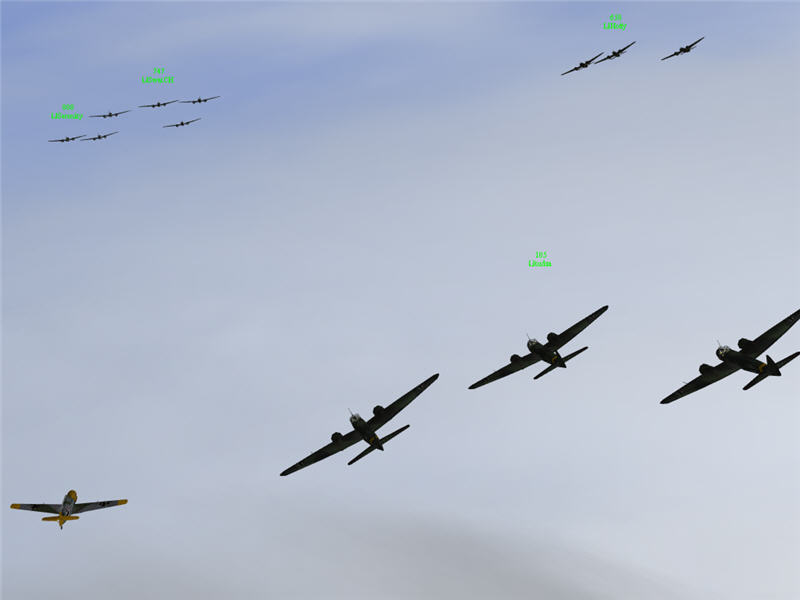
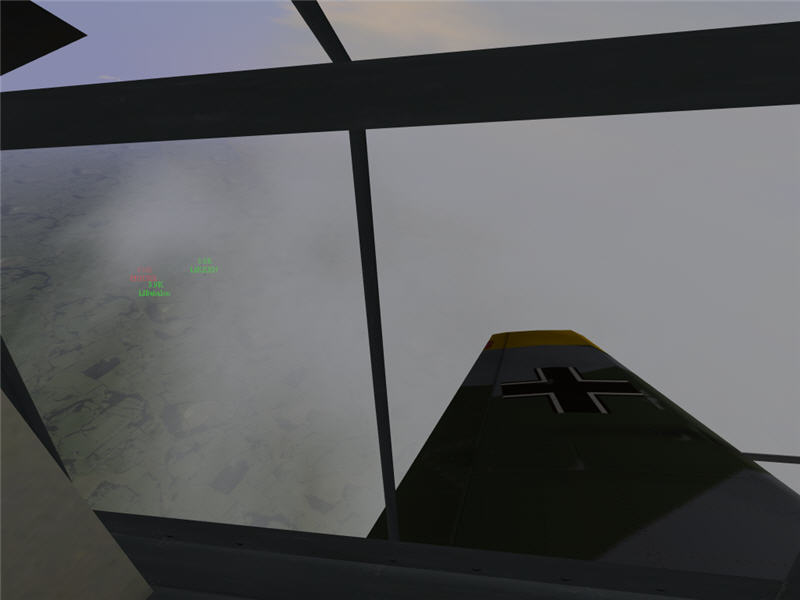
A view left out my cockpit as, very shortly inland, Hurricanes attack the bombers.
I didn't see them in the clouds until the bombers called out. Various members
of I/JG3 get on the Hurricanes, but the enemies do manage to shoot down one
of Serenity's bombers. From left to right: Rapier, KKEN, FlyinFin, Hajo, tudza,
and Serenity. I stay up high with other members of I/JG3 as those lower take
care of the Hurricanes. t=2:02
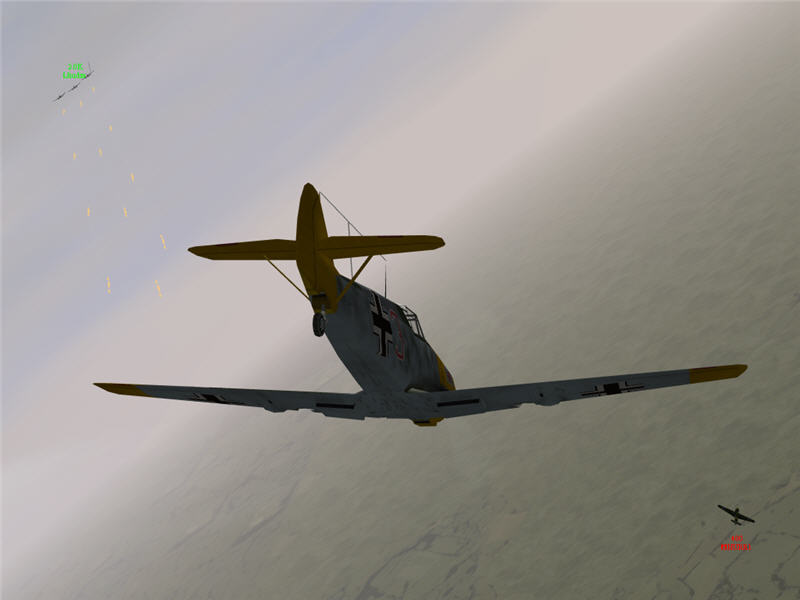
I chase another Hurricane that is going for tudza and Serenity a bit farther
inland. t=2:05
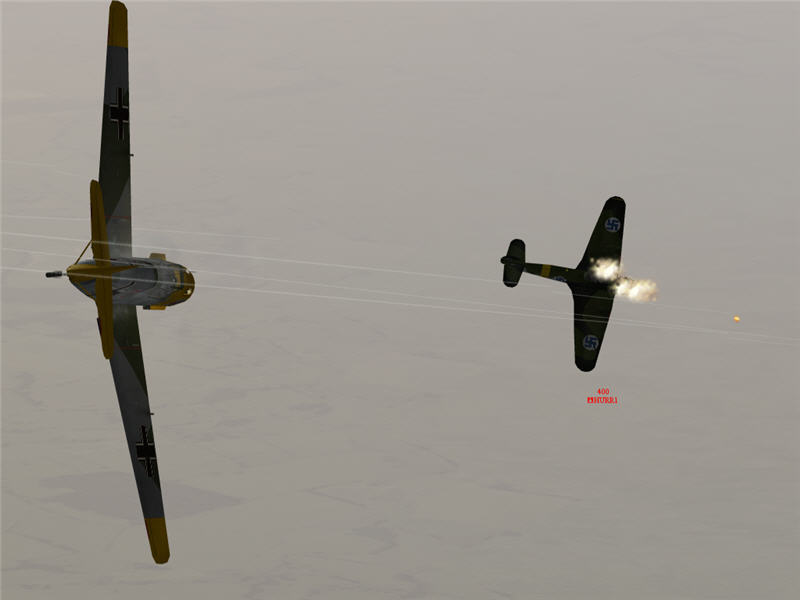
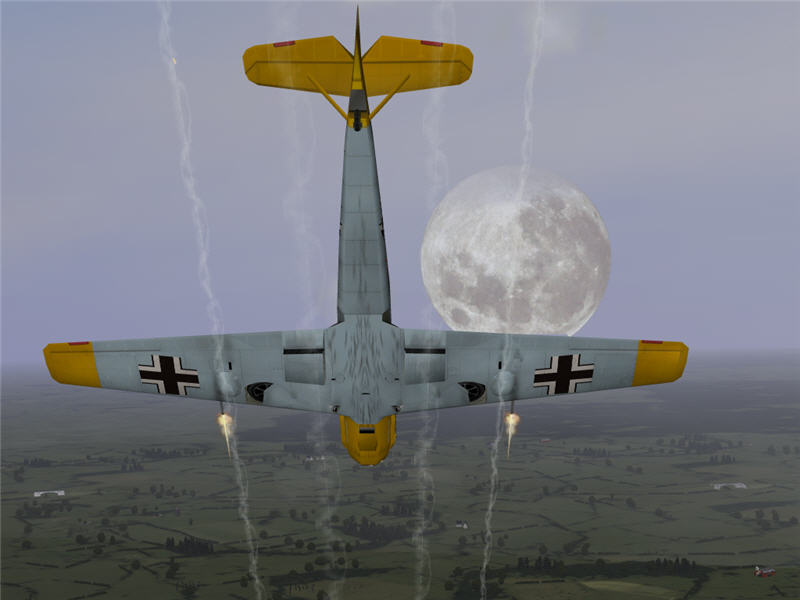
I chase him down and put some hits into him. It's not evident from this angle,
but this is a huge deflection shot, with the Hurricane Mk I out of sight under
my nose. So, I'm not using precious cannon rounds to fire -- just my machine
guns. It get some fortunate hits. It's not enough to put him down, but it is
enough to get his attention and get him into a hard break turn. After this pass,
he's in no position to get to the bombers, so I zoom past and head back to the
bombers. Interestingly, this Hurricane is flying Finnish markings. t=2:06
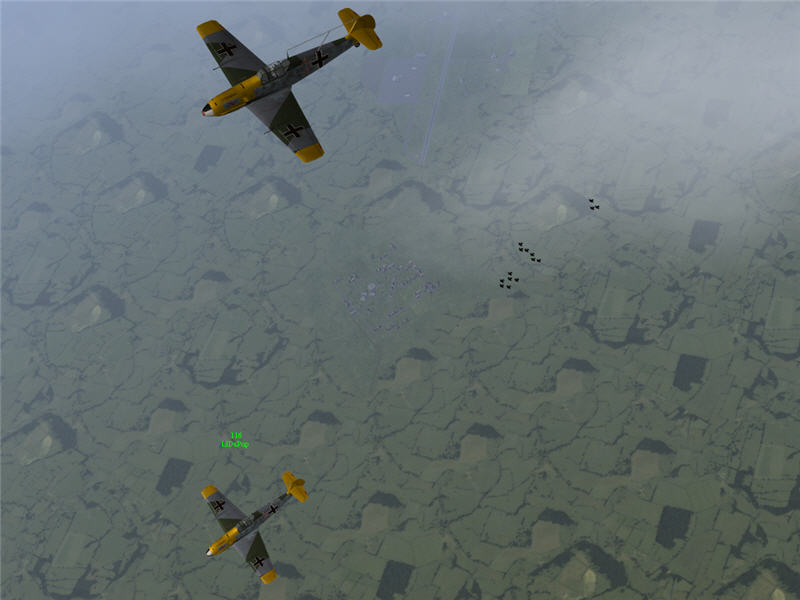
A view left out my cockpit as I zoom back up for altitude. Babalon and KKEN
are on that previous Hurricane.
Around this time, Serenity makes the executive decision for I/KG53 to go for
A12 (Detling) instead of A11 because A12 is a little closer, and we are running
out of time. As the bombers go west toward A12 and with enemies attacking out
of the clouds in 1's, 2's, and 3's, tudza and Serenity get separated. I call
for some of I/JG3 to cover Serenity and I head to tudza to cover him. After
I/KG53's first pass on A12, there was one fighter hanger still up.
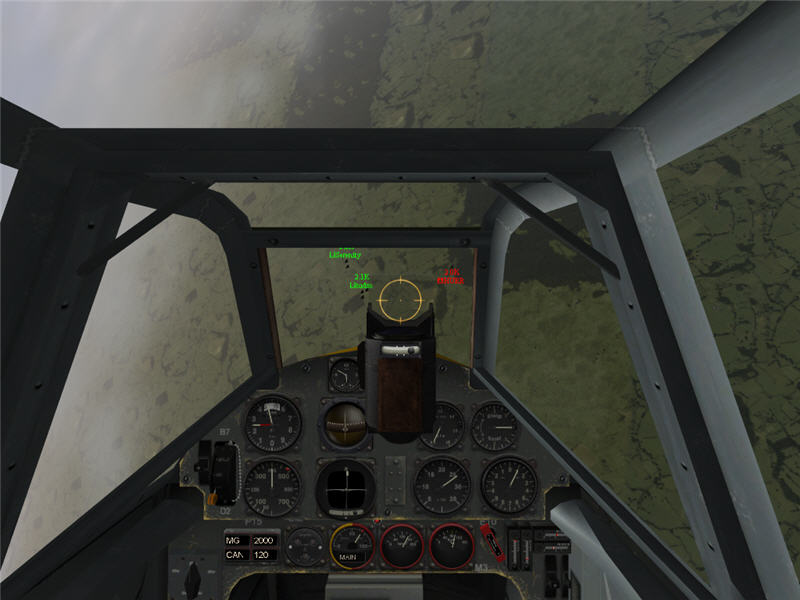
A Hurricane Mk I tries to attack tudza. I call it out to tudza and dive on the
Hurri. Tudza is firing as well. The Hurricane does a hard break turn and is
no longer a threat. I leave him and get back tudza. t=2:11
Tudza and Serenity get back closer together as Serenity turns back around (now heading east) for another pass on A12. Serenity has one bomb load left and goes for the remaining fighter hangar. There are multiple Hurricanes down low at this point around A12, but they don't seem to be a threat to the bombers, so I keep position over the bombers. Serenity calls out that he has damaged the remaining hangar but not destroyed it. He says he is going to strafe it, believing it to be so damaged that strafing might take it down. Hearing that, I ask for I/JG3 to go down to strafe the hangar. It's our last chance to take it down.
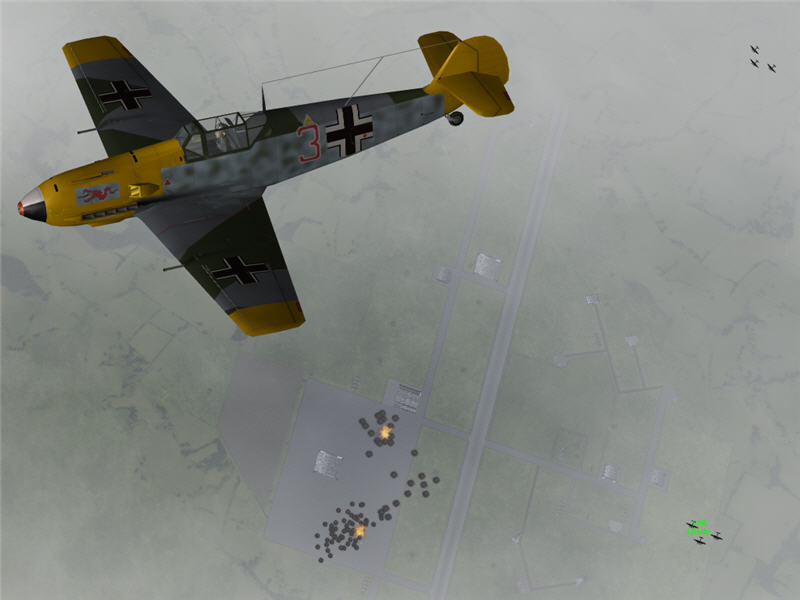
I dive in on the A12 fighter hanger, cannons blazing. I see multiple Hurricanes
down low and call out to I/JG3 not to engage the Hurricanes but just to blow
through with speed or to stay out if they don't have the altitude to dive in.
t=2:15
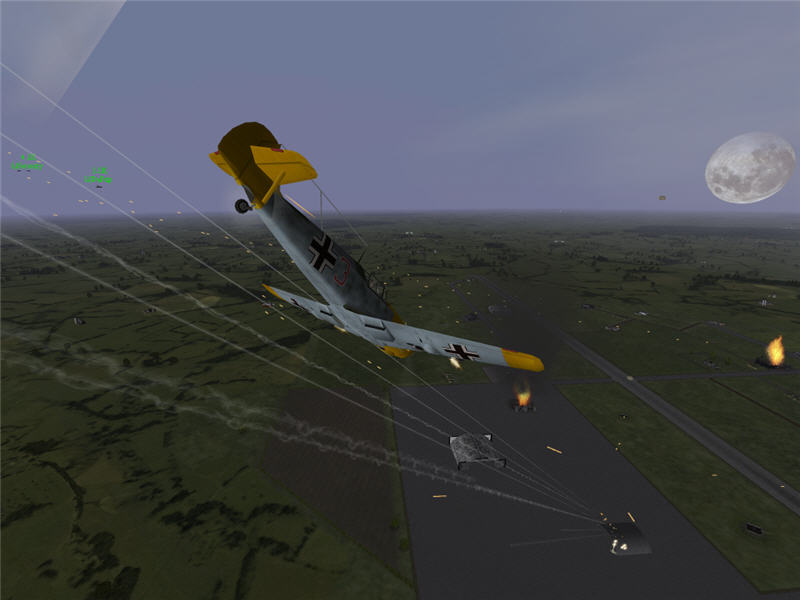
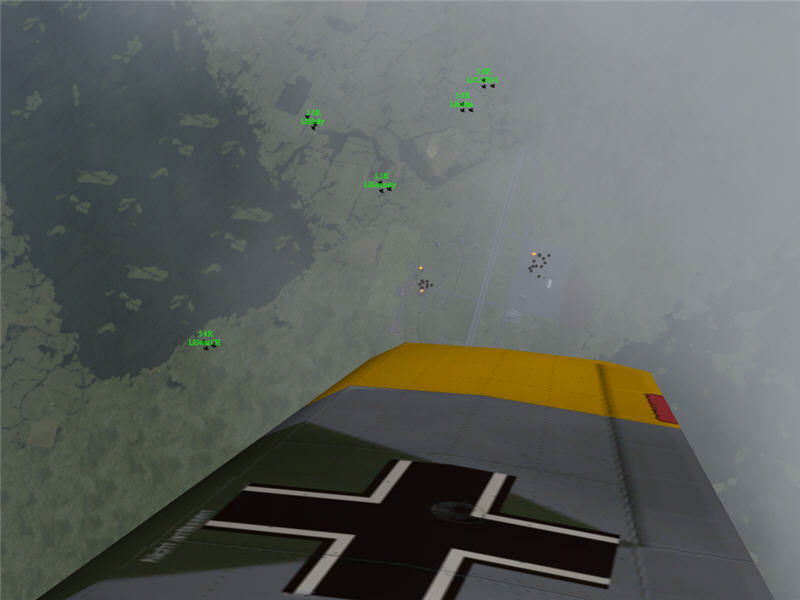
My cannon rounds are hitting that remaining fighter hangar. To the left in the
picture, DaPup is coming in for a strafing run, and Serenity is heading out
away from the field. Serenity and tudza are now clear. Two destroyed fighter
hangars are burning, and the ack is firing at me and DaPup.
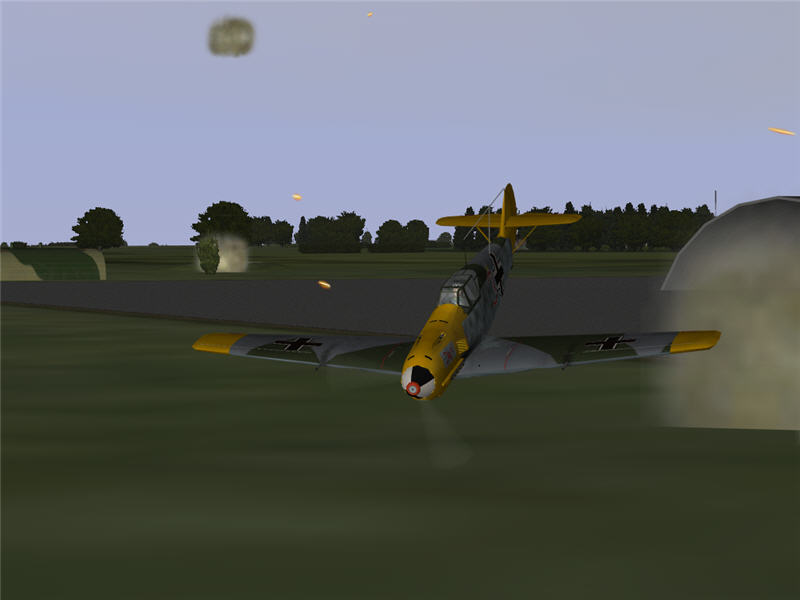
Unfortunately, I underestimate how sluggish the controls in the Bf 109E-4 get
at high speed. I pull my stick back as hard as I can and get only about 3 g's.
I immediately start hitting my nose-up trim, but I can't quite pull out before
hitting the ground. This is the instant before I hit, with field ack is hitting
the ground around me.
Some others in I/JG3 strafed the hangar, but I don't think we were able to
kill it. I asked the guys not to strafe unless they could go in with high speed
and get out, away from the ack and Hurricanes.
I got 0 kills and crashed.
Overall, I/JG3 got at least a couple of kills and lost at least a couple of
pilots: me in a crash, and KKEN had to bail out over England. I/KG53 lost 4
bomber aircraft. The primary (A14) and secondary (A13) targets were completely
knocked out, and two of three fighter hangars at A12 were destroyed.
-- Brooke, GL, I/JG3