Rangoon, '42, 2008, Frame 3
After-Action Report
8/16/2008
by Brooke, GL, IJN1 (1st Sentai)
This was a scenario that ran in the multiplayer
on-line air-combat simulation Aces
High.
I was the Group Leader (GL) of IJN1 (1st Sentai). IJN1 consisted of me (Brooke),
Boozer, Culero, DaPup, gas50, KKEN (FL of IJN1), Money, Redtail7, and Shamus.
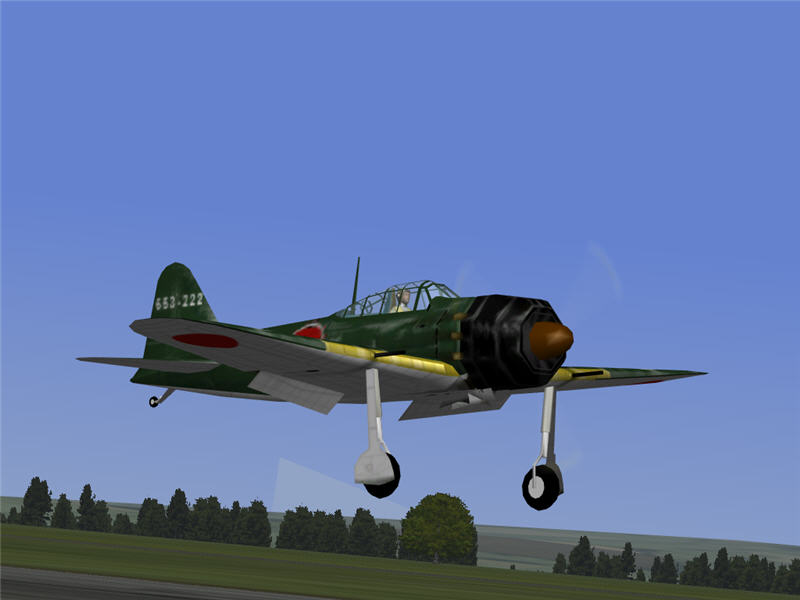
We were in A6M5b's, loaded with 100% fuel. Our takeoff field was A2 (Bangkok).
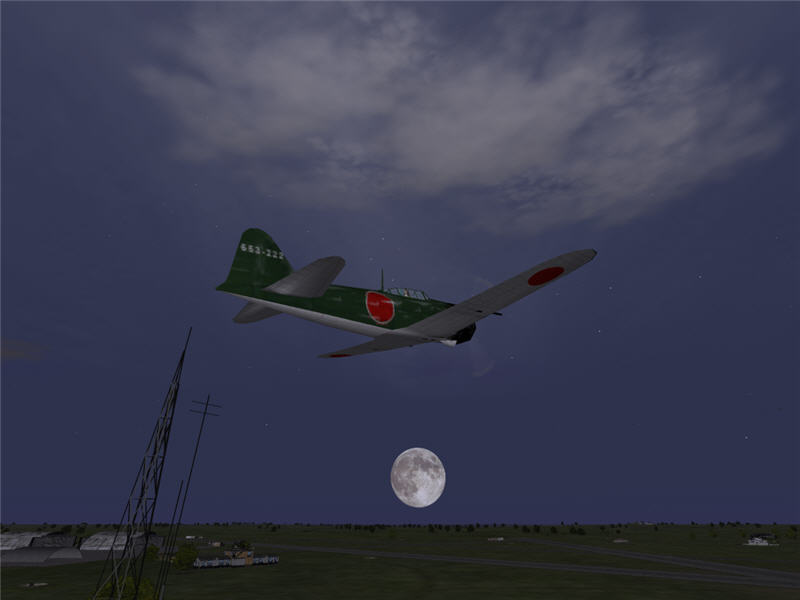
My pre-dawn takeoff from Bangkok. Today's mission involves a large fighter sweep
of IJN1, IJN2, IJN3, IJA2, IJA3, AUX1, and AUX2 squadrons from Bangkok to Moulmein.
During the sweep, I am to coordinate the IJN squadrons and ROC is to coordinate
the IJA squadrons.
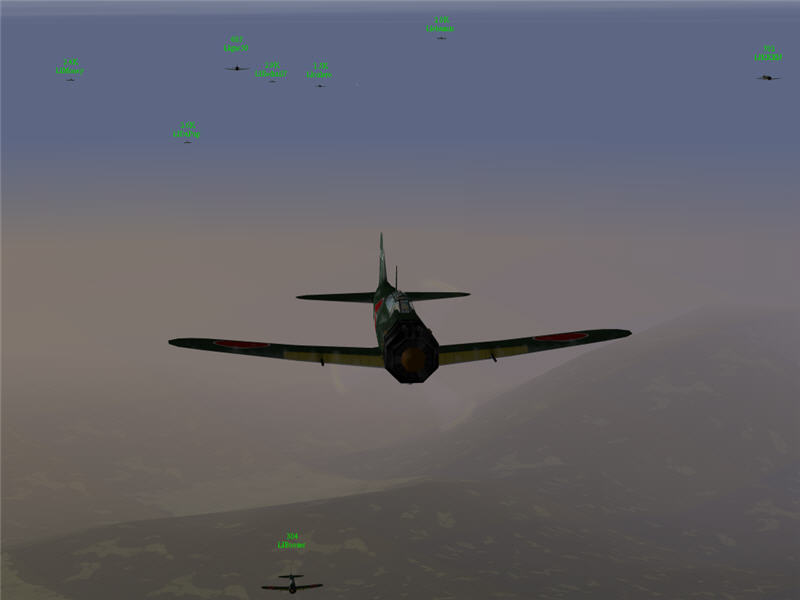
IJN1 on the way to Moulmein in the orange light of dawn. From left to right
behind me: Money, DaPup, gas50, Redtail7, Boozer, culero, shamus, and KKEN.
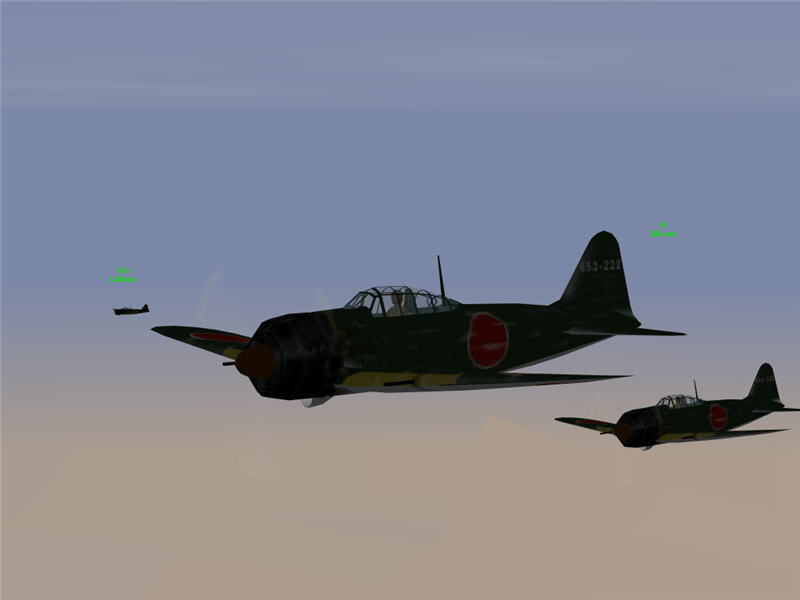
Boozer and I as we fly along to Moulmein. Heater (at left in the picture) is
in another squadron going to the same place. About this time (t=0:14:30), ROC's
guys report an enemy Beaufighter (A-20), and a couple of his guys give chase.
They don't catch it, but they keep it occupied. We scout the Moulmein area,
don't find any enemy squadrons, stay on station a bit, then are ordered to Rangoon.
We start that way, but then some P-40's are found south (t=0:26:42). At that
point, LeitWolf (the CO) orders the sweep fighters to the last-reported location
of the P-40's (which is 9.11.2).
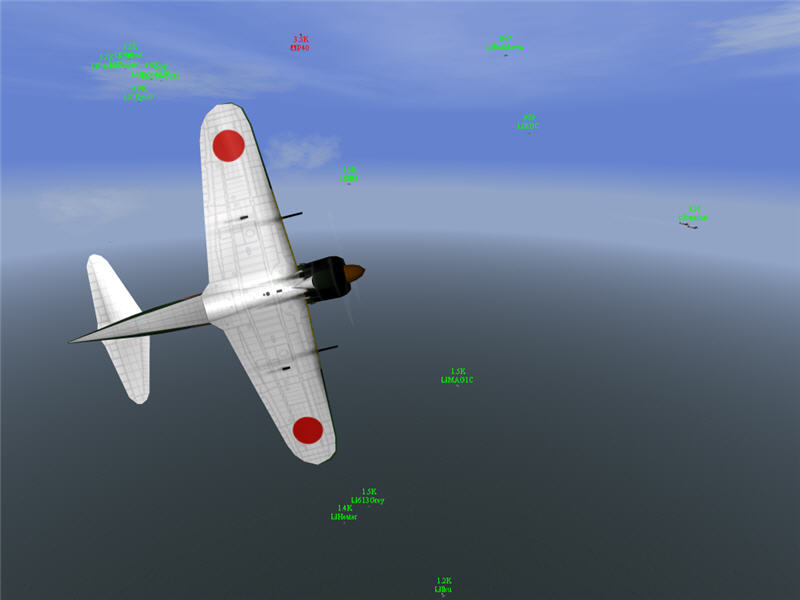
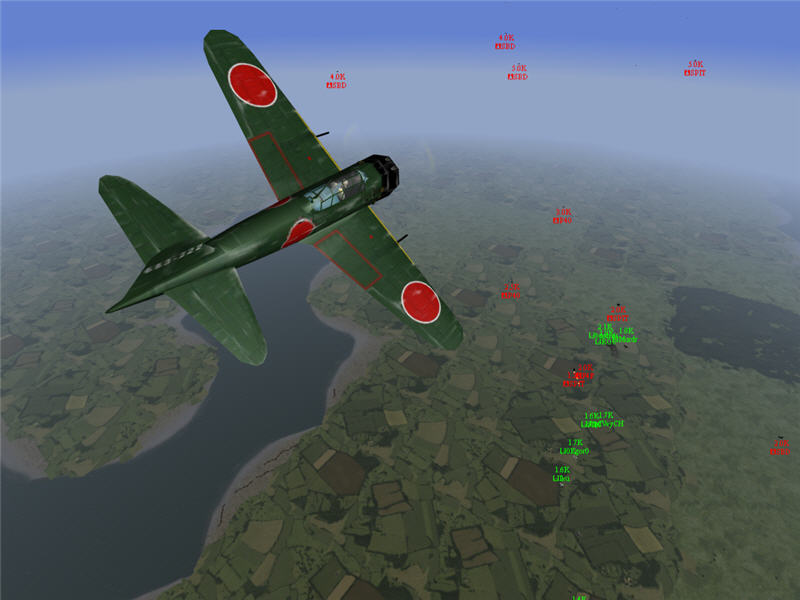
On our way south, we spot a bogie that ends up being an A-20 (Beaufighter).
As soon as I get icon on it, I call it out and go into a climb and try a lead
split-s on it. I can only get to within about 1000 yards of it and don't manage
to hit it at that range with my machinguns (although I try), but Redtail7 gets
better position on it.
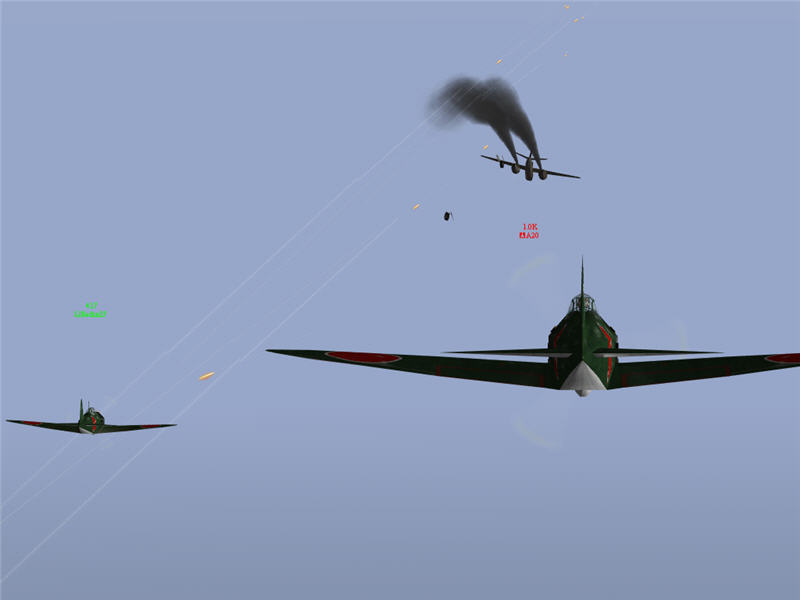
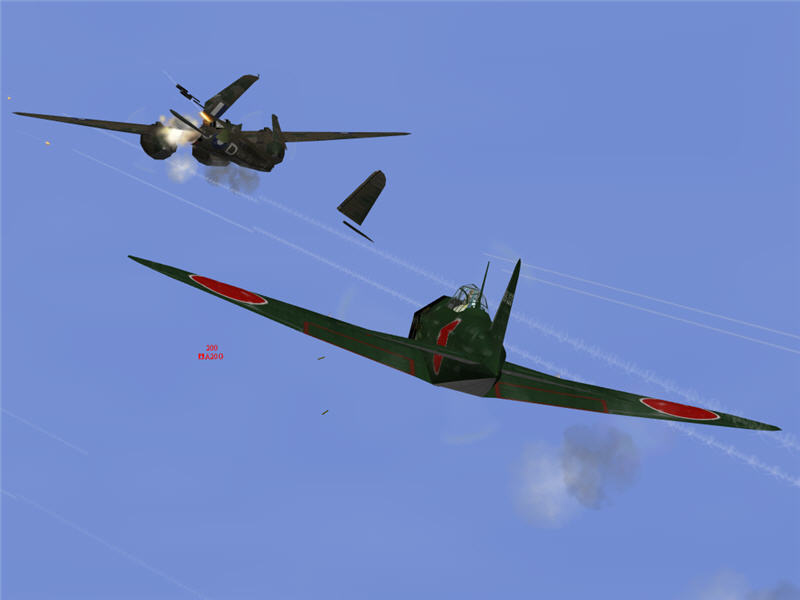
Redtail7 rakes the A-20 with cannon rounds, shooting up both engines and shooting
off the landing gear. Great work, Redtail7! It pulls away from us after this,
but it is likely not going to make it back to base. Additionally, as it runs
from us, it runs across ROC's path, and he attacks it as well. Scratch one A-20.
(t=0:34:50) Now, we are ordered south from the 9.11.2 area.
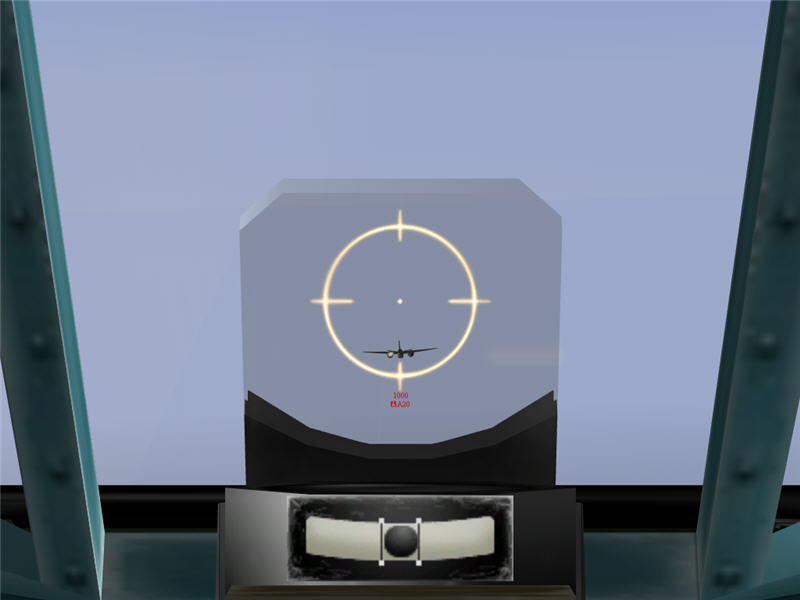
I come across a 2nd A-20 crossing my path at co-altitude. Again, I can't close,
but this time, I get a couple of machinegun hits at 1000 yard range. (t=0:41:54)
It's of course not enough to disable the A-20, but we follow it, reporting its
position as it goes south. Eventually, it veers SW, then turns north and leaves
the area long before it finds the bombers, which at this point are still well
south. We are ordered to head to Tovay for refueling, but after a bit, Redtail7
reports sighting two P-40's, and we reverse to go have a look. We sight them,
but another squadron is closer to them than we are, so we leave the pursuit
to that squadron and get back toward Tovay.
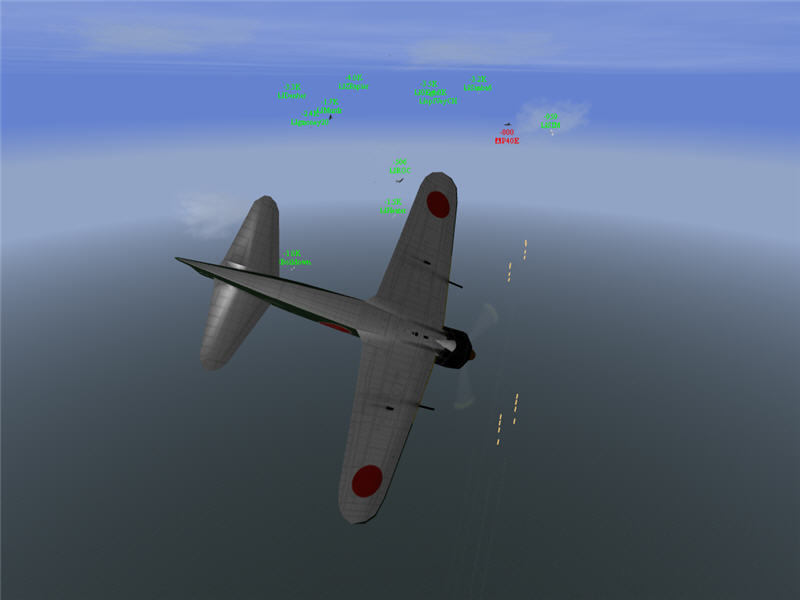
We come across another A-20 as we head to Tovay. This one is trying to cut under
us, and I roll over to split S onto him. As I pick up speed in the dive, I tap
my "m" key to disengage combat trim and push my A6M5b past 400 mph
in the dive to cut off the A-20.
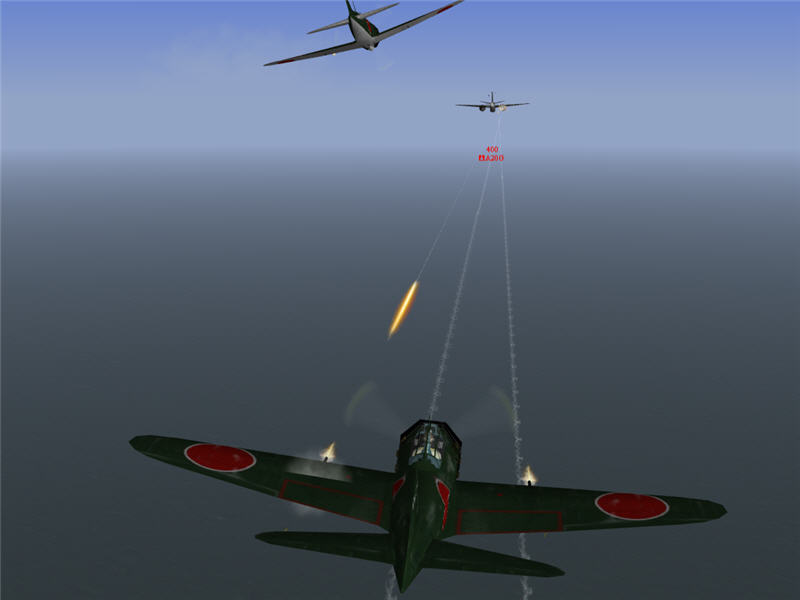
I close and put cannon rounds into him as does Shamus (the plane just forward
and above me). The A-20 rolls does a high speed roll and maneuvers some, but
I stay on him. The rear gunner shoots at me, but I jink around a little and
maneuver into a position behind and below him.
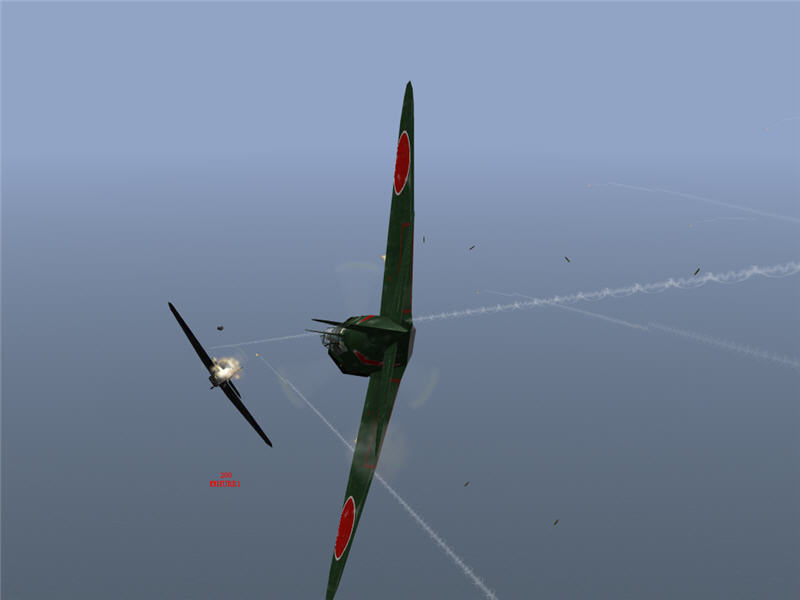
I close and put lots of cannon rounds into him from 200 yards back. The A-20
soaks up many cannon hits but eventually disintegrates. We set course back toward
Tovay for refueling and rearming.

Boozer and I land at Tovay along with the rest of IJN1.
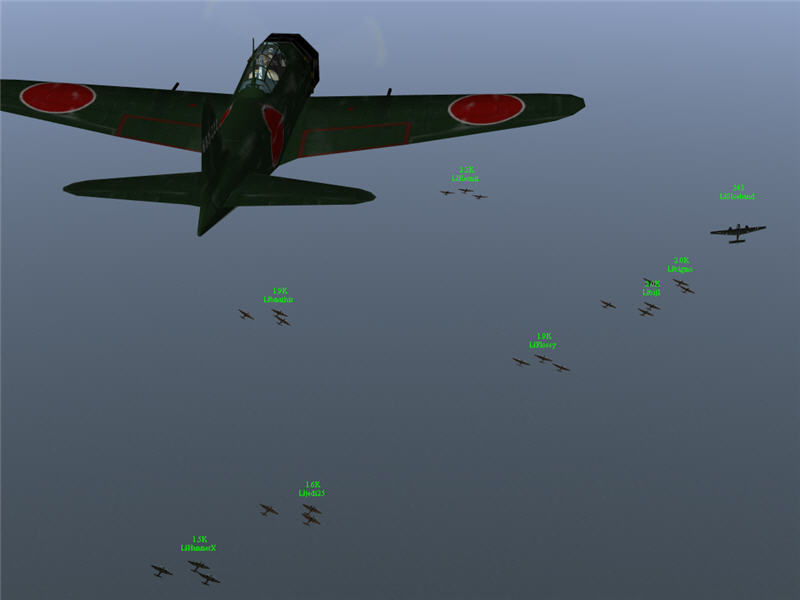
After IJN1 takes off from Tovay, we rendezvous with the bombers. Under me, from
left to right: HammerX, bmathis, jedi25, Kermit (the GL of the bomber group),
Flossy, bijl, bigmo, and Sloehand (a member of LR Escort, flying a Dinah (Bf
110C)). (t= approx. 01:25:00)
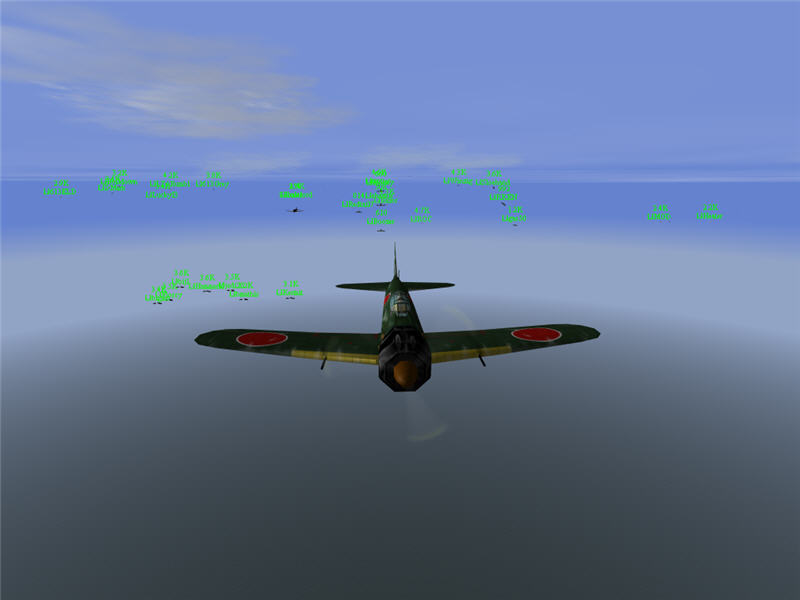
Once IJN1 is with the bombers, we take a position in front of them. I call for
IJN2 to take up forward left, and IJN3 to take up forward right. In the background,
from left to righ in top row (fighters): 613ELD (a GL), Dmark, Boildown, Lucky13,
LTARumbl (a GL), 613Grey, culero and Sootlord, Redtail7, Boozer, Razor, shamus,
trotter, (can't read), ROC, Winzig, Sloehand, KKEN, gas50, MGD, and Heater.
In the bottom row (bombers) from left to right: bigmo, Flossy, bijl, HammerX,
jedi25, bmathis, and Kermit. I maneuver to keep IJN1 within about 5k of the
bombers. There are other fighter groups out in front of IJN1 at times, farther
ahead. At one point (t=1:41:11), there is a P-40 that gets near the bombers
but is driven off or killed. It might have been able to spot the bombers. An
A-20 likewise tries to get in to the bombers and is, I think, shot down (t=1:43:34).
All of the black dots ahead are an ominous view. We are getting reports of lots
of bogies ahead from other squadrons as well. Visible in this picture ahead
of me is skullrat, a new pilot in his first scenario. IJN1 goes to full power.
I type out the situation on channel 2 text radio. (t=1:45:17)
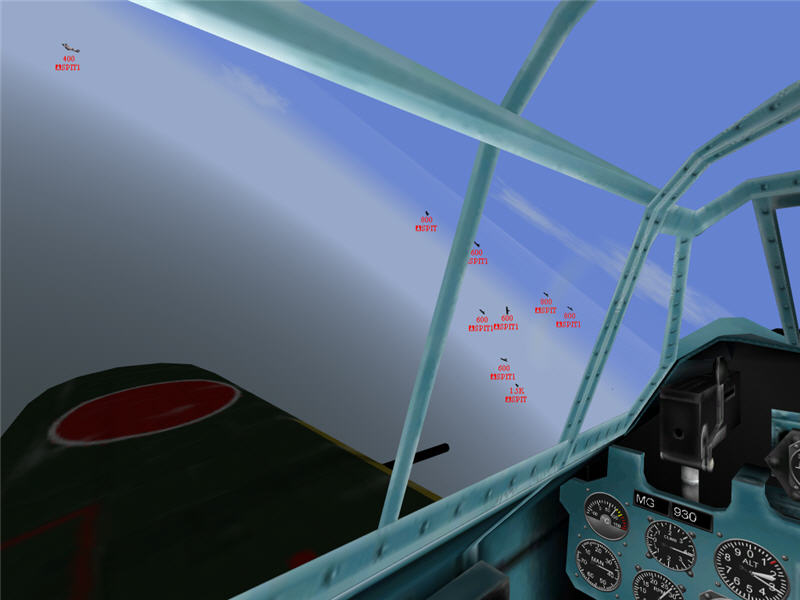
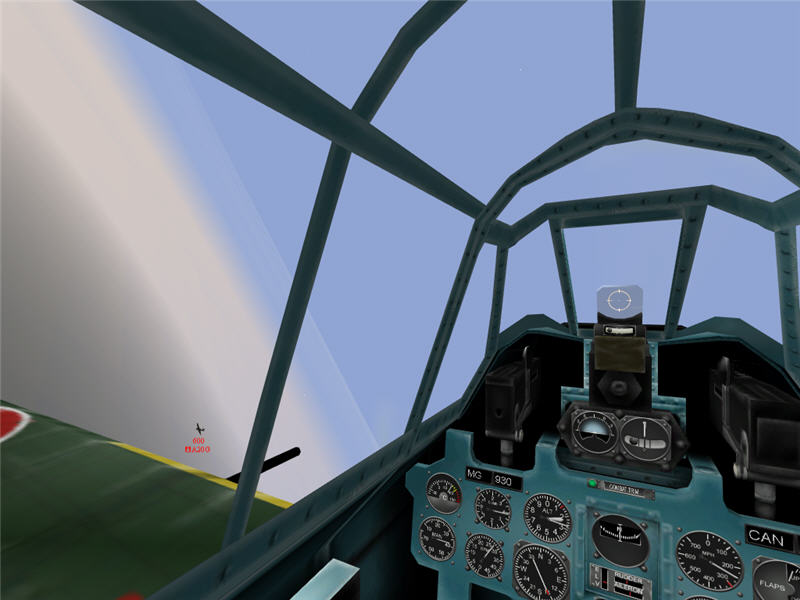
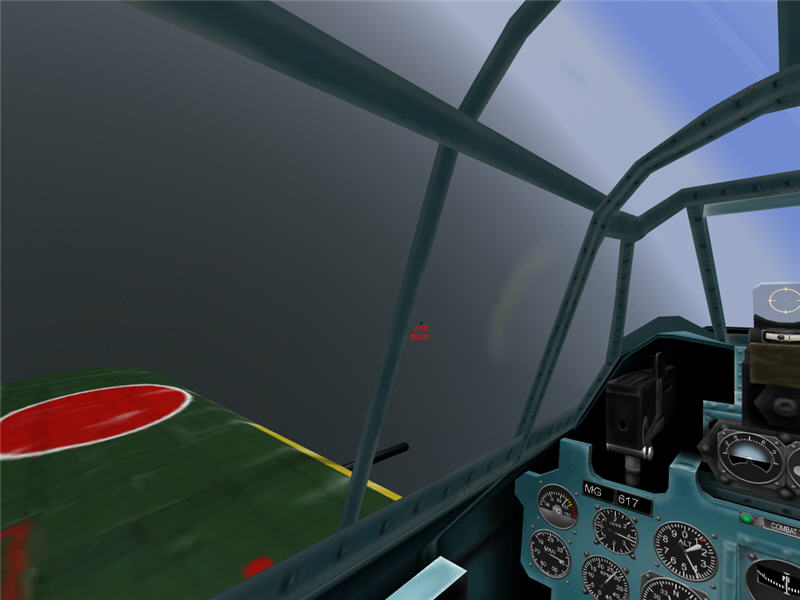
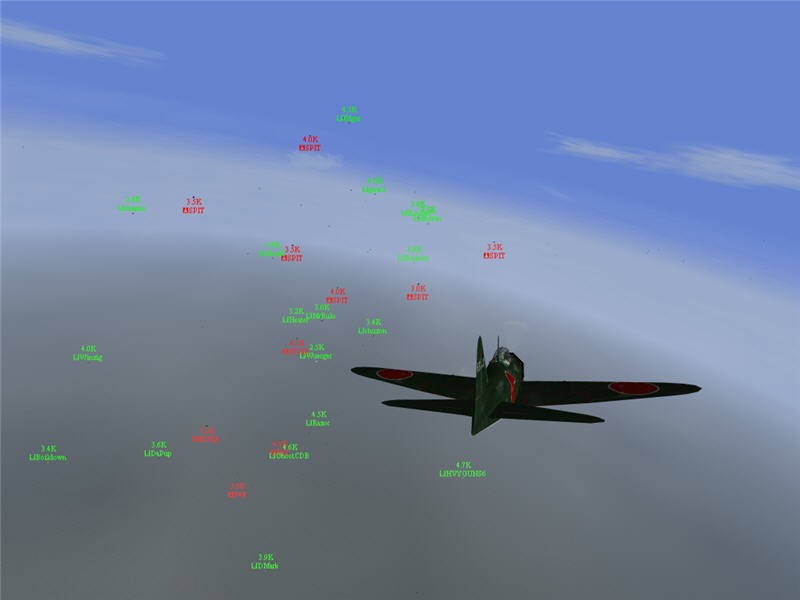
A view forward left out of my cockpit as the enemies come in. They are Spitfire
Mk I's -- the first enemy attack wave (t=1:45:24). Their icons appear at about
1k to 1.5k range -- not a lot of warning. As soon as I icon them, I go into
a high yo yo to get around on their tails. However, they are going very fast,
and some of them dive as well when I try to get on them. I follow a bit, but
I am not able to close quickly enough for a shot. I break off to stay in front
of the bombers, anticipating more waves to come, but no longer see the bombers
among the many aircraft in the area. What I don't realize until rewatching my
film is that my brief pursuit of the Spitfires takes me over and behind the
bombers, which I didn't see. Not seeing the bombers as I reversed, I thought
then that I was farther ahead of them, which was completely wrong. The swirling
fight that develops thus is actually slightly behind the bombers (until they
reverse back south). So, I am not at all where I intended to be or thought I
was. I consider this first attack to be a critical part of our battle, causing
most of us to lose icon and dot visibility on the bombers and pulling a lot
of planes (me included) off of the bombers.
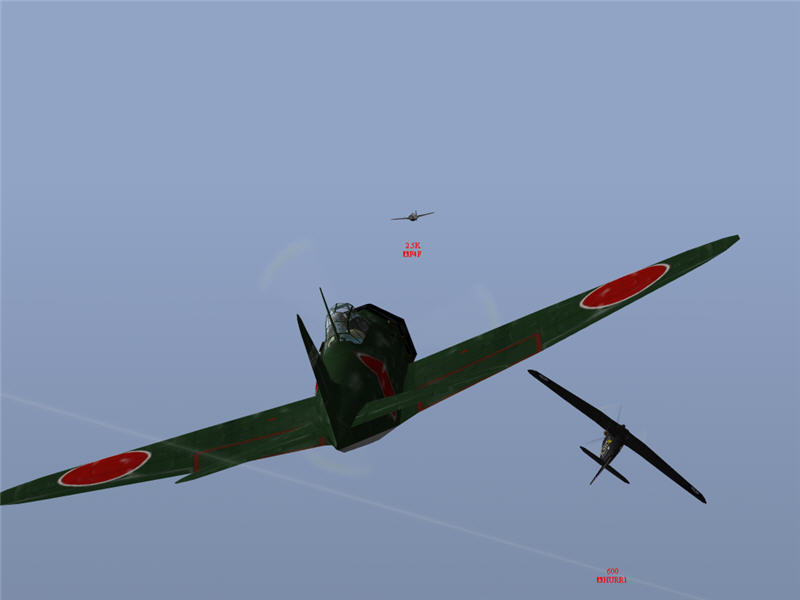
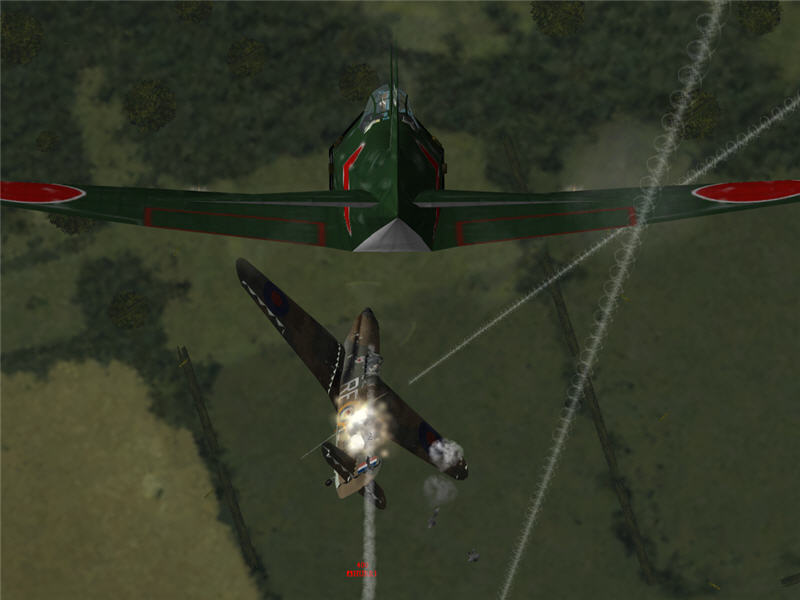
I attack a Hurricane Mk I. An FM2 is in the area as well. Following the Spitfires,
first there was a wave of FM2's, then a wave of Hurricanes. Unfortunately, I
miss this Hurricane as he rolls to evade and dives out. I don't chase when it
is clear he is diving out and away from the action. (t=1:46:35)
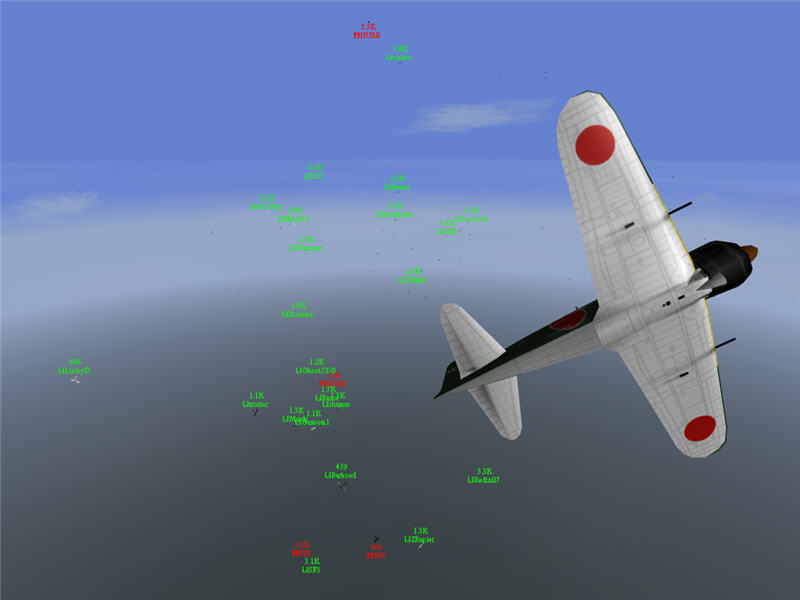
A swirling fight develops. The bombers turn around and head south, putting this
fight north of them. Currently in the fight, the IJAAF fighters seem to outnumber
the allied fighters, but it's hard to tell as there are numerous bogies in the
area. Allied fighters continue to join the fight from high altitude. I stay
high (as do a bunch of others, such as culero, ROC, MAG1C, etc.) and keep an
eye out for P-40's trying to come through. (t=1:46:42)
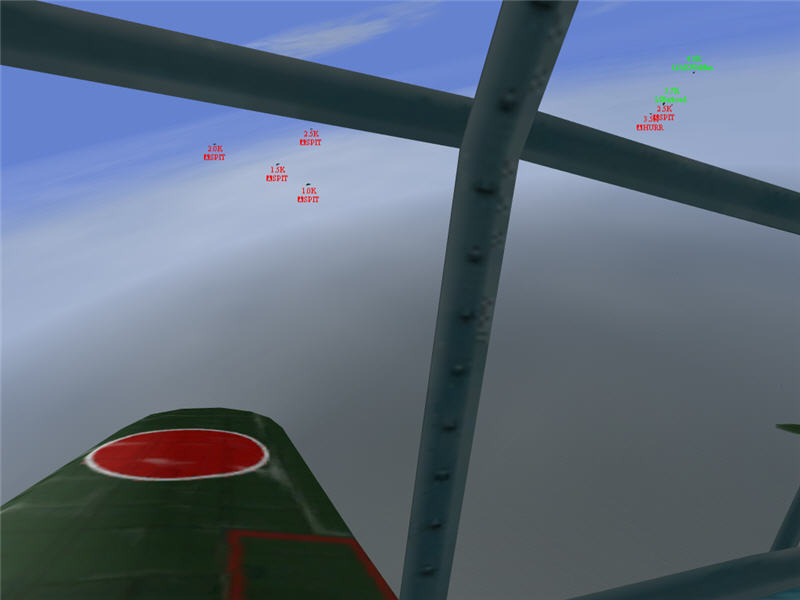
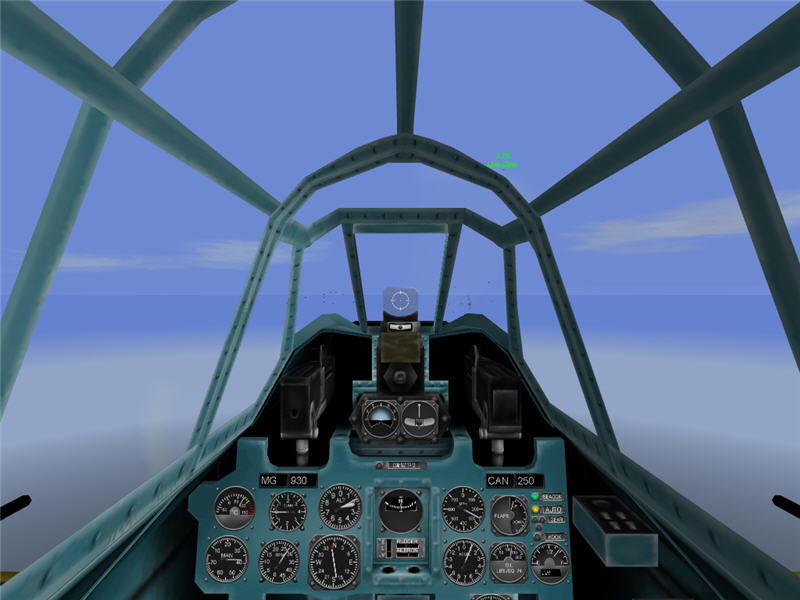
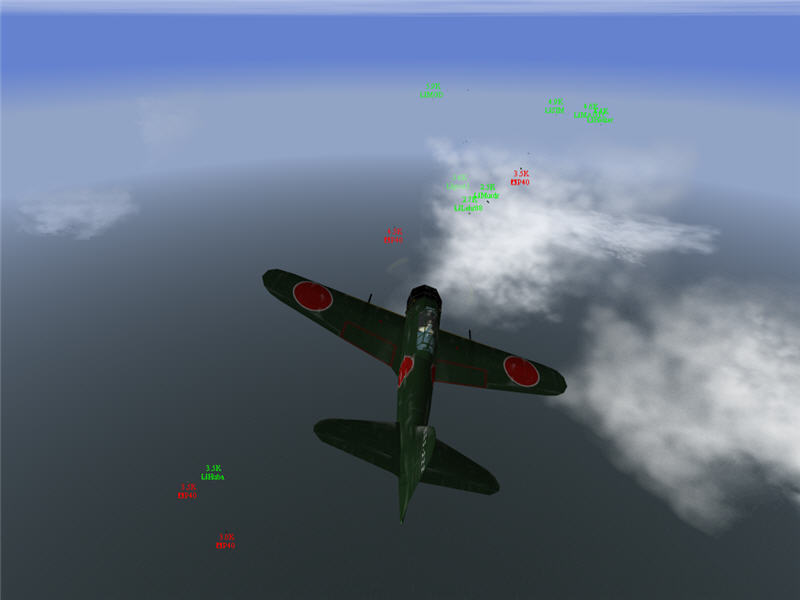
A cockpit view right as more Spitfires enter the fight from an altitude higher
than mine. I'm climbing and trying to position for a merge with them if more
are following. Also in the picture are Barkoed and AKWxMan.
With added allied fighters, the swirling fight is becoming more evenly matched.
Also, fewer of our pilots are at higher altitudes. The allies continue to come
in up high, but this area does not seem to be generating more threats to the
bombers, and I don't think any P-40's will be coming through this area. I call
for any unengaged fighters to head to the bombers and start flying south. (t=
approx. 1:51:00)
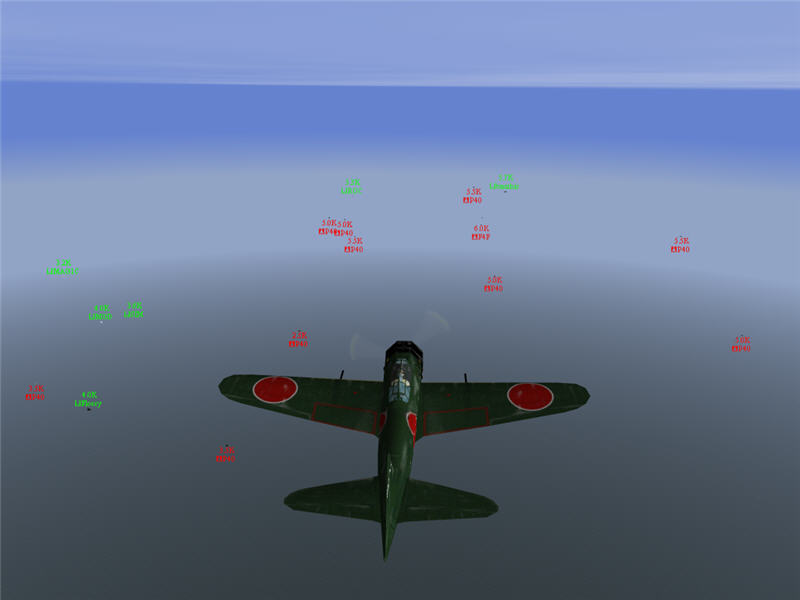
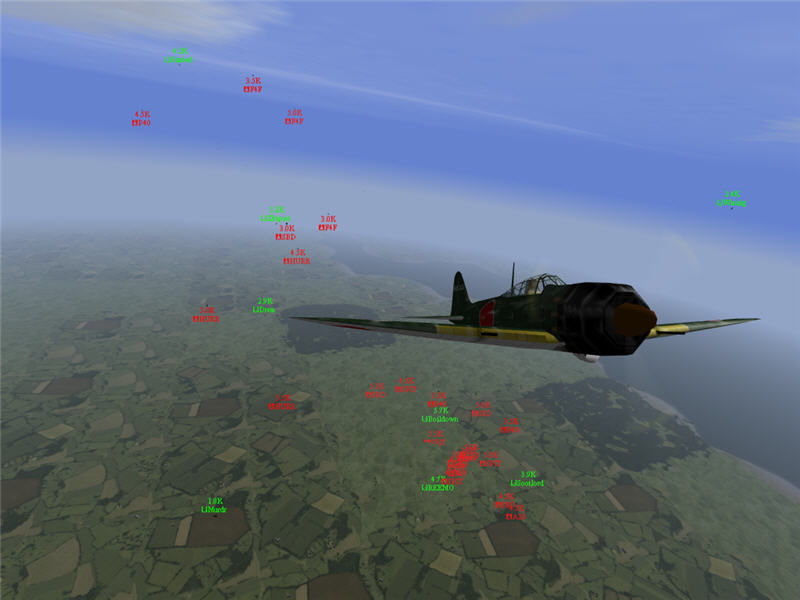
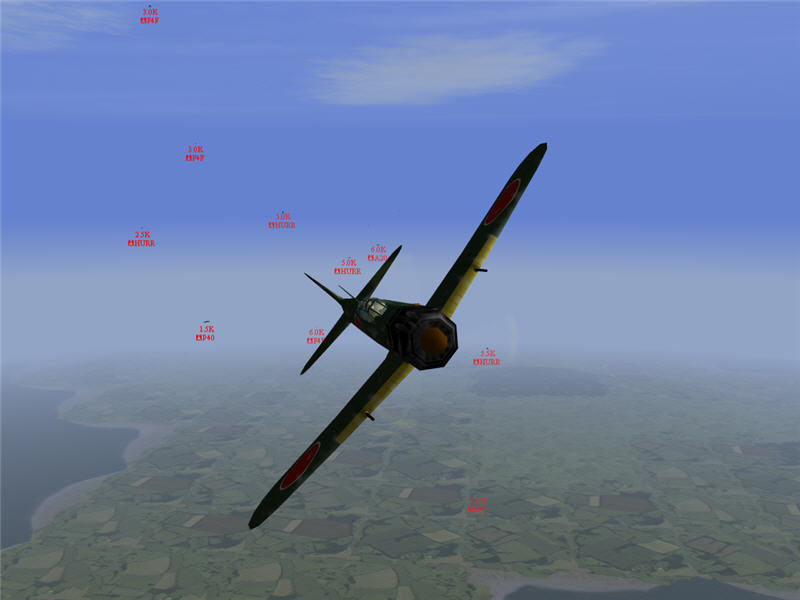
I come across scattered P-40's as I head south to the bombers. (t=1:54:22) I
don't go after any of these, as they are well engaged. Unfortunately, before
I can get to the bombers, I hear calls on the radio of many P-40's in on the
bombers.
I arrive at the bombers. It looks bad. It is bad. Flossy in the lower left is
down to one bomber. bmathis's bombers are ahead. Seeing more P-40's ahead and
bombers ahead, I push forward, trying to get either to the heart of whatever
group of bombers is left or to the front of the stream -- hoping that there
is a heart or a stream. From left to right in the picture: MAG1C, Flossy, MGD,
SIM, ROC, bmathis.
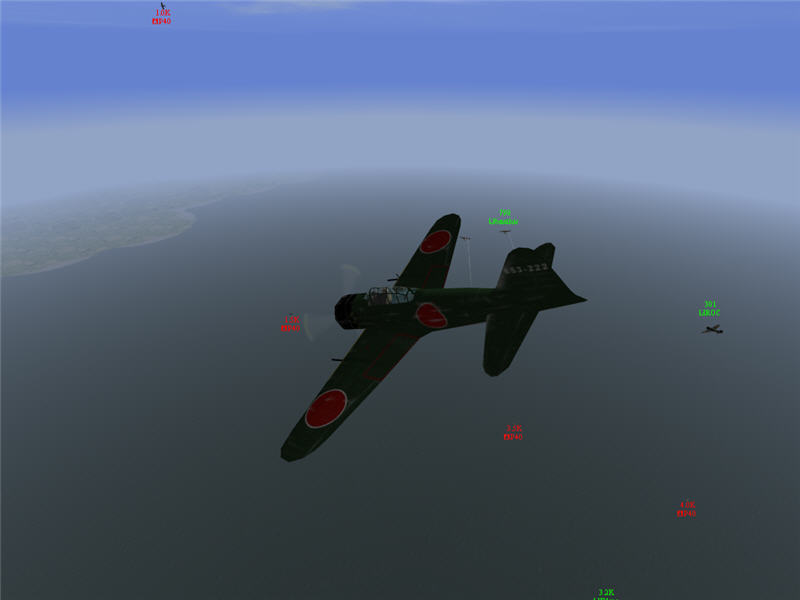
I overfly a P-40 and close on a higher FM2 that is trying to stalk bmathis.
The FM2 breaks off. Boildown chases the P-40 low and out. Amazingly, bmathis
is not swarmed currently. Most of the P-40's that were near him in the previous
picture are maneuvering in fights with the surviving escort or breaking off
as several of us work our way through them to bmathis. (t=1:55:32)
I veer off pursuit of an enemy and get back to bmathis -- I try not to stray
far. Many more fighters shortly catch up to bmathis. There are still enemies
around here and there, of course. From left to right: Denber, ZRapier, Simba6,
0Egor0, gmoney20, SpiveyCH, Heater, SIM, 613Grey, Iku, MAG1C, Boildown, ROC,
and our lone surviving bomber, bmathis.
I work to cut off a P-40E diving in on bmathis. ROC, Boildown, and SIM are in
hot pursuit as well. And bmathis's gunners are shooting at him. It works! The
P-40E breaks off his pass and maneuvers to get away instead.
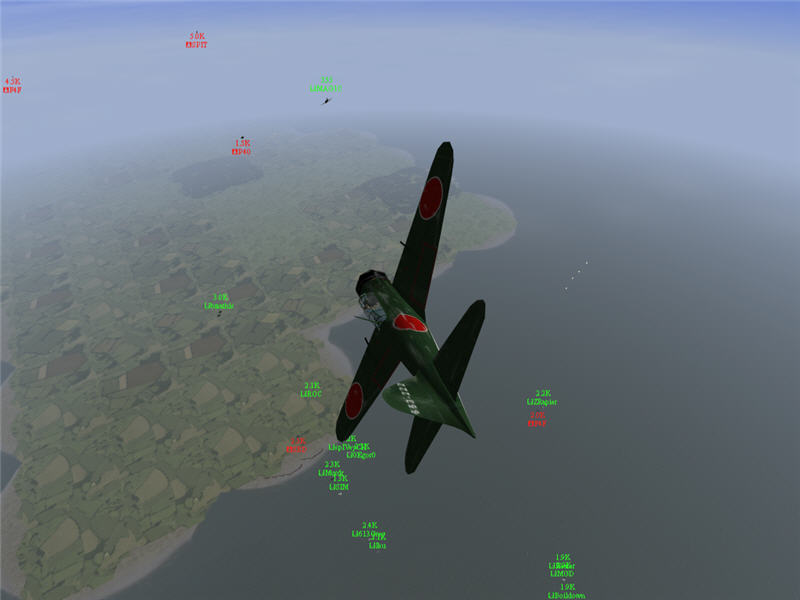
I work to cut off more enemies that are showing up. I'm picking a line between
the high P-40, which I was able to drive off to the left, and the lower P-40's
trying to get toward bmathis from behind. I'm trying to be threateningly near
all of them at once. You can see bmathis's bombers trailing fuel -- he's still
got two bombers, but they are damaged. Also visible in the picture is ROC and
someone else I can't make out down lower chasing the P-40's. We are getting
near land now -- near Rangoon.
Trouble. I'm trying for the P-40 about 1.5k in front of me, but unable to close.
The continuous attacks have caused the escort (me included) to lag behind bmathis
or to be lower than 12k or both, and there are new enemies coming in with plenty
of altitude from the north. bmathis is almost to Rangoon here, calibrating his
bombsight. SBD's (Buffalos) are starting to enter the combat, and there might
be a whole squadron of them available. From left to right: bmathis, ROC, MAG1C,
Murdr, SIM, spiveyCH, 0Egor0, 613Grey, Iku, ZRapier, Heater, MGD, and Boildown.
More enemies show up, and bmathis goes down just short of Rangoon.
The last moments of bmathis. Immediately following this, the suriviving IJAAF
forces are in a fight with the allied forces. ROC calls out on the radio, "All
bombers down. What do we want to do here, guys?" I suggest, "Let's
fight our way back home," but I think most people are more in the mood
for any revenge they can get. I stay high, as there are more enemies coming
in with altitude. I keep my eyes open for clearing the tails of any IJAAF fighters
trying to leave the area, but it mostly looks to be a swirling furball, not
giving most people the chance to get free of it.
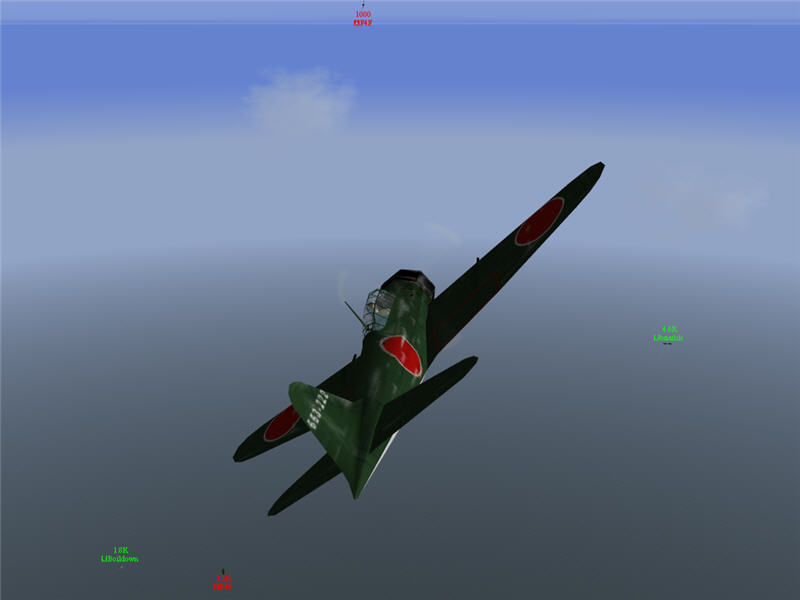
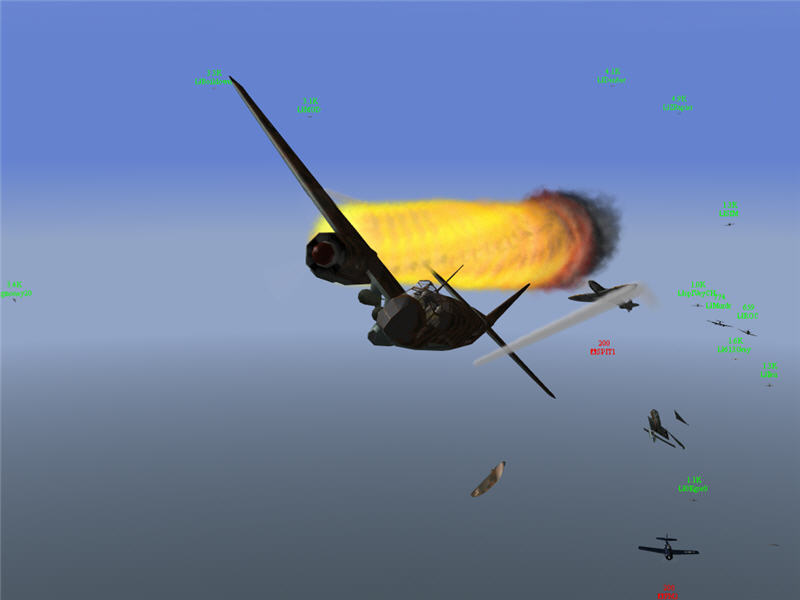
After flying around a lot and making attack runs here and there to no damaging
effect, I take a shot on a Hurricane that is trying to zoom back up to altitude.
I'm diving vertically at high speed, and the shot is at a huge deflection, with
the Hurricane invisible under my nose. I hold down my cannon trigger and get
lucky -- solid hits blow his plane in half.
This is how it's looking shortly after the previous picture. We are starting
to get overwhelmed. I'm getting some altitude to try to keep some high ground.
Simba6 and Winzig are up here, too. From left to right: Simba6, Murdr, Drem,
ZRapier, REEMO, Boildown, Sootlord, and Winzig.
I attack another Hurricane and get cannon hits, but not enough to put him down.
He's diving hard and rolling to the right. I choose not to follow him down and
into the morass.
At this point, the odds seem hopeless, and I decide to leave the area. A P-40
tries to chase me down but turns back after a while.
I fly all the way back to Phitsanulok and land.
Conclusion
I got two kills (an A-20 and a Hurricane Mk I) and lived. Unfortunately, my
main job is protecting bombers, and they all died.
This was a particularly deadly frame for fighters, too. I was the only survivor
of IJN1. IJN1 got 8 kills.
-- Brooke, GL, IJN1