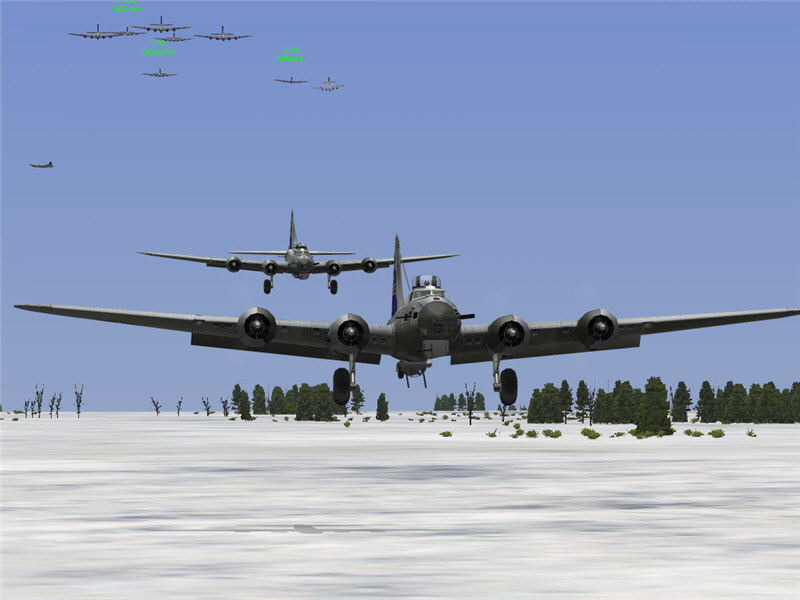
Takeoff of the 447th BG. From left to right: jordidmd, me (Brooke), Taszman, duckk66, and Tudza.
After-Action Report
447th Bombardment Group, 3rd Bombardment Division
10/20/2007
by Brooke
This was a scenario that ran in the multiplayer on-line air-combat simulation Aces High.
I was in the 447th Bombardment Group, along with jordidmd (the Group Leader), Tudza, Taszman, and duckk66. The 447th BG was part of the 3rd Bombardment Division, which included (besides us) Kermit (the Division Leader), Derek92, chase252, Hibbie, HACKSAWx, OOZ662, OrionV, gas50, kcmech1, and KKEN. We were in B-17G's, loaded with 12 500 lb bombs, 75% fuel, and formations enabled. Our takeoff field was A70 near Sedan. Our target was to be the radar factory northwest of Offenburg (in 12.7.4).
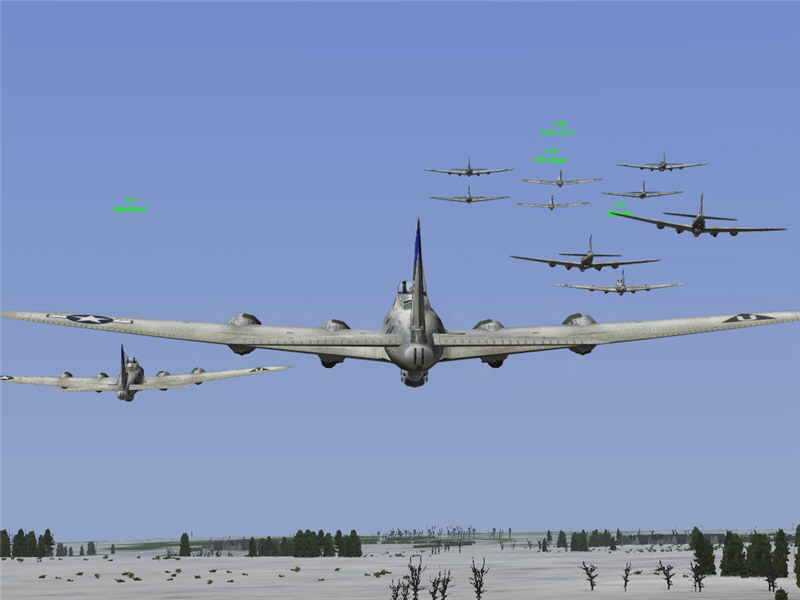
Takeoff of the 447th BG. From left to right: jordidmd, me (Brooke), Taszman,
duckk66, and Tudza.
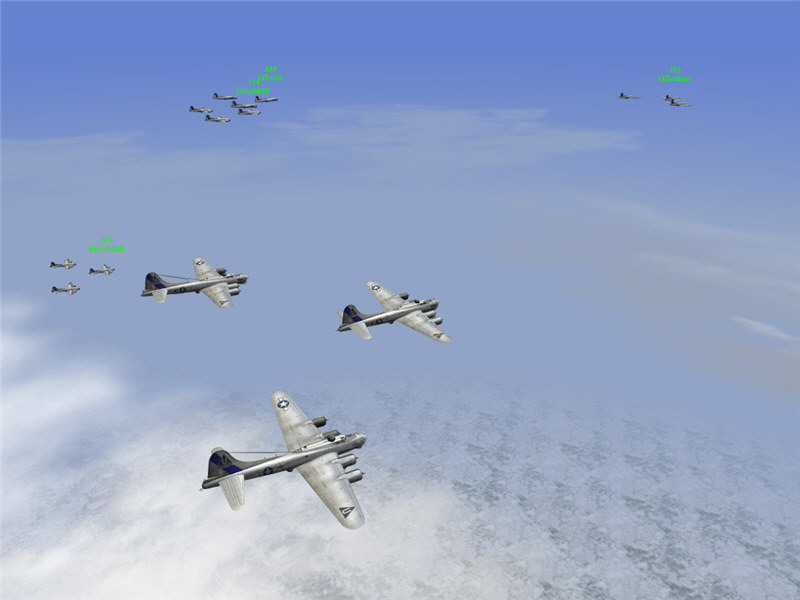
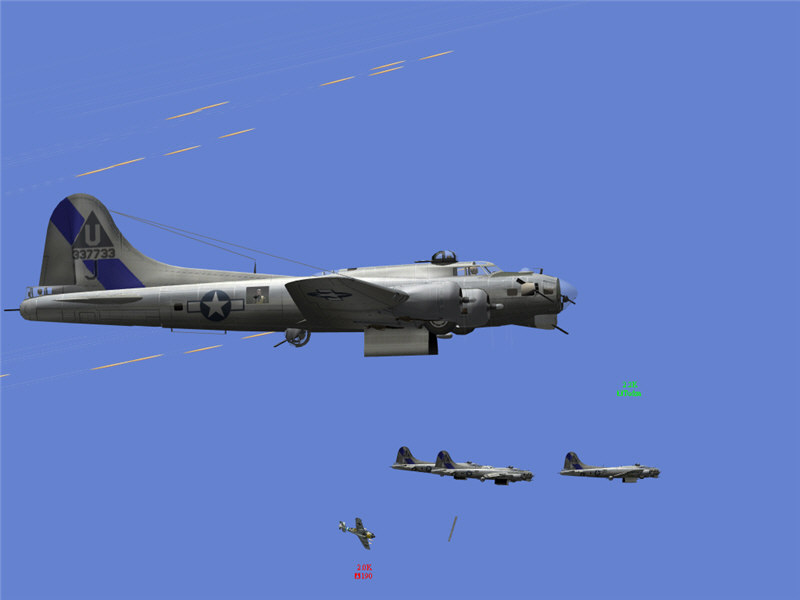
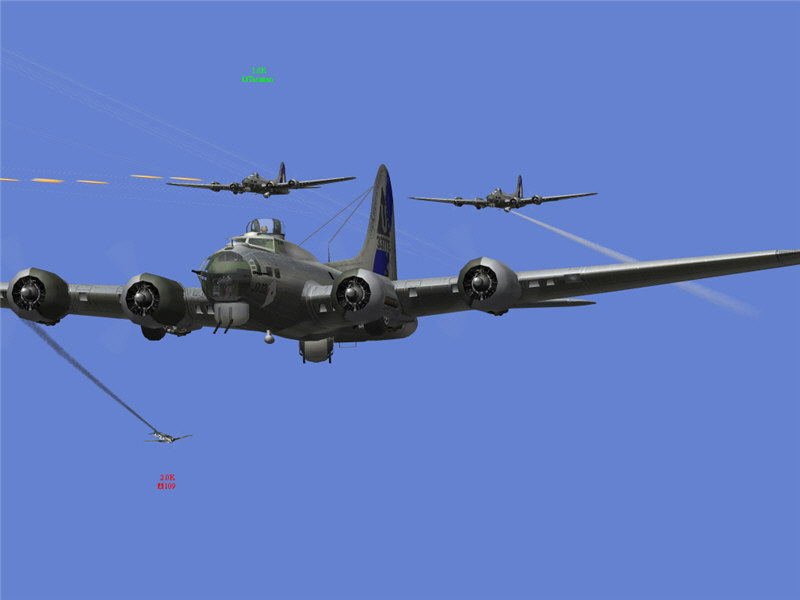
Climbing to our designated altitude (24k) and forming up with, from left to
right: Tudza, me, duckk66, and jordidmd. We are all following Taszman, who was
designated lead formation because jordi's superchargers were surging (i.e.,
warps).
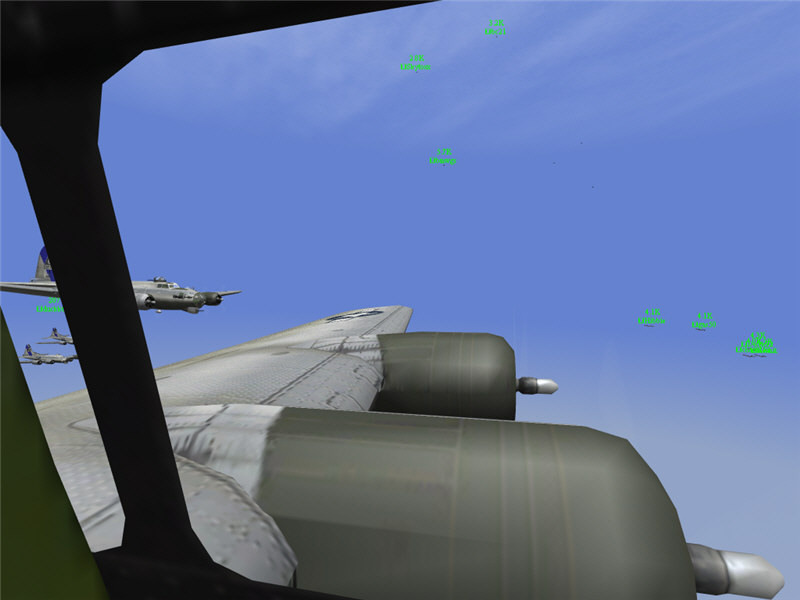
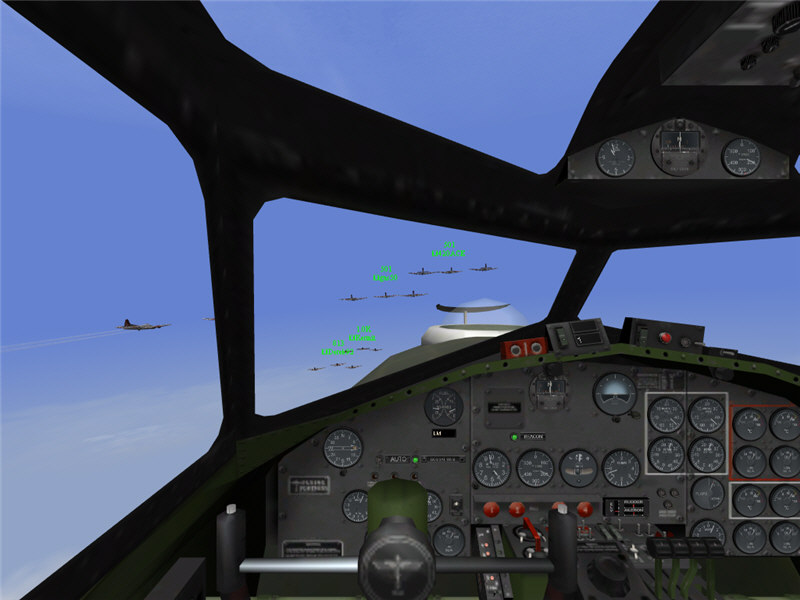
A view out my left window as our fighter escort shows up. They are in P-51D's
and are the dots up above. Skyfoxx, bmwgs, and bc21 are visible with a few others
farther off. This is about 50 minutes after takeoff. Also visible to the right
of the picture is the BG with Kermit at the lead (either the 100th or the 385th).
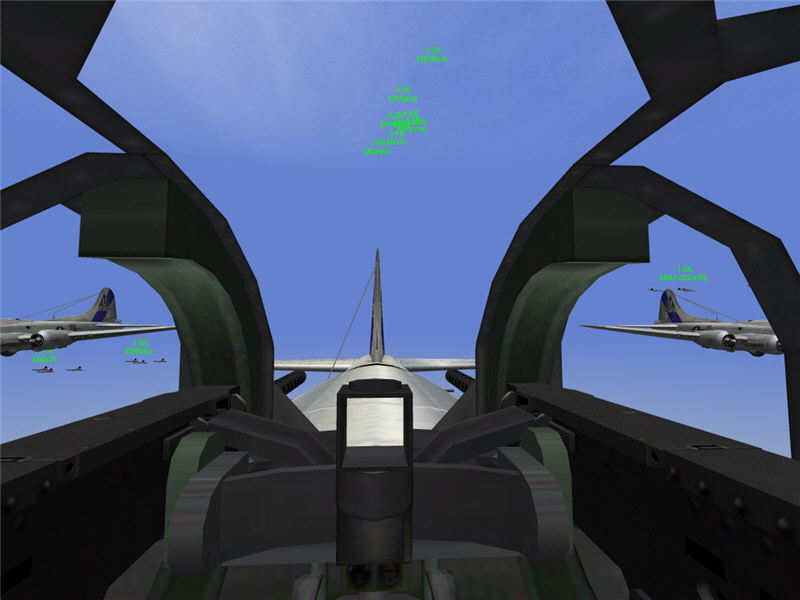
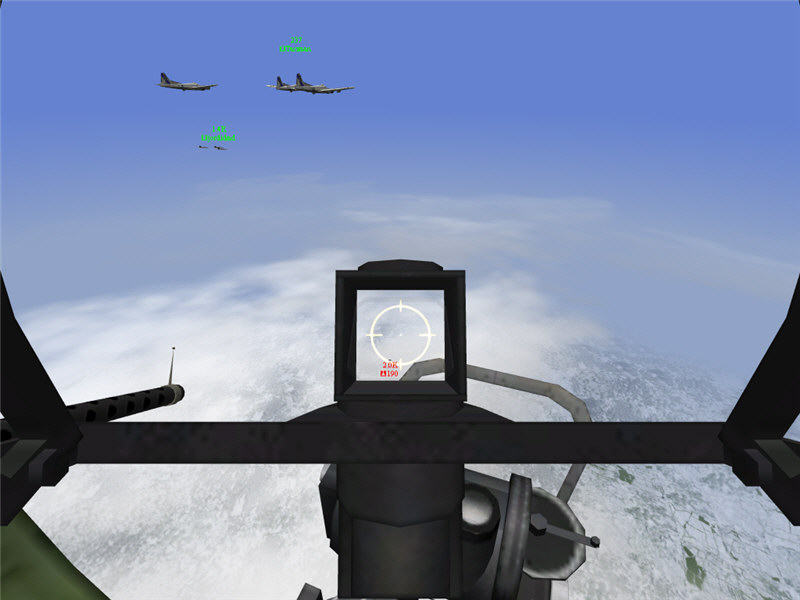
A view out the upper turret position as another squadron of escorts shows up
-- P-38's! From top to bottom are ByHeck, Wizkid, Pappps, dhyran, ScSi, and
Sgtron. This is about 1 hour after takeoff. Also visible are the bombers of,
from left to right, gas50, Hibbie, and HACKSAWx.
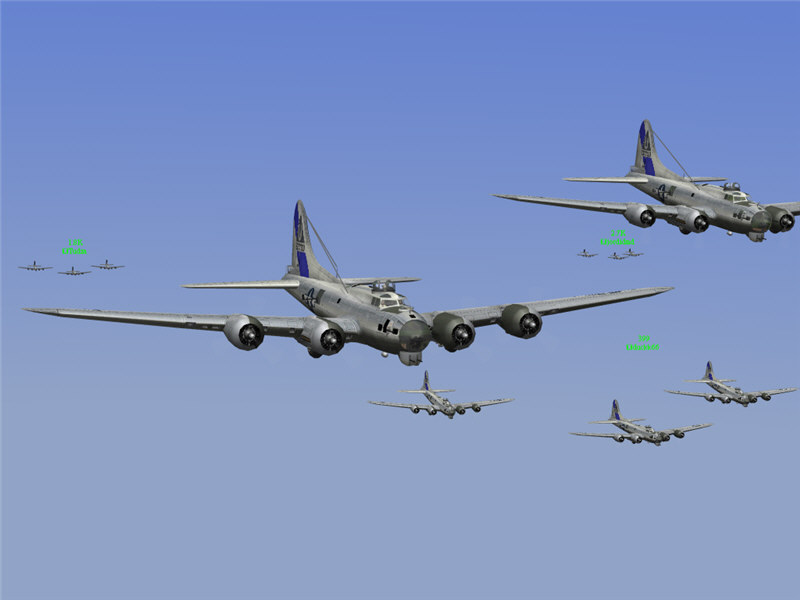
We start to run into some clouds and hope that, much farther ahead still, the
target will not be obscured. From left to right are: jordidmd, me, duck66, Tudza,
and Taszman. About this time, we are hearing reports of Me 262's scouting around,
possibly finding some other Bombardment Divisions. At one point, we also hear
a report of about 16 FW 190's ahead of us, which does not bode well. We aren't
sure, though, if they will go for us or one of the other BD's.
Our escorts range out ahead. After we cross into Germany, they call out contacts.
I can see bogies in what seems like a fight to our right out of ID range. Our
first sight of an enemy is a FW 190 that comes in low under our formations and
is probably putting out a radio report of our position, numbers, and heading.
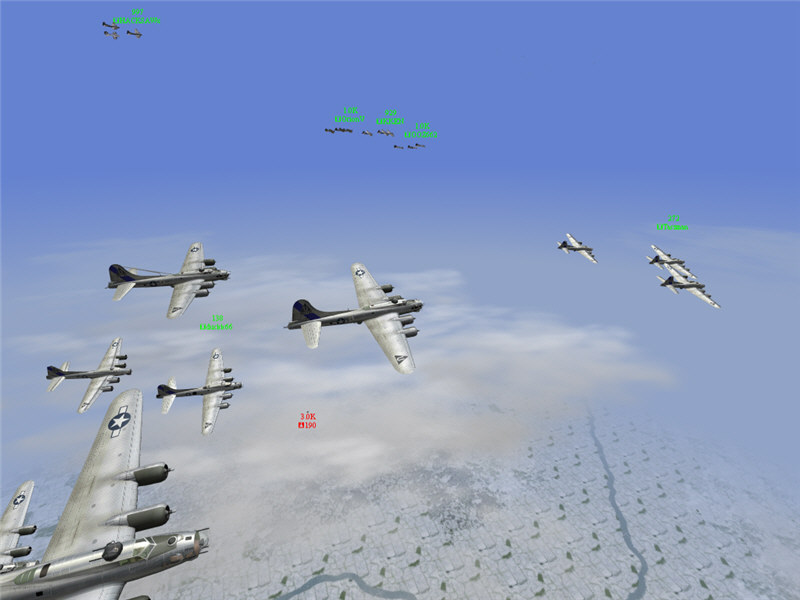
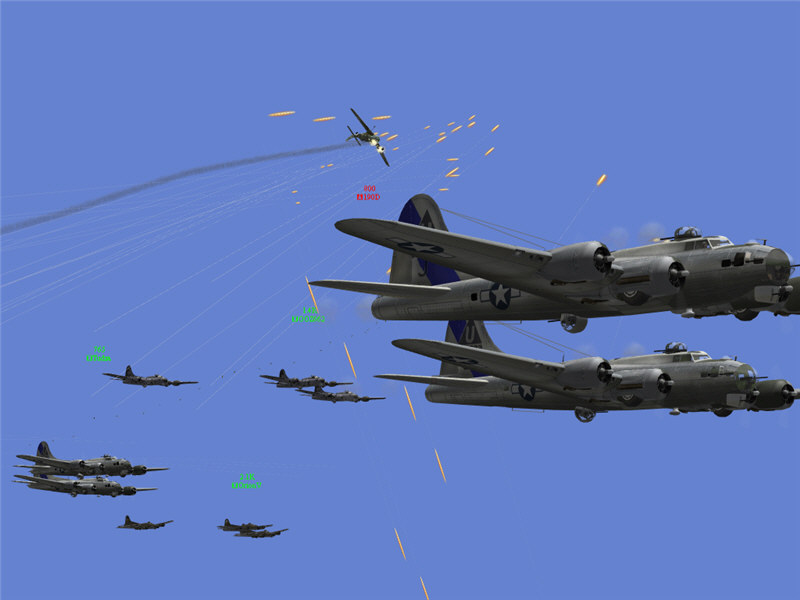
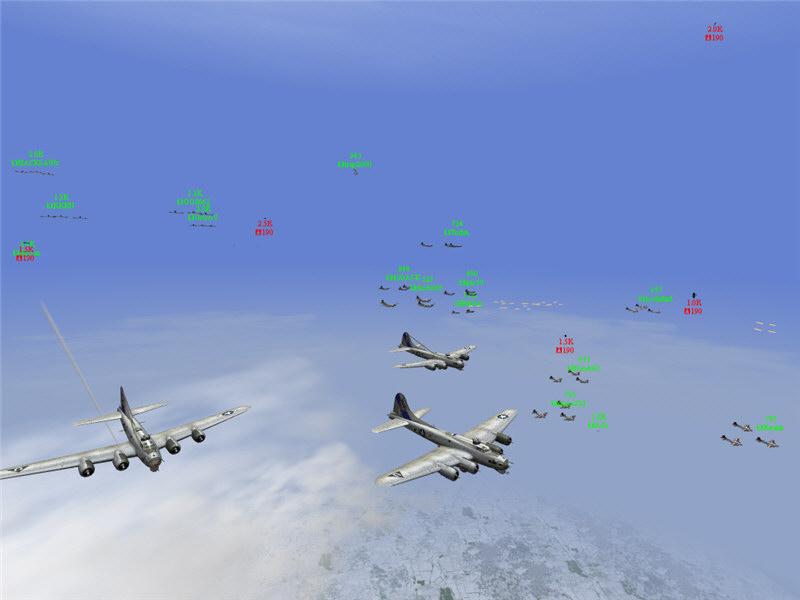
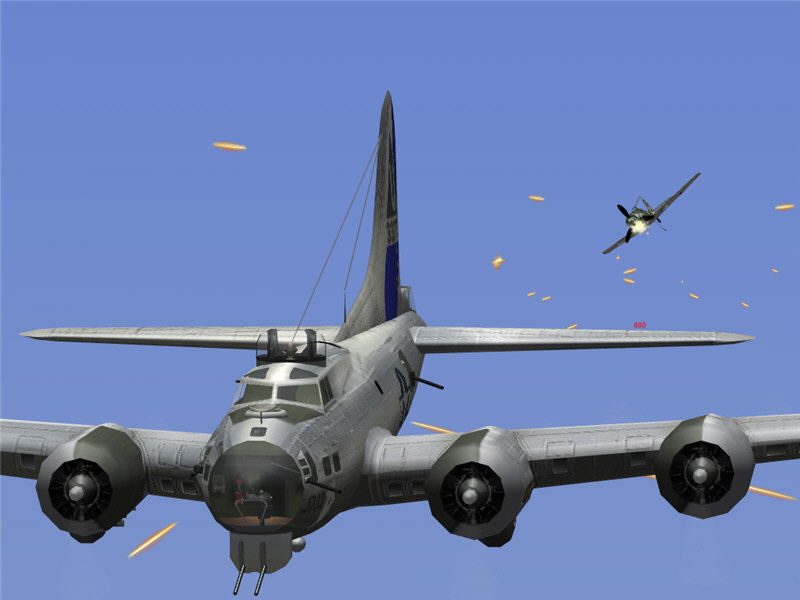
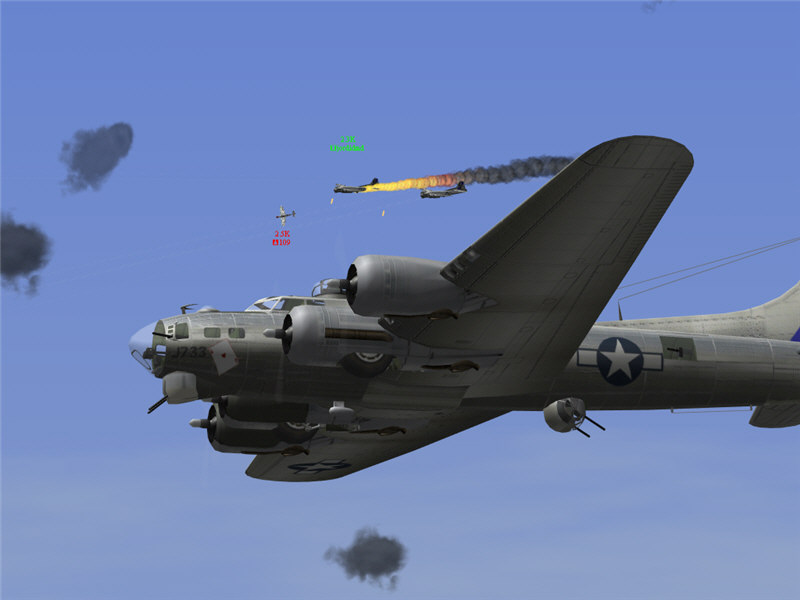
A wide-angle view at the front of my bomber. FW 190's are starting to attack
the 3rd Bombardment Division. There's one 2.5k behind me and a couple others
attacking near HACKSAWx and OOZ662. This is about +1:16 after takeoff.
A view behind me as the FW 190's work their way toward my side of the formation.
jordidmd is firing at one that is 1000 yards behind me and closing.
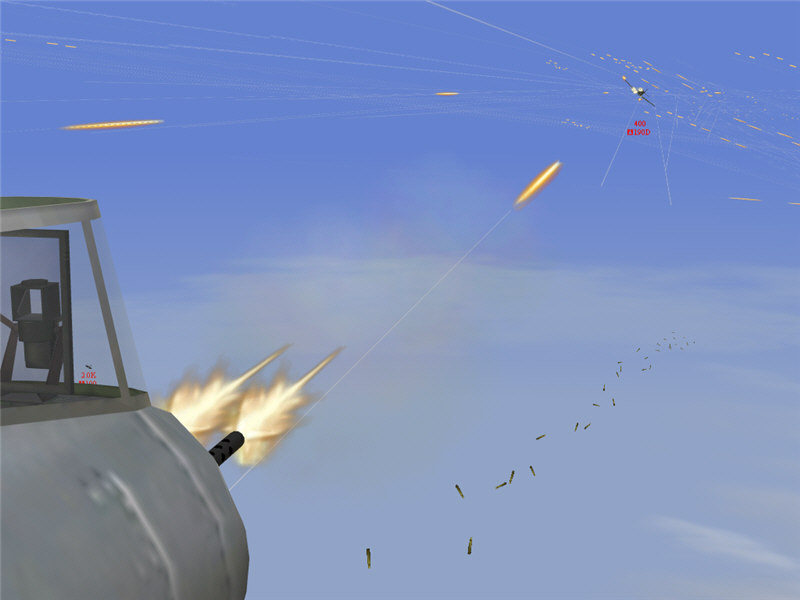
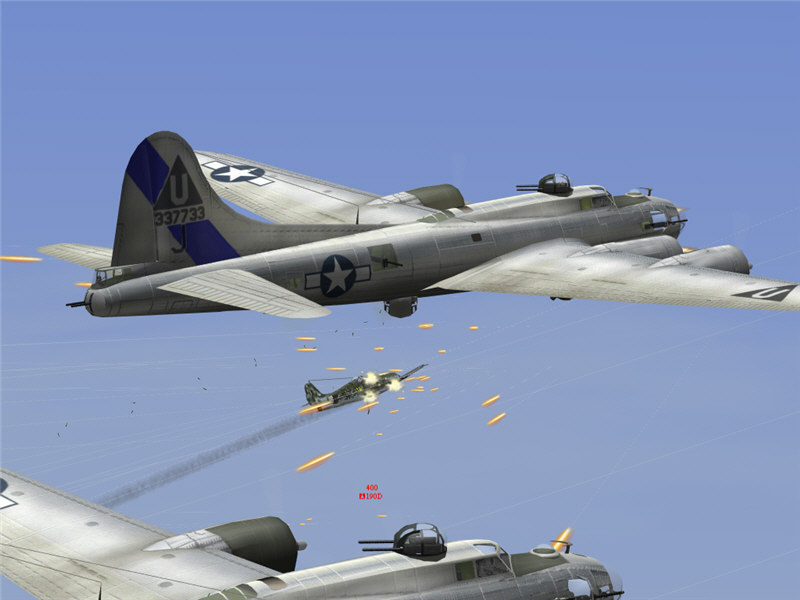
He flies through a barrage of fire to come attack me, and I let him have it
from my tail-gun position. Shell casings stream away from the tail gun, and
he takes a face full of 50 cal. It's a FW 190D-9.
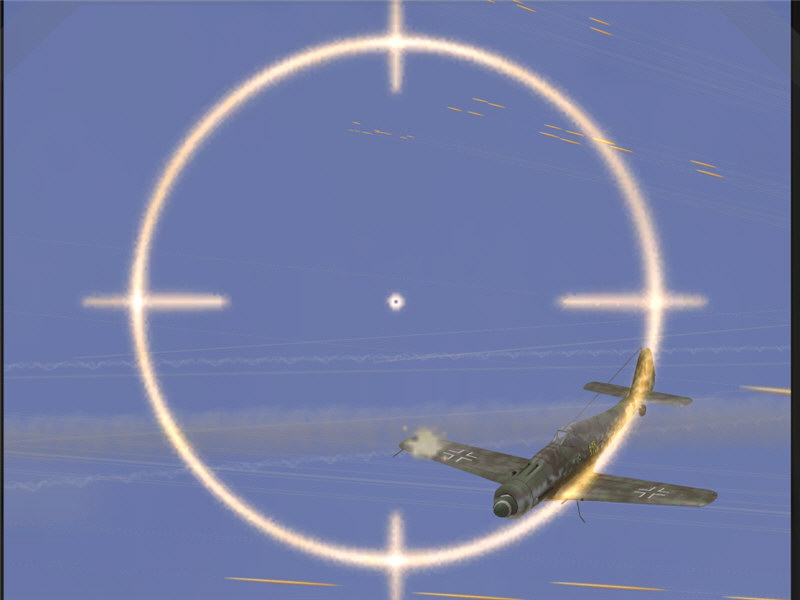
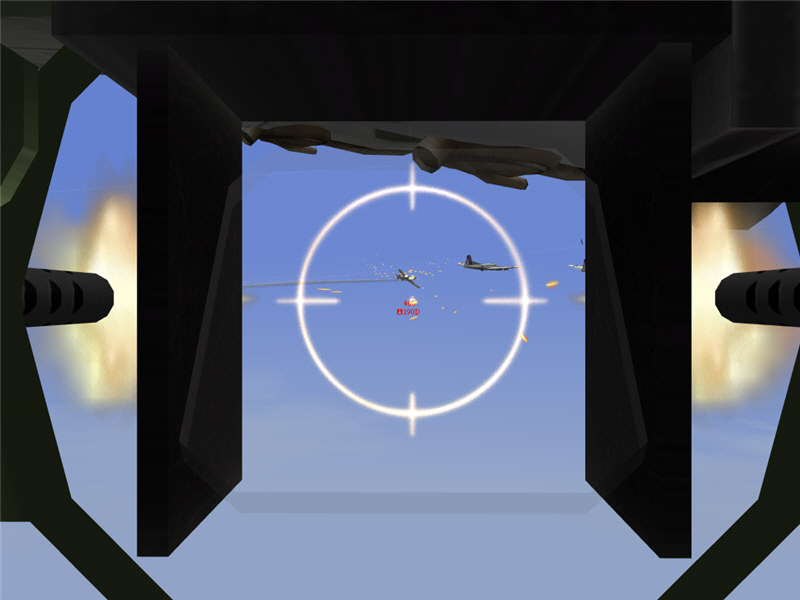
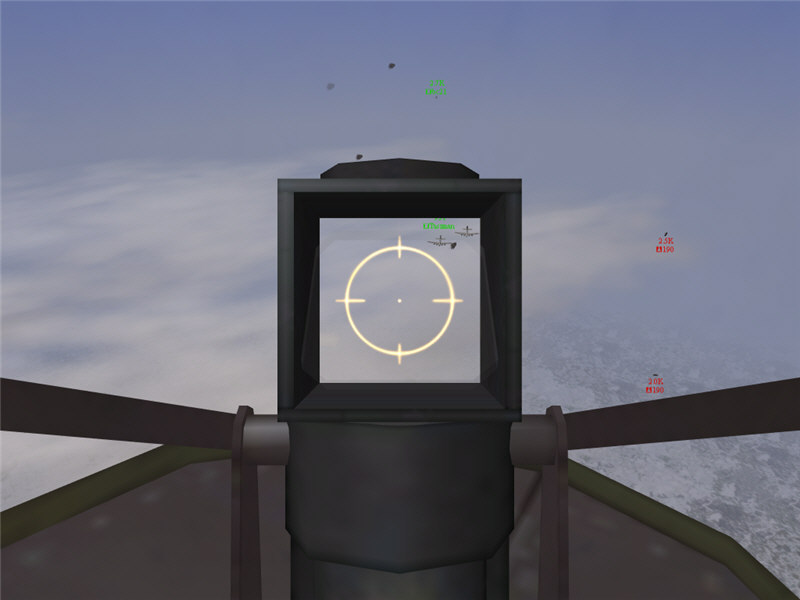
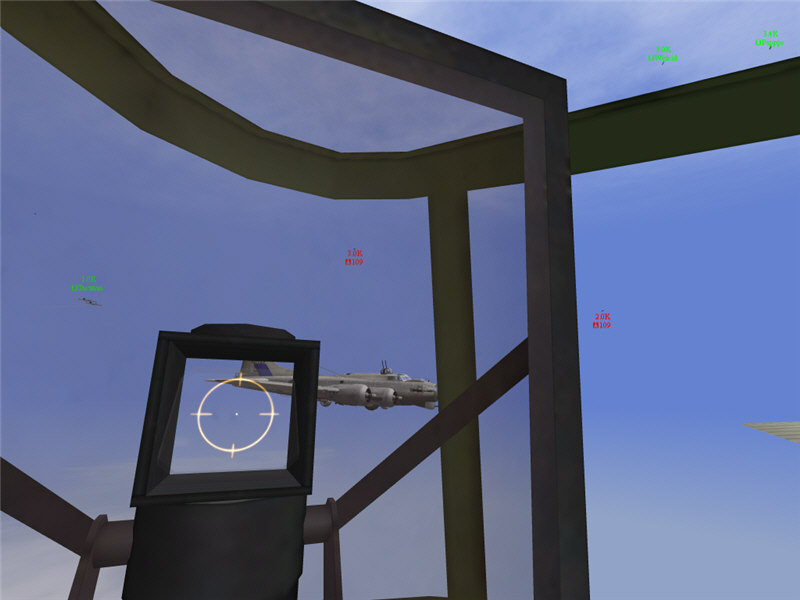
A view out my tailgun's sight as I give him a few rounds to his right wing as
he passes.
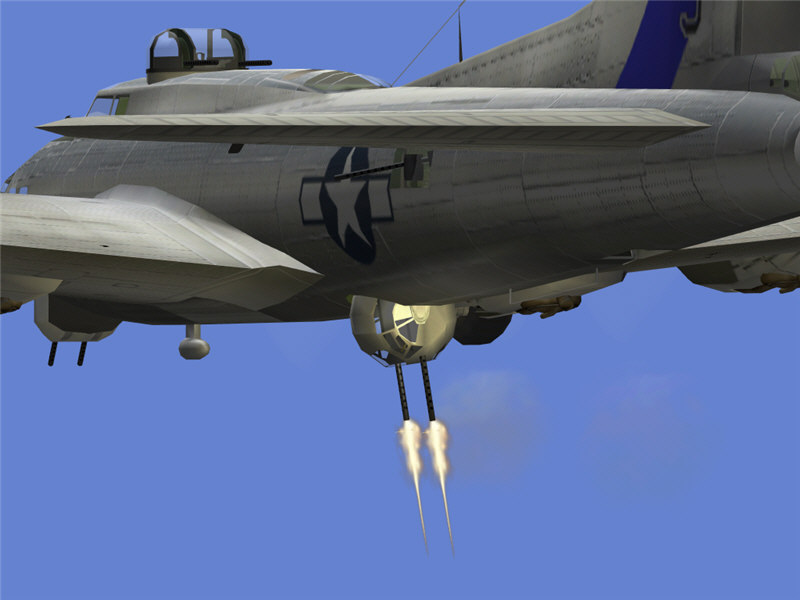
He screams past under me. He has hit my right drone during his pass, and it
is leaking fuel from its right wing tank. Taszman is firing at the 190, too
-- maybe a little too close for comfort!

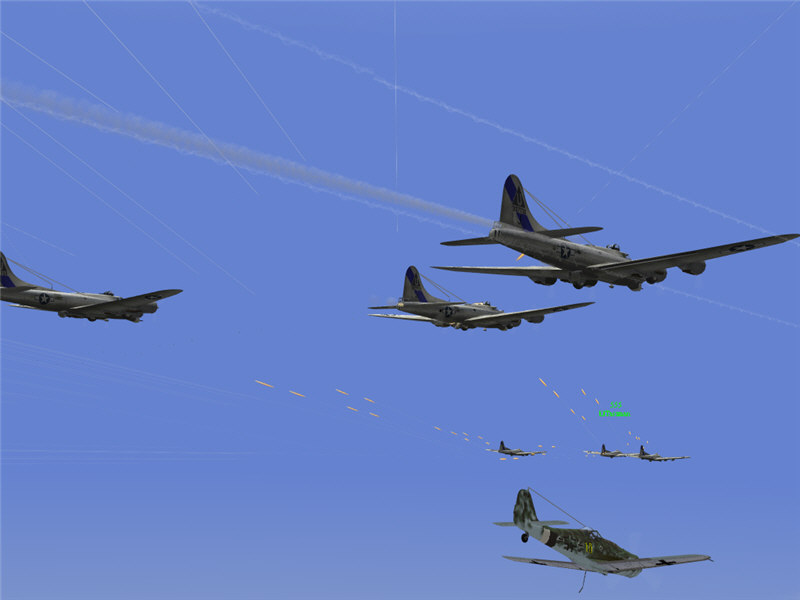
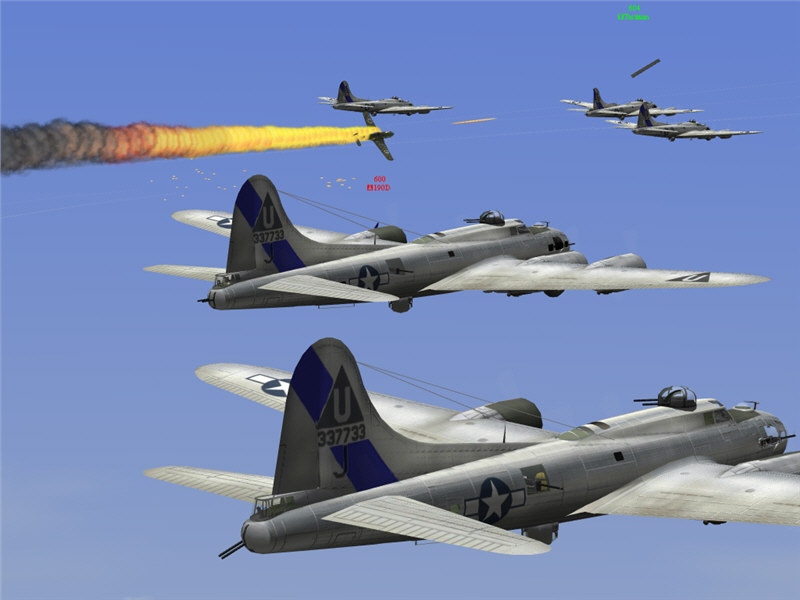
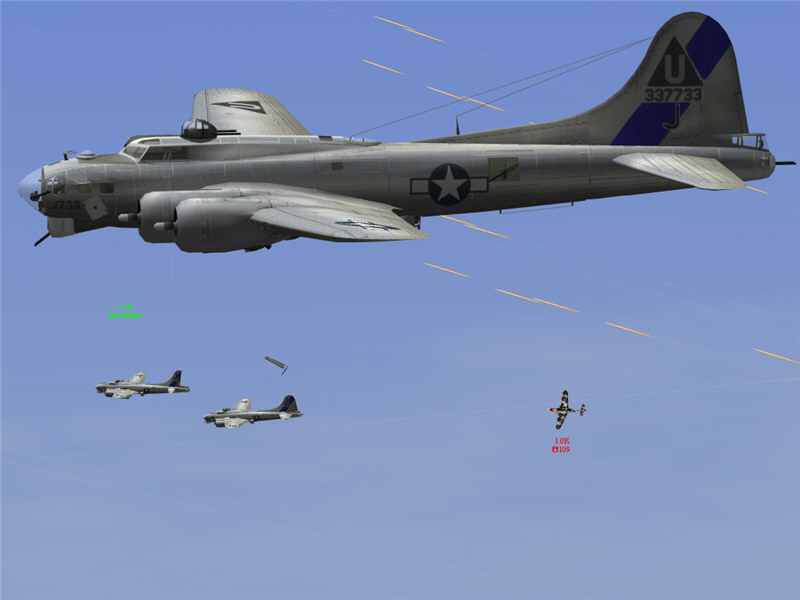
I put some shots into another attacking FW 190D-9. Several more 190's are attacking
the bombers now, and there are about 6-8 in total. Shell casings stream away
from my tailgun, and my top turret is firing, too. At the top of the picture,
trap2000 in a P-38 is rolling inverted and diving in.
A view out my tailgun sight. As I track the enemy fighter, shooting at it, I
sweep past one of Tudza's bombers and light it up with hits. Yikes! Sorry, Tudza!
Fortunately, Tudza's bomber stays up, and the FW 190D-9 is smoking.
I put some more hits into the FW as it rolls inverted and dives under me.
I jump to the ball-turret position and light him up as he goes by under me.
A view from the ball turret as I keep the fire on him. He heads for Taszman,
who is also firing back at him.
The FW 190D-9 catches fire -- unfortunately, he also manages to put some rounds
into Taszman, whose right flap has just broken loose and is flying back away
from the bomber.
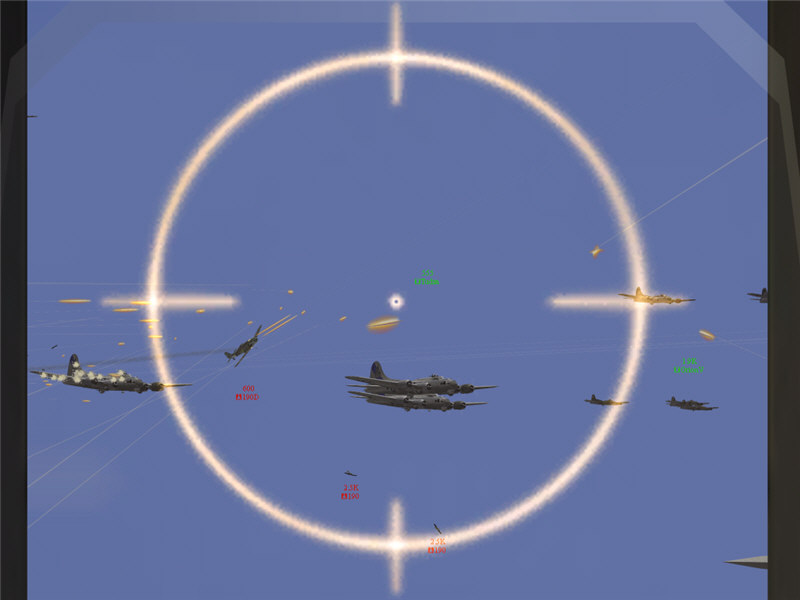
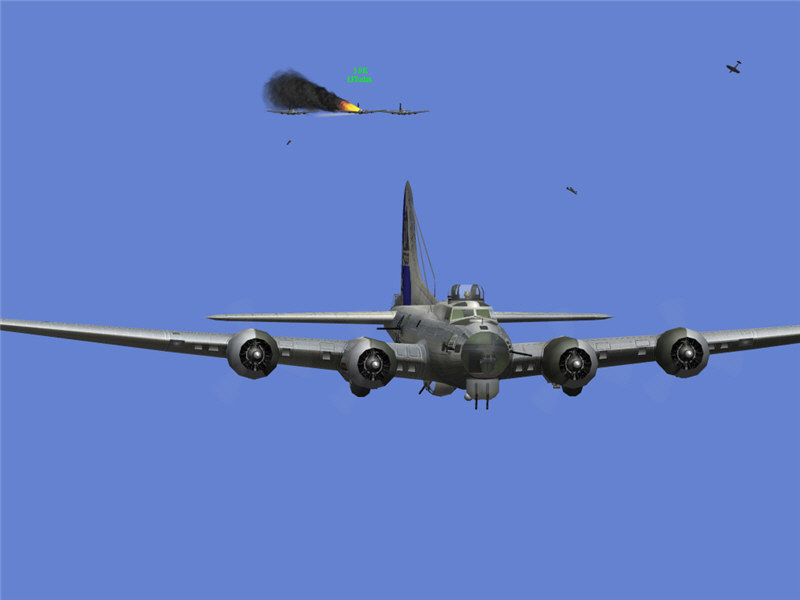
A view of the melee as it continues. There are other FW 190D-9's outside of
this picture.
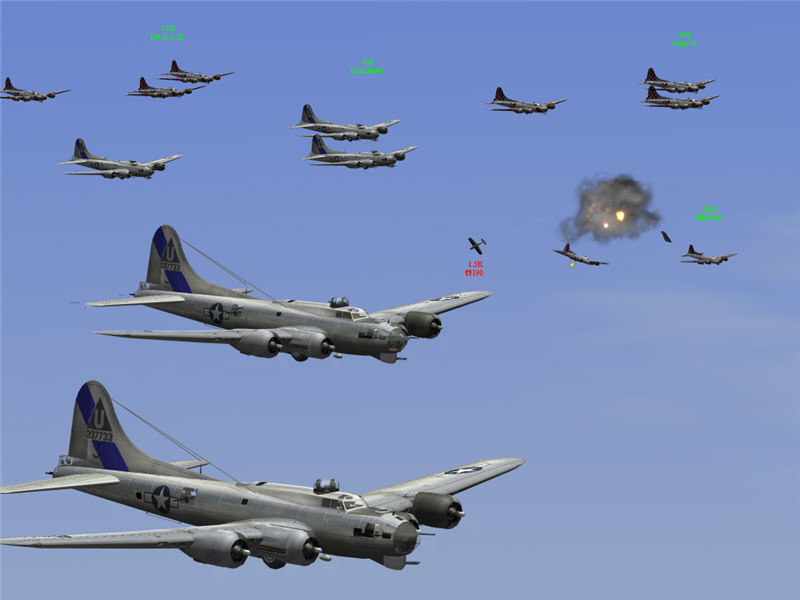
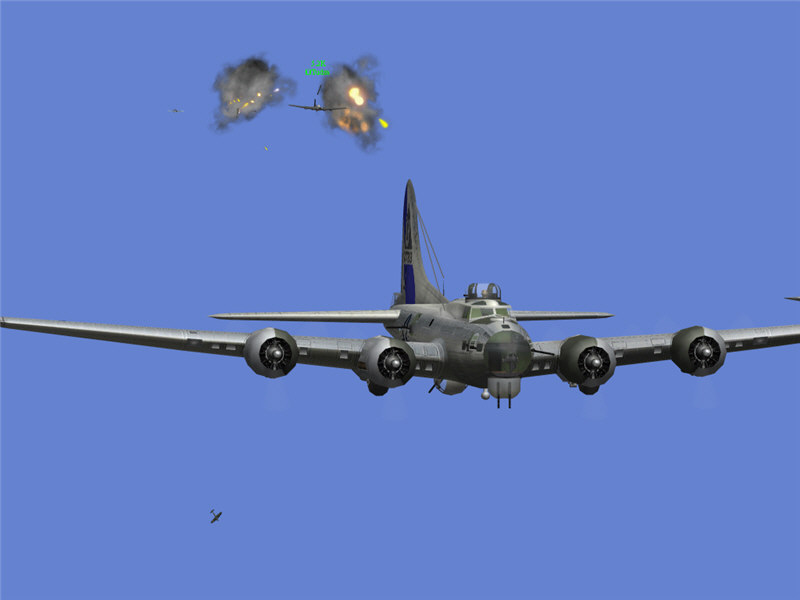
One of Hibbie's bombers explodes after a frontal attack from a FW 190.
I put some shots into another FW 190D-9 as it attacks me from behind. He dives
away under me afterward.
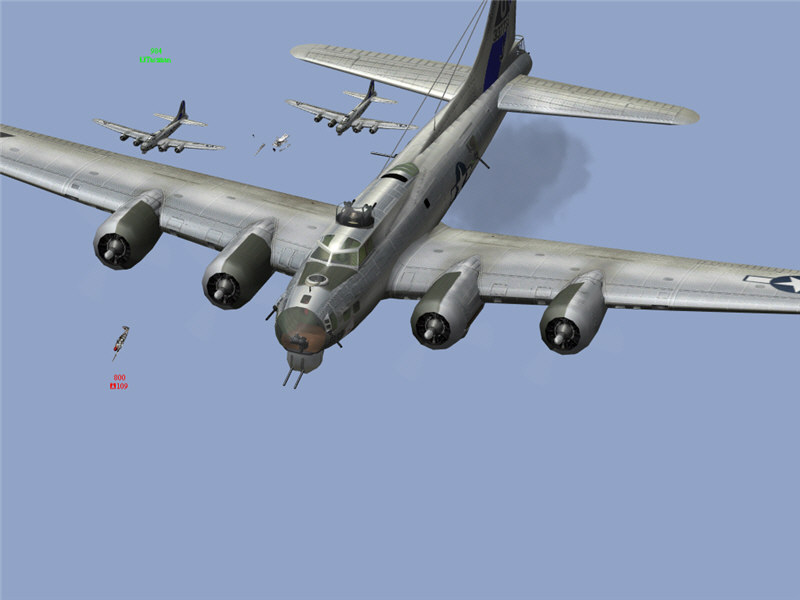
I am still concentrating on the previous 190 under me and don't notice this
FW 190. With its engine freshly dead from a fight with escort far above, it
comes diving down on me. I get some warning calls and jump to another gun postion,
trying to locate what is attacking me.
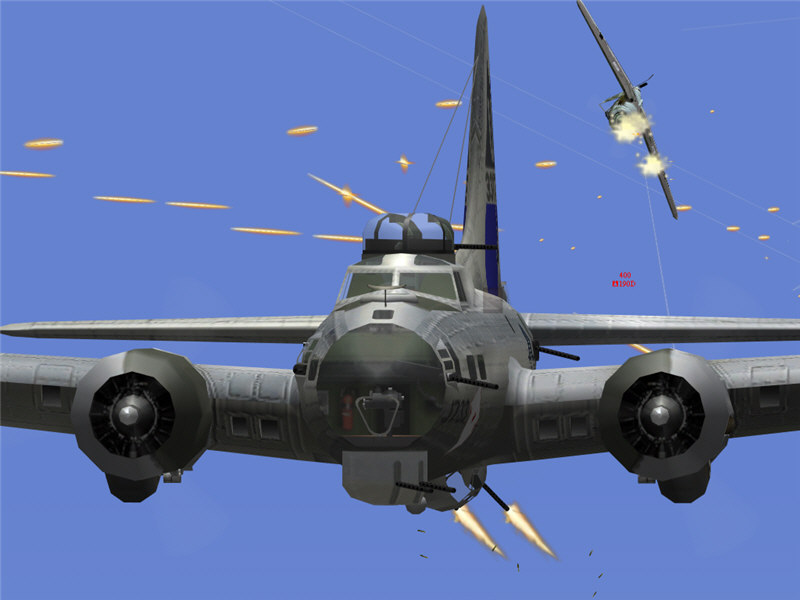
I put some rounds into him, as perhaps do other bombers around me. His right
wingtip is blown off -- but right at this point, he is able to put a strong
burst of cannon rounds into my right drone, which explodes.
He goes rolling down out of control, now also trailing smoke from the previous
gunfire. I have to hand it to this Luftwaffe pilot -- he lost his engine, came
diving down for one last attack of opportunity, and managed to destroy one of
my bombers right at the moment of also losing part of his wing.
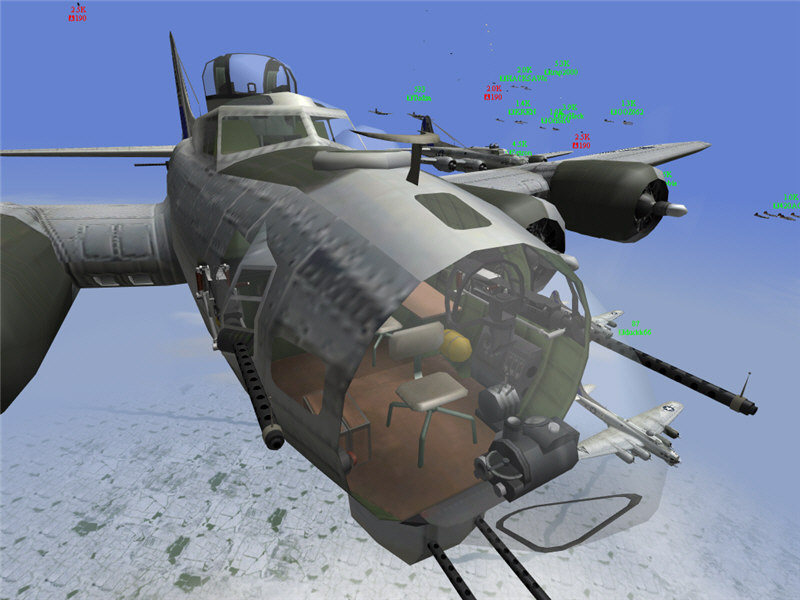
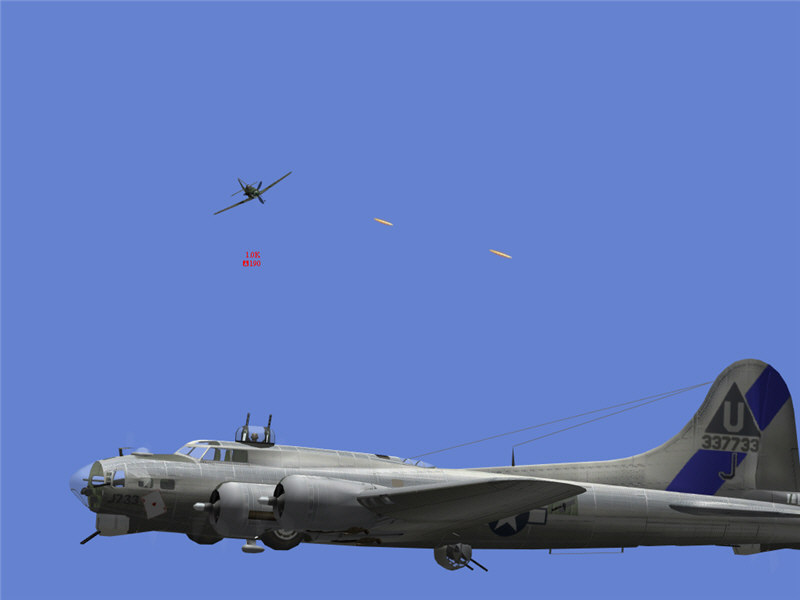
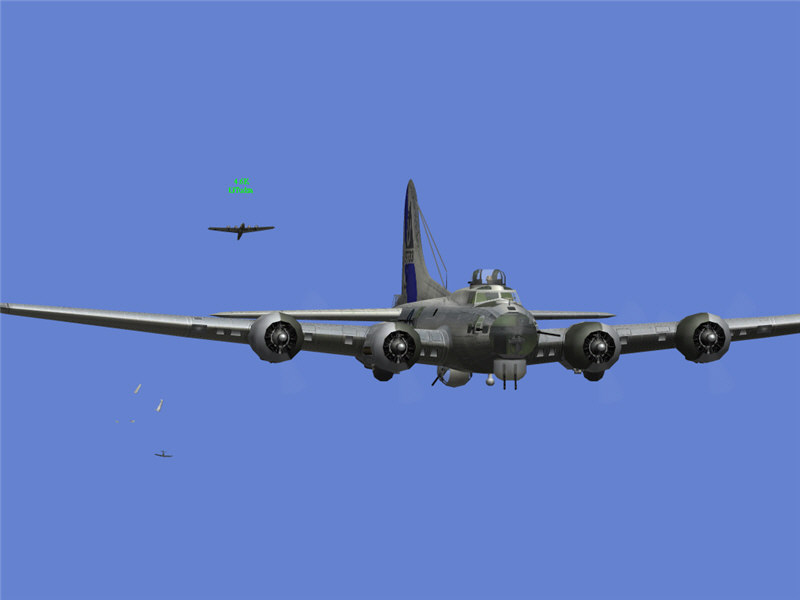
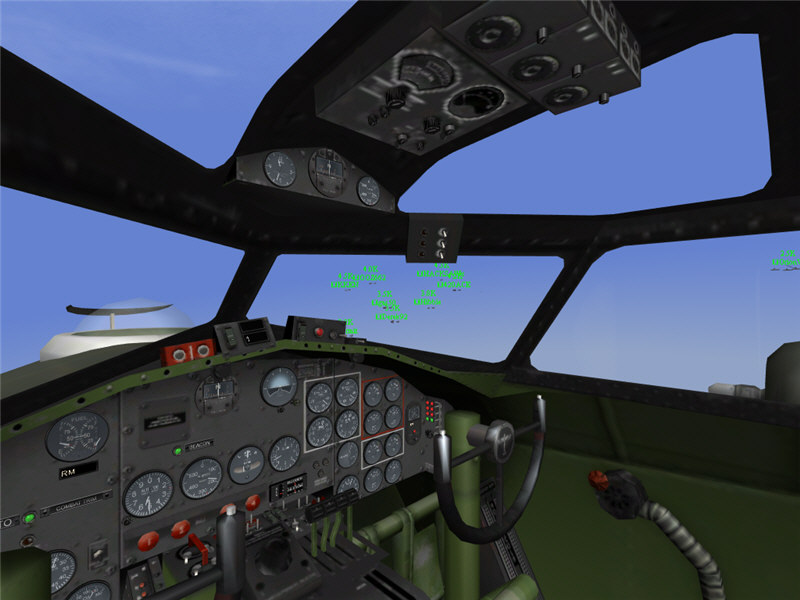
A view out my nose-gun position. The FW 190D-9 attack finally thins out, and
things are less hectic, except that there is a FW 190 ahead and below our bombers,
probably pacing us and calling out radio reports of our position and heading.
I call it out on the range channel, asking if any fighters around can take care
of him, and trap2000 comes in and drives him off. Shortly after this, there
is also an enemy fighter lurking above me. I shoot some rounds at him at a range
of 1000 yards, in an attempt to scare him off. He doesn't attack me, but again
he is probably working to call in reinforcements, as more attackers do show
up soon.
More attackers show up. A FW 190A-8 makes frontal attack on jordidmd and blows
the wing off his lead bomber.
Another FW 190A-8 makes a run on Tudza, whose bomber is shedding parts. Our
bomb bay doors are open, and we are about 20 miles from target. I'm nervous
that we will be under attack while trying to make our bomb run, and I'm wondering
if the clouds will be clear enough over target for us to see it.
The clouds thin enough for us to pick out the target, which is visible in this
picture near the top right.
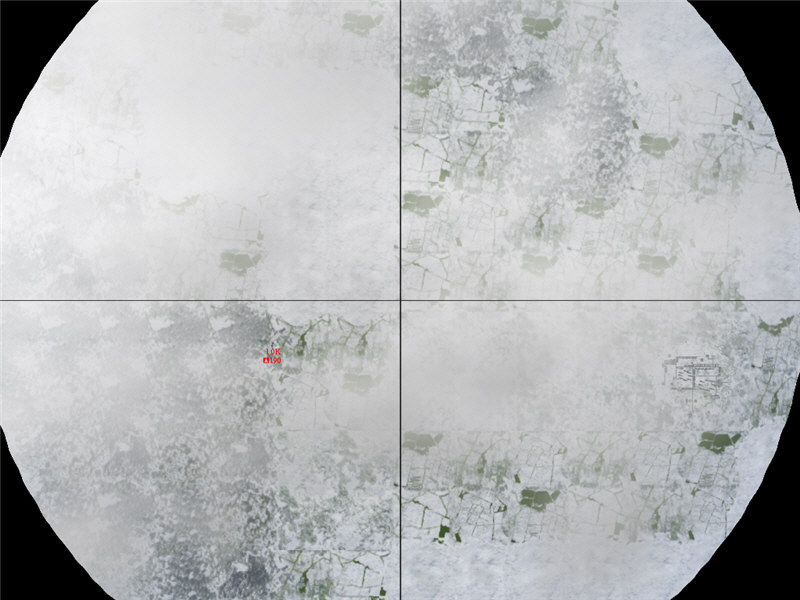
A view out my bombsight as I start calibrating and lining up. The target is
to the right of the picture. Fortunately, the enemy attacks thinned out allowing
most of us to calibrate and line up without being under attack. There are a
few enemy fighters around, though (such as the one visible in my bombsight 1000
ft below me), and a few people are attacked as we line up.
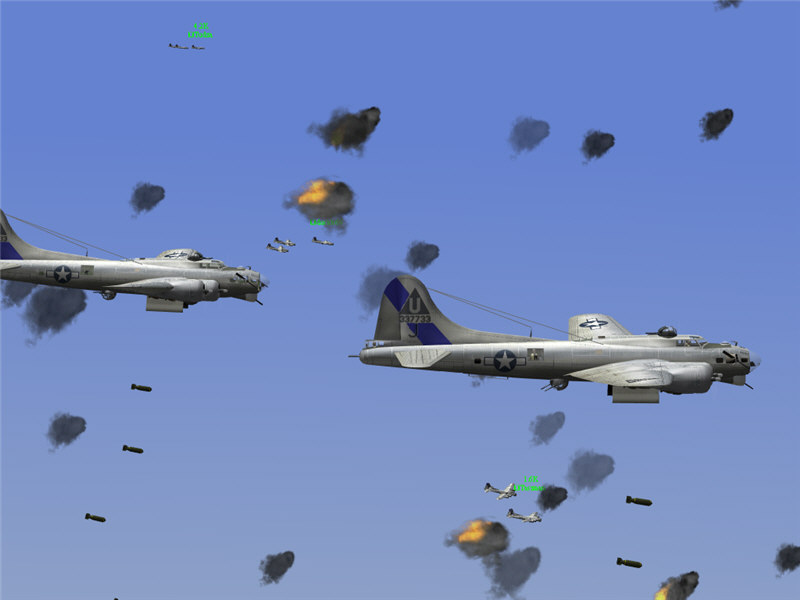
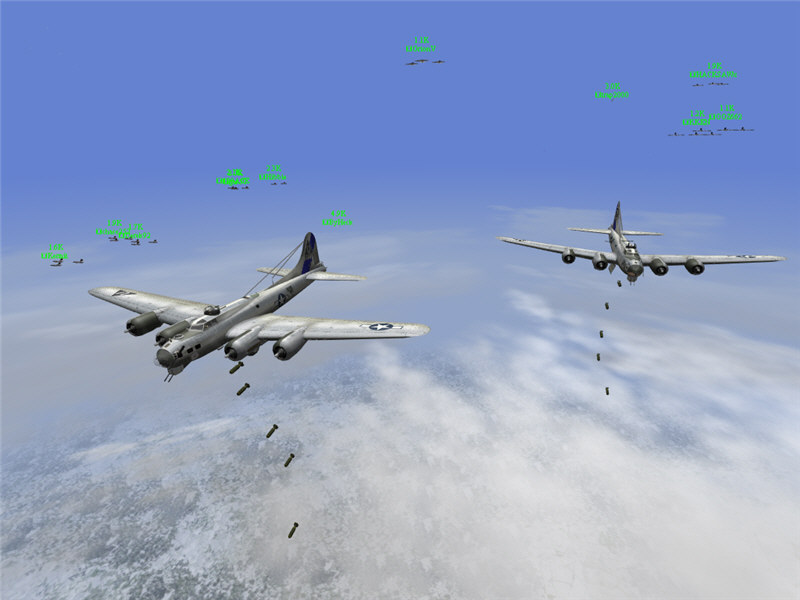
Bombs away! I drop my bombs as flak from the target bursts all around (from
left to right) Tudza, duckk66, and Taszman.
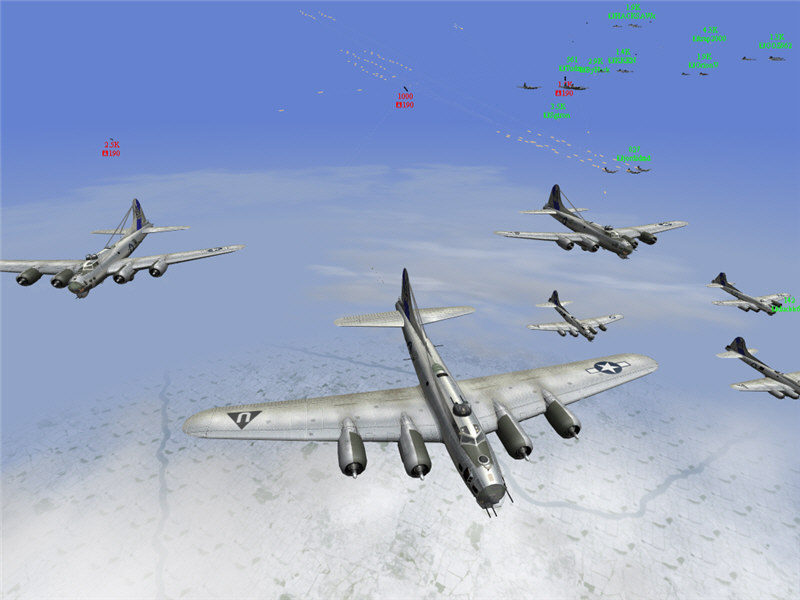
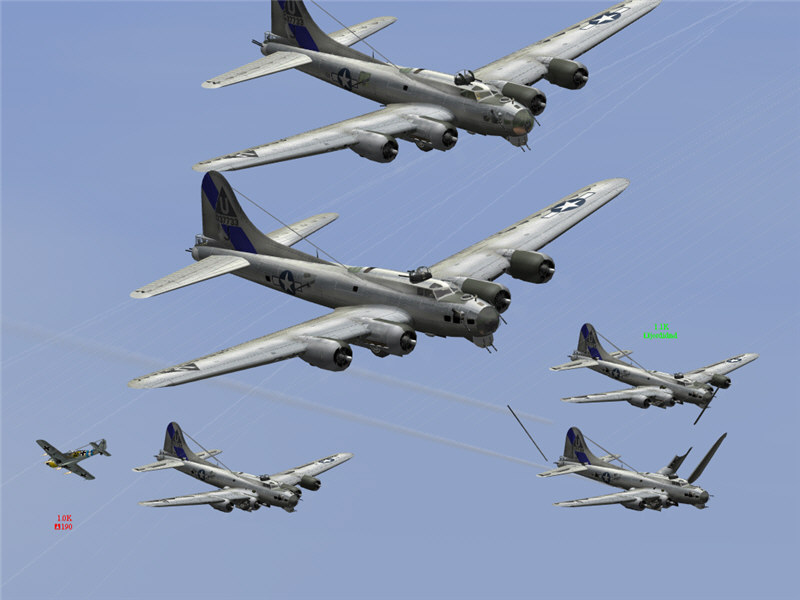
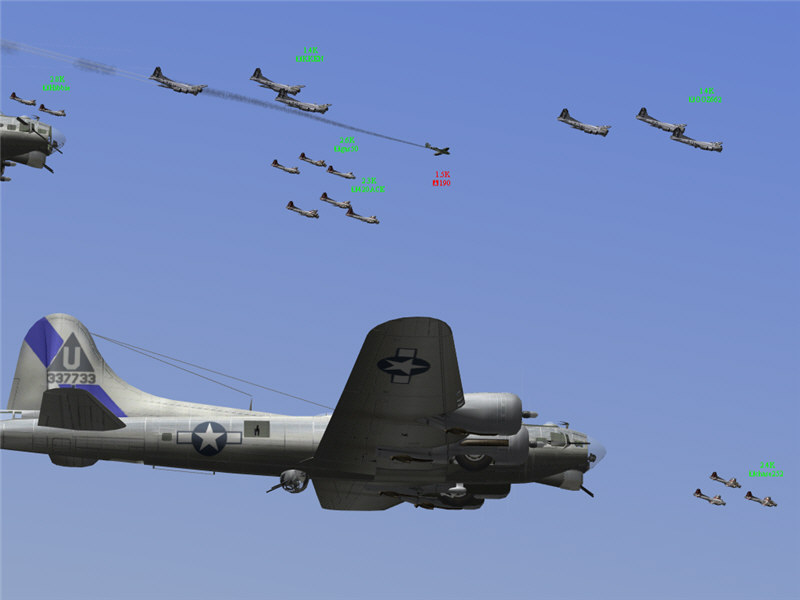
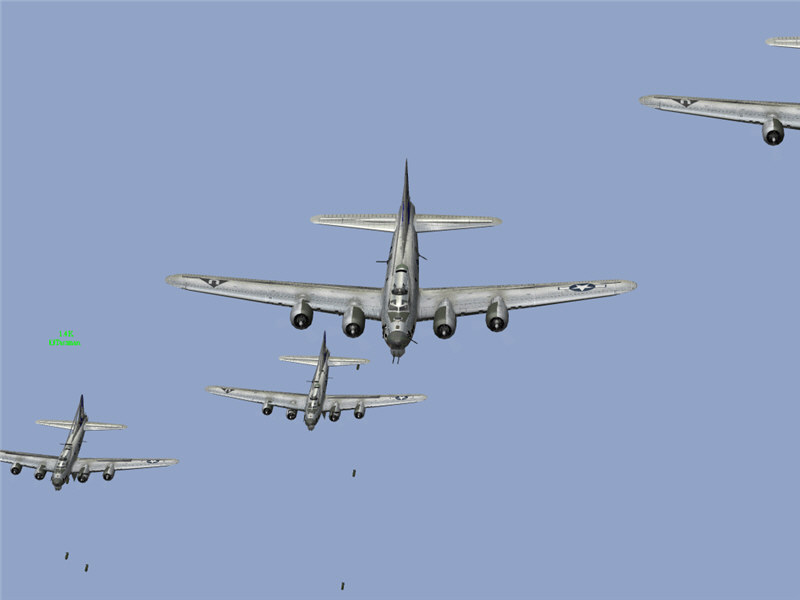
A view behind me from in front of my bombers as I drop. Other 3rd BD from left
to right: Kermit, chase252, Derek 92, 420ACE, gas50, Hibbie, ByHeck (in a fighter),
OrionV, trap2000 (in a fighter), KKEN, HACKSAWx, and OOZ662.
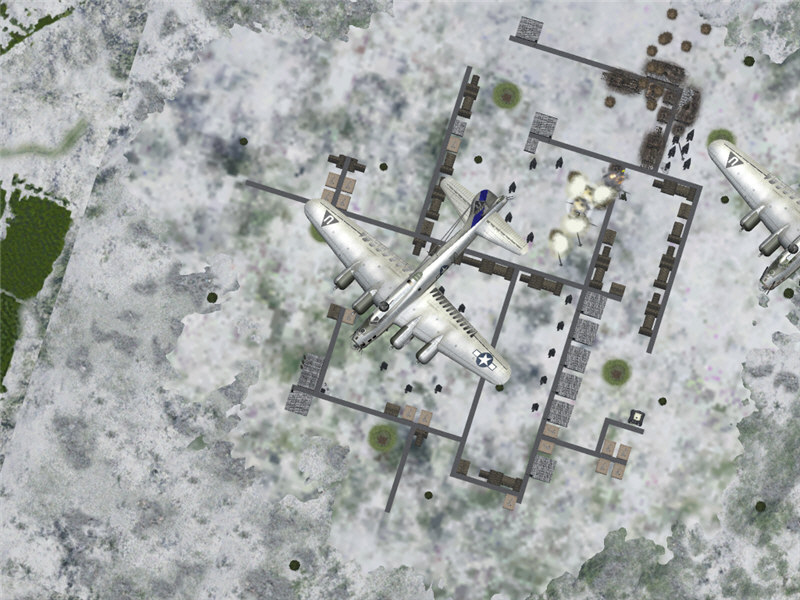
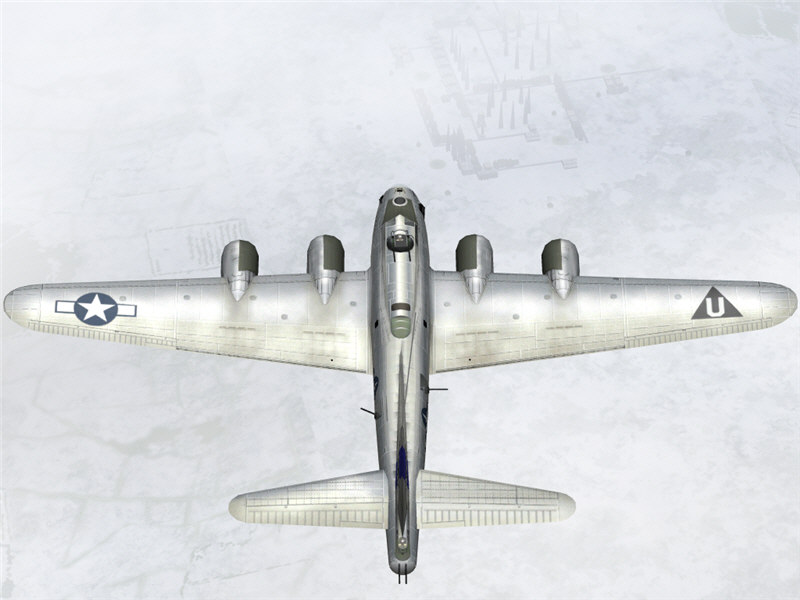
A picture from above my bomber as my bombs are hitting. My bombs hit from the
upper left corner of the factory (which is now destroyed) toward the part now
exploding.
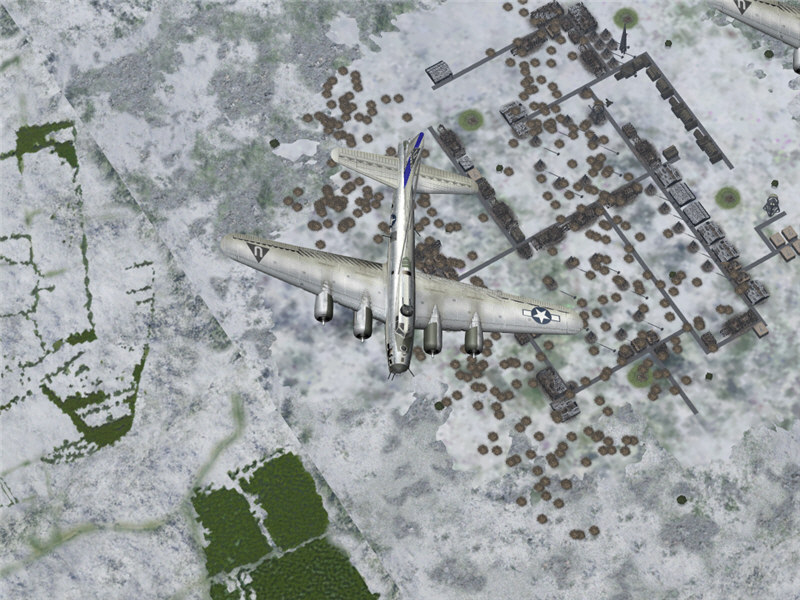
A picture after the 3rd BD did its drop. There are a few craters.
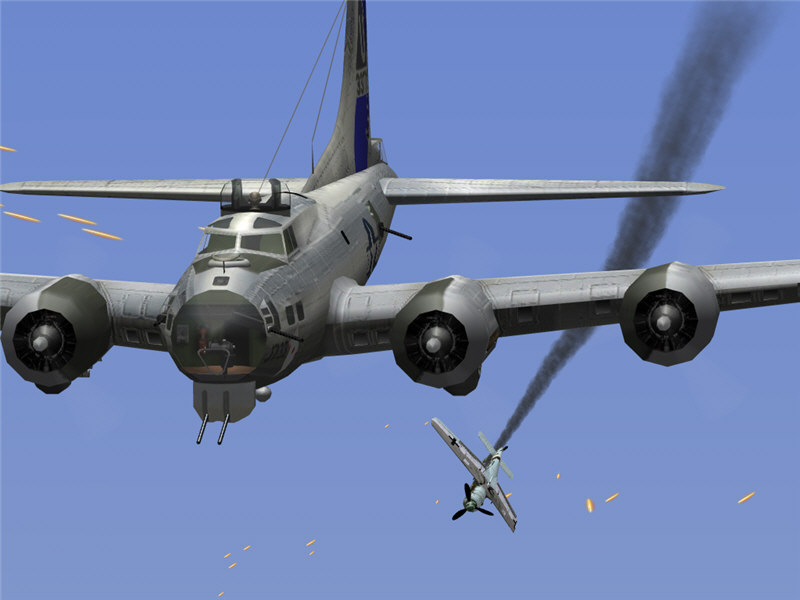
As I turn from target, a view of a FW 190 that has done an attack through the
formation and is worse for wear, trailing smoke.
It's hectic after drop, with a few enemy fighters attacking and more undoubtedly
on the way. I want to get of here! I fly toward the largest formation of bombers
I see: it's Kermit's group. I join up and then ask jordidmd if we are all going
to join up with Kermit to get out of here. Jordi tells me to join up with him
and says that he and Taszman still have some bombs left and are going to do
another attack run. I wasn't too fond of that brave idea, prefering a nice cowardly
postion in the middle of a big formation, but I spot Jordi, reluctantly peel
off the nice big formation of Kermit and his folks, and go join up with Jordi
and Taszman.
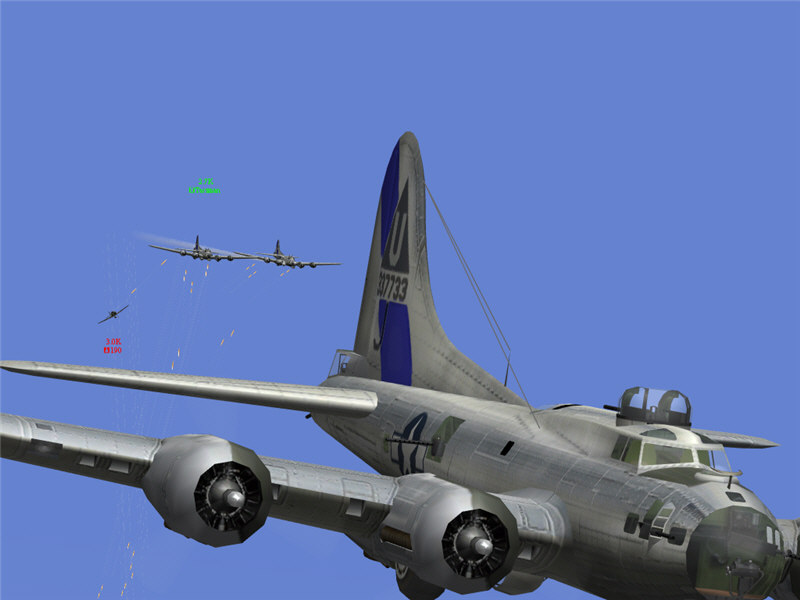
Jordi and Taszman make their drops on target (Jordi shown here dropping), and
we bug out. Jordi reports hits.
Unfortunately, there are only the three of us around, and we are set upon by
several fighters, including Bf 109K-4's and FW 190's. Here one does a run on
Jordi and blows some parts off his lead bomber. The tracers visible are from
Taszman, who is firing away to try to help.
A Bf 109K-4 attacks Taszman but colides with him. Taszman is OK, but the 109
loses its wing, the wreckage of which is visible between Taszman's two bombers.
Jordi's bomber is set on fire by a 109. We continue to fly west. Most of the
attacks are on Jordi and Taszman, so I am somehow blessed.
A view out my tail-gun position. A couple of FW 190's have been attacking Taszman.
He is an excellent shot and has been holding his own. Even better, bc21 in his
P-51D shows up and is able to drive them off, but that effort strips him away
from us eventually.

Taszman savages an attacking enemy fighter, which explodes. I am viewing out
my tail-gun sight -- I was ready to start firing on the enemy fighter once it
made it past Taszman and got closer to me, but Taszman put an end to him.
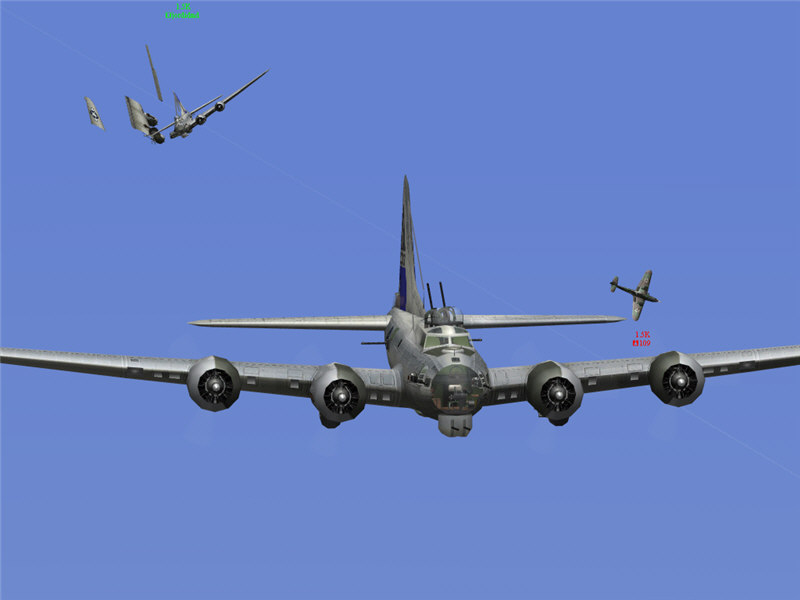
Another attacker on Taszman. It is a running fight with a few enemy attackers
seemingly at all times. Some get driven off or run out of energy, then more
show up. Mostly, they are going after Taszman and Jordi and not me still, even
when they come from above and in front of me.
An attacking Bf 109 blows off Jordi's right wing on his last bomber. There are
still enemy fighters around. I'm amazed Taszman is still alive, with all the
attacks he fended off, but I figure it is only a matter of time until Taszman
and I are done for.
A view out my tail-gun position as fortune smiles upon us. Two P-38's come across
our plight (Whizkid and Pappps). They dive in on the attacking Bf 109's, giving
Taszman some help. He still endures some more attacks in the process, but soon
Whizkid, Pappps, and the 109's are engaged in a dogfight, and all of them recede
into the distance behind us as we fly ahead. Two less 109's -- thank you, Whizkid
and Pappps!
Tudza's lead bomber set afire by an attacking fighter. All this time, Tudza
was behind us. When I throttled back so that Jordi and Taszman could join up,
Tudza got closer, and I stayed throttled back some so that he could get to us
eventually, too. Now he is getting closer, but several of the fighters that
attacked Jordi and Taszman but that drifted back behind us (after losing some
energy during attack maneuvering) are now what Tudza is flying through, and
they are setting upon him.
Tudza's second bomber explodes after another attack by enemy fighters.
Tudza's last bomber goes out of control as its tail is shot off.
I fire my ball-turret guns at an enemy fighter below me. There are still enemy
fighters around, but they always seem to go for Taszman. They get to within
1000 or 1500 yards from me once in a while, and I fire some rounds their way,
but it is Taszman fighting off attack after attack.
Taszman damages an attacking Bf 109, which flies off trailing smoke. Eventually,
a couple of P-51's catch us from behind (culero and CPR). That and our proximity
finally to friendly soil (column 8) means an end to attacks -- or so I think.
As I am looking around at one of the final attacks, I look back around and no
longer see Taszman. He did the most amazing job of survival I've ever seen,
but I think after all of that he must have suffered catastrophic mechanical
failure (i.e., a disconnect). I think I'm the lone surviving member of the 447th
BG.
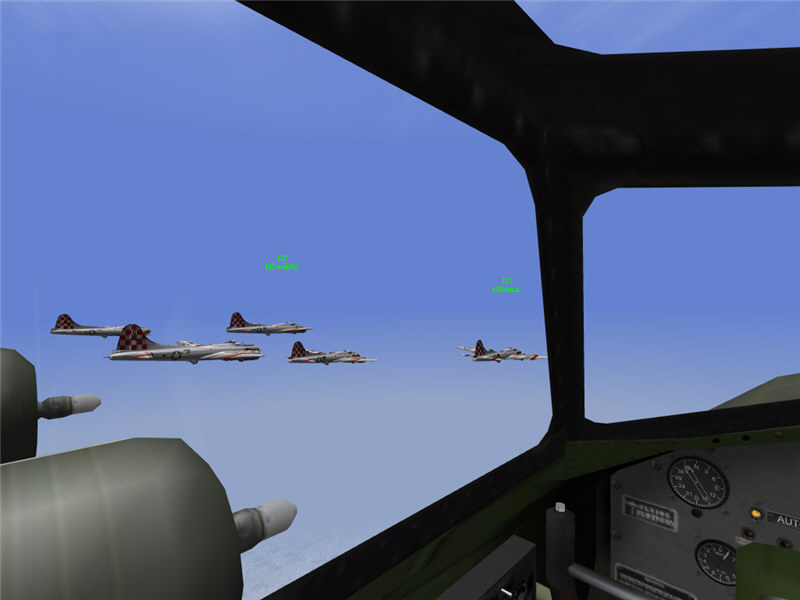
A view forward and right from my cockpit at Kermit and his group. Once I was
in friendly territory, I radioed them and got a heading for joining up. It looks
like his group is still mostly alive.
A view out the cockpit (forward left) as I join up on Kermit and Derek92 for
the flight back to home base (A70).
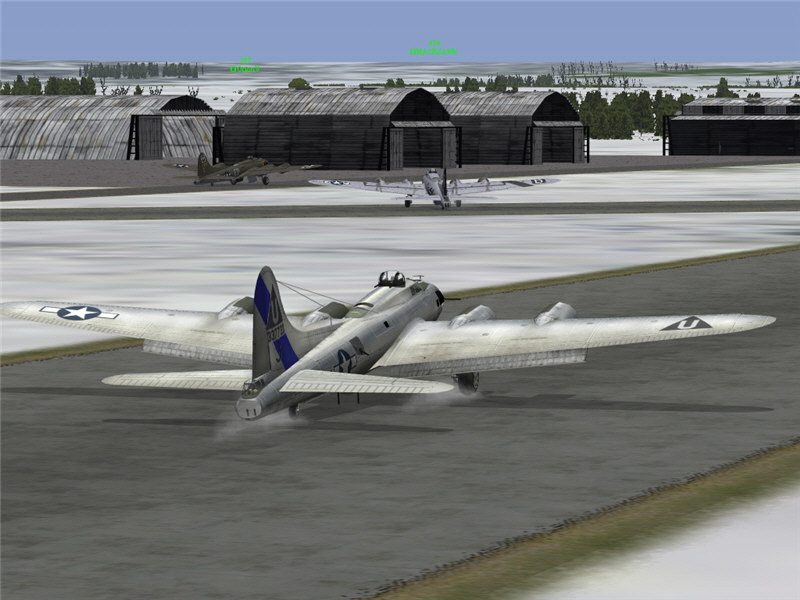
Coming back for a landing.
Taxiing back to the ramp behind OrionV and HACKSAWx.
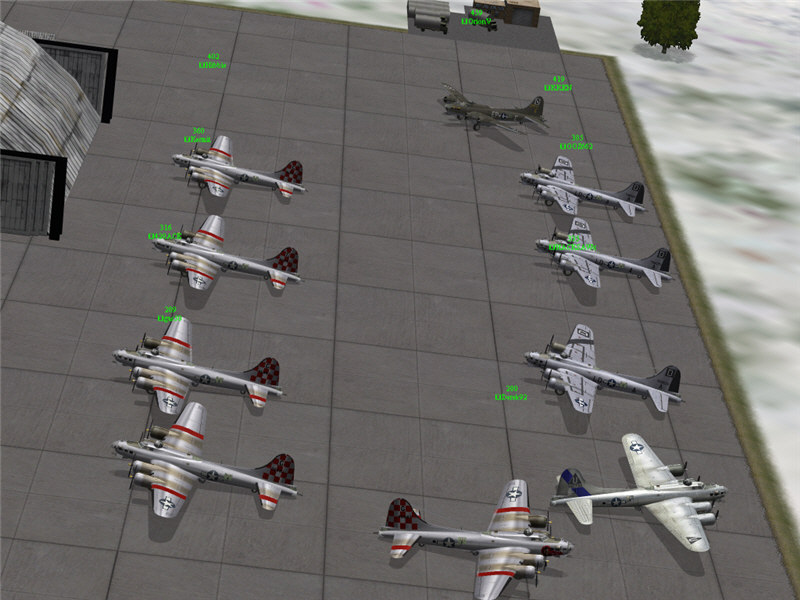
The survivors assemble. Left from top to bottom: Hibbie, Kermit, 420ACE, gas50.
Right from top to bottom: OrionV, KKEN, OOZ662, HACKSAWx, me, and Derek92.
The 447th got to target and dropped, but I think I was the only survivor of
the group. I lost one bomber, hit about a dozen buildings, and got maybe a kill
or so (I'd say one probable).
by Brooke P. Anderson
e-mail: brooke@electraforge.com
Click here to go back to my scenario page, for
pictorials on other frames of this scenario, for pictorials of other scenarios,
and for links to other content on my site.