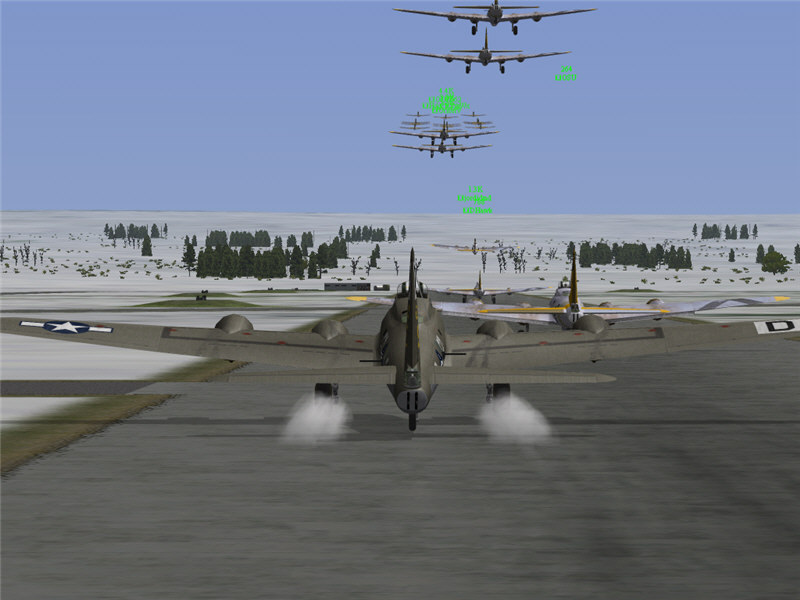
3rd Bombardment Division taking off into the winter sky near Sedan.
After-Action Report
100th Bombardment Group, 3rd Bombardment Division
10/6/2007
by Brooke
This was a scenario that ran in the multiplayer on-line air-combat simulation Aces High.
I was in the 100th Bombardment Group, which was part of the 3rd Bombardment Division. Also in the 3rd BD were the 385th and 447th BG's. Overall, 3rd BD consisted (I believe) of me (Brooke), Tudza, jordidmd, KKEN, Kermit (who was the Group Leader), OOZ662, DHawk, Betty, OSU, HACKSAWx, gas50, OrionV, fitzy1, and 420ACE. We were in B-17G's, loaded with 12 500 lb bombs, 75% fuel, and formations enabled. Our takeoff field was A70 near Sedan. Our target was to be the ammunition factory near Heidelburg.
3rd Bombardment Division taking off into the winter sky near Sedan.
Here I am forming up along with 420ACE and gas50.
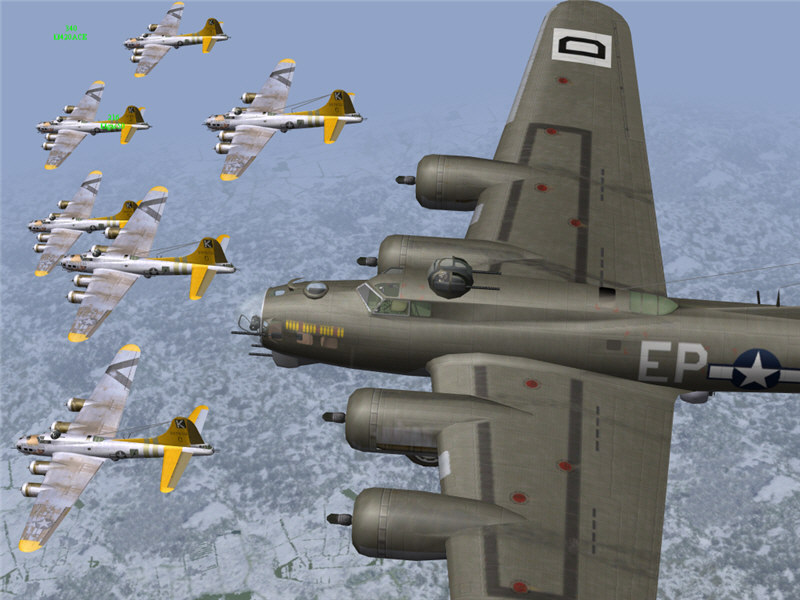
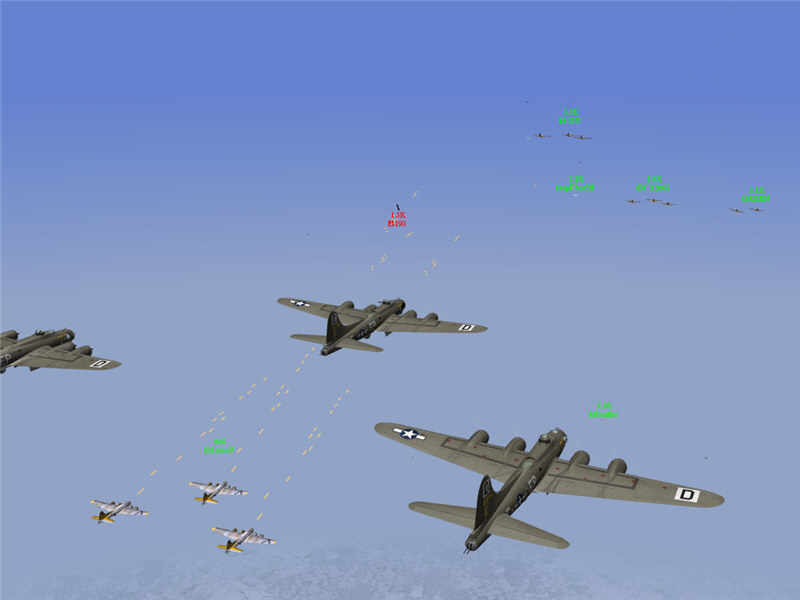
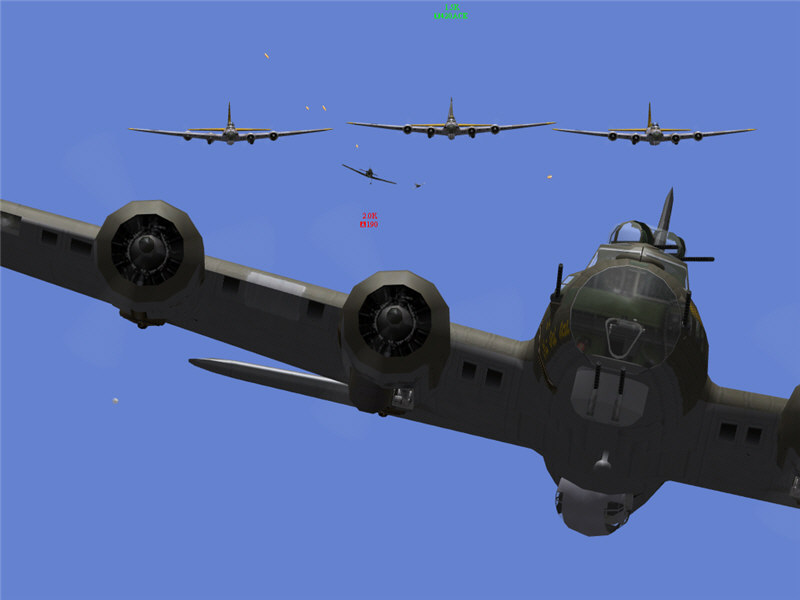
A view of a portion of 3rd BD on the way to the target. Top group, from left
to right: OrionV, KKEN, jordidmd, and DHawk. Middle group, from left to right:
fitzy1, Kermit, betty, OSU, gas50, 420ACE, and HACKSAWx. I am in the foreground.
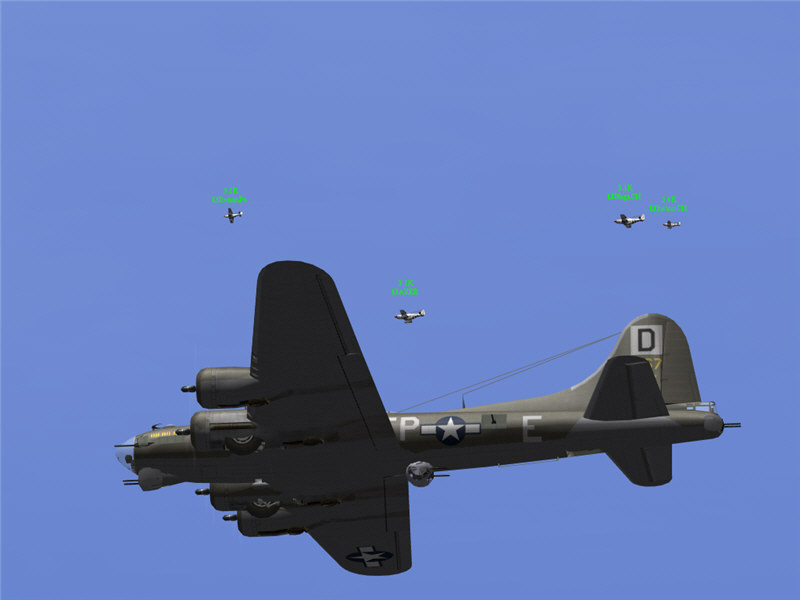
"Hello, little friends!" I say on the radio as our fighter escort
of P-51D's joins up overhead. Above me, from left to right, are: IcemanPa, AXER,
MegaCH, and InsanoCH.
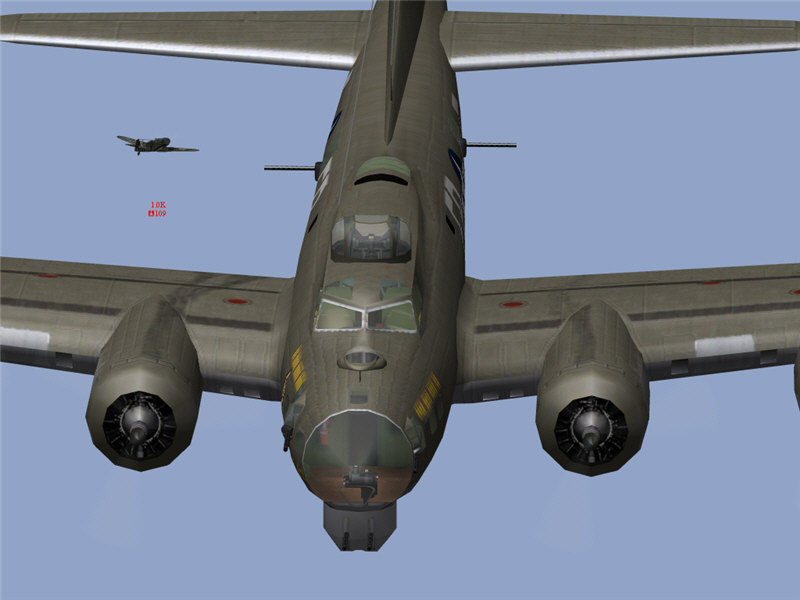
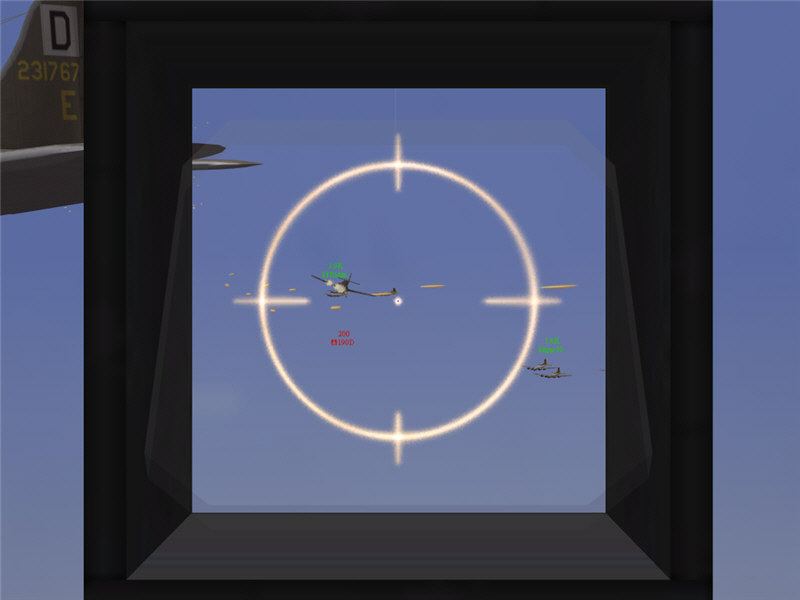
About at about 1 hour 20 minutes after takeoff, near Kaiserslautern (A31), about
40 miles from Heidelburg, our forward escort calls out enemy 109's. Our first
contact is one Bf 109G-14 that comes screaming in for a headon attack. He passes
by my lead bomber, off to the right (left side in the picture), but was targeting
someone else and does not fire on me. About this time, we hear that the 1st
BD, which is about 10-20 miles ahead of us, is under heavy attack.
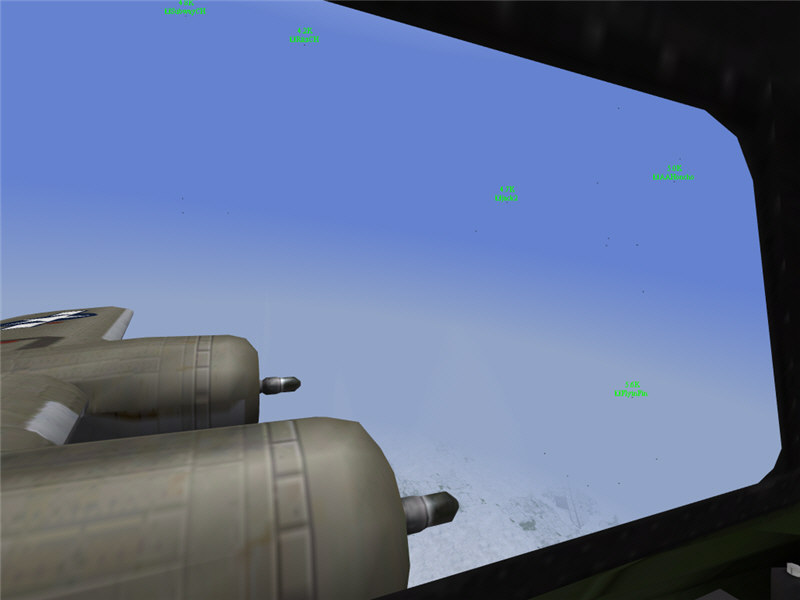
3rd BD makes a left turn to head toward target. Off to our left, USAAF fighters
are mixing it up with the Luftwaffe, and we expect LW fighters to be on us any
time now. This is a view from the pilot's seat, out the left window. USAAF fighters
just visible, from left to right, are: SubwayCH, RitzCH, jack2, FlyinFin, and
AAHoncho. Kaiserslautern (A31) is just visible in the lower right of the window.
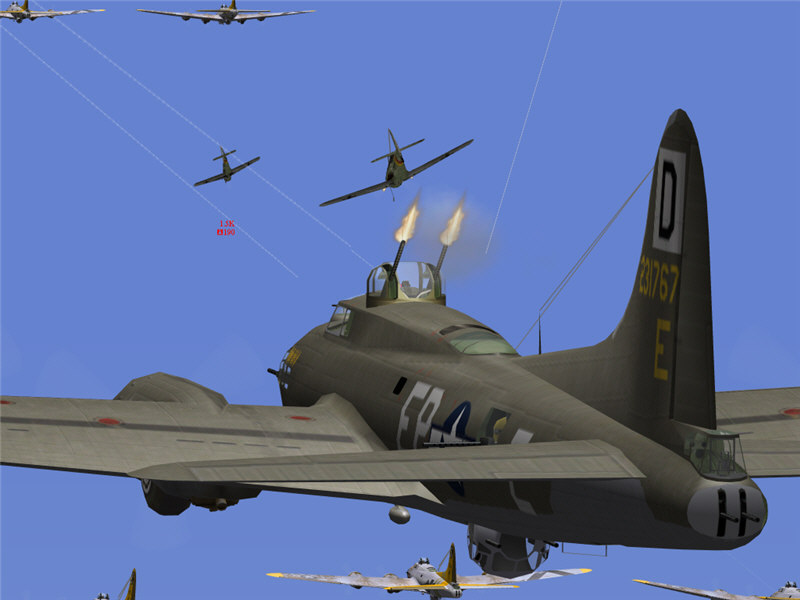
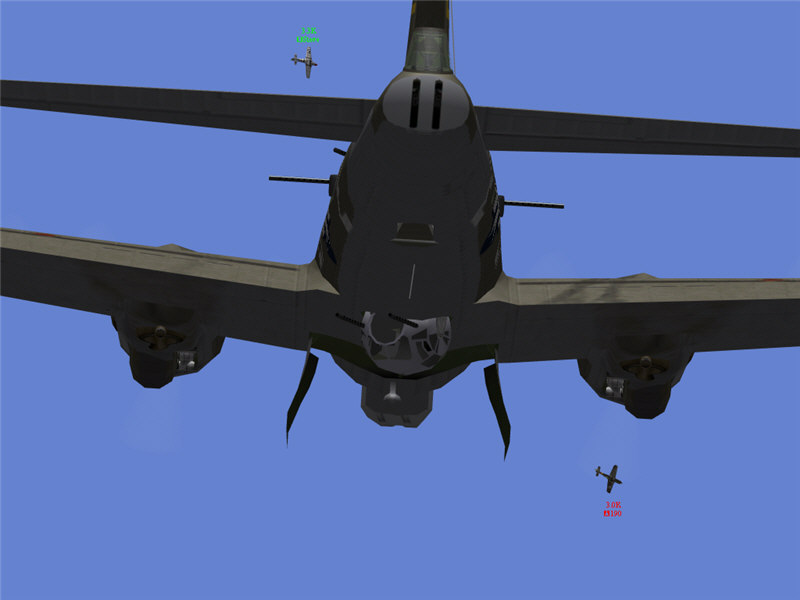
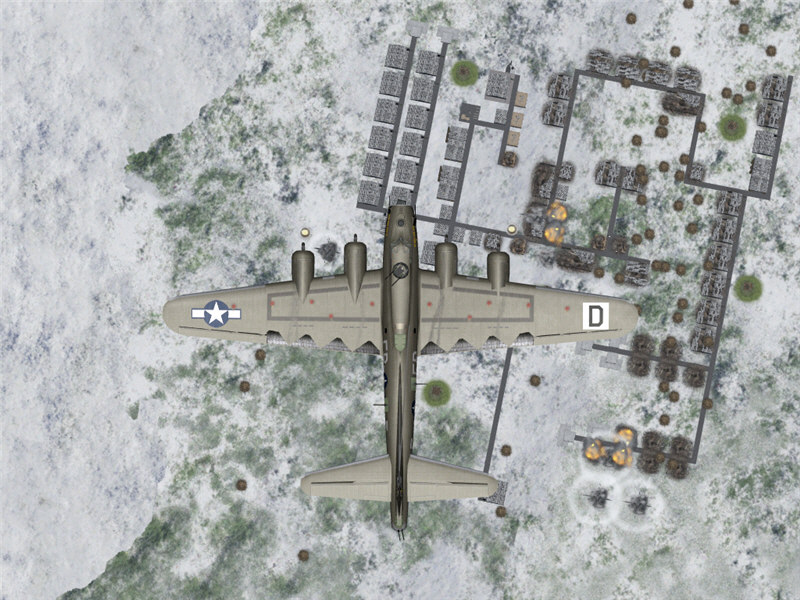
A view from my front gunner position as LW fighters do come pressing in from
our left. Here, two FW 190D-9's come zooming through and go for the bombers
in the front of the formation. I am working to get a shot where I won't put
rounds into my fellow B-17's.
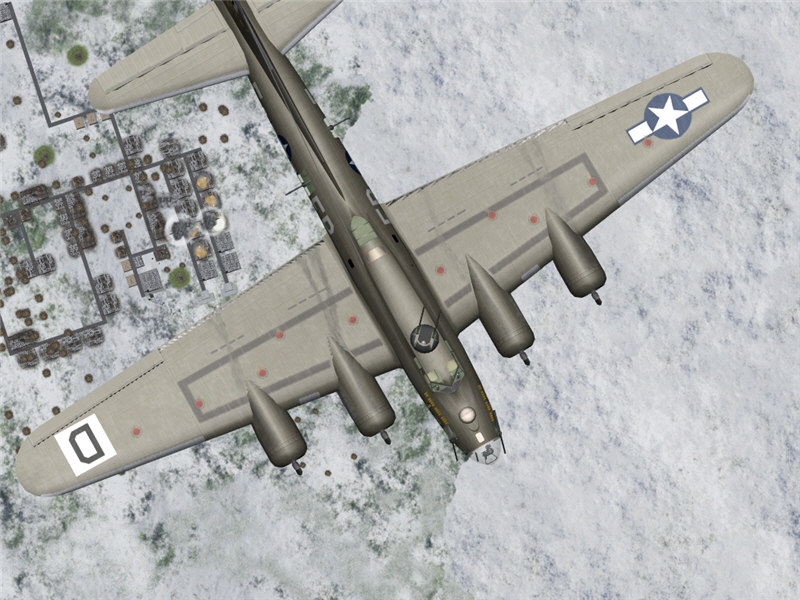
I am firing at a 190 from my top turret. Frodo (bottom left of picture) in his
P-51B is diving through our formation, in hot pursuit. Tudza's formation of
B-17's is off to my left rear.
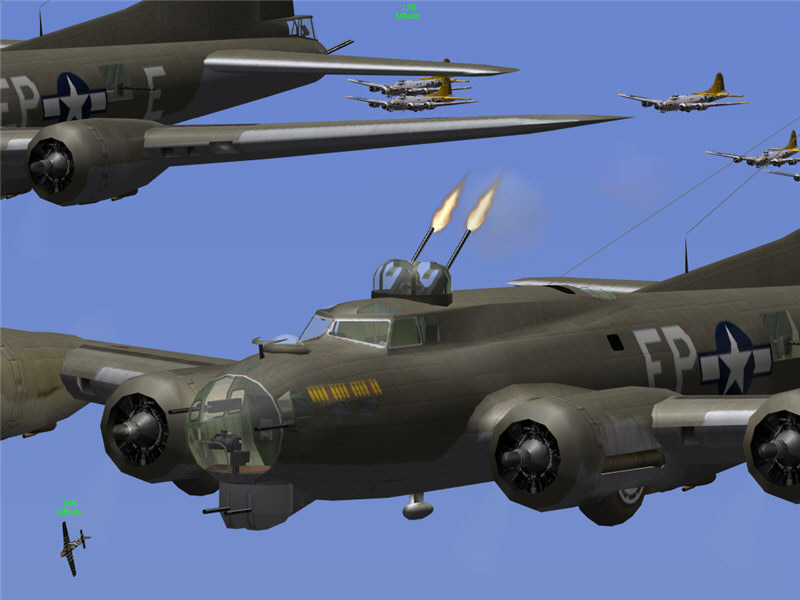
More FW 190's come tearing through, going after bombers ahead of me. In my top
turret, I am still firing away at one above and behind me.
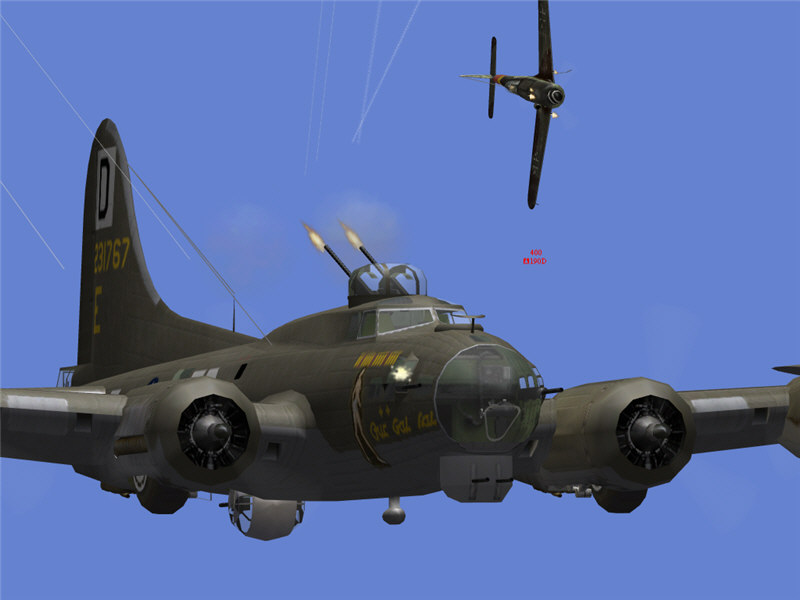
This is the FW 190D-9 that I was firing at. He got some hits on me and zooms
past, guns blazing.
One of the FW's that ran through our formation has just blown the wing off of
DHawk's lead bomber. It rolls right, and spirals down out of formation.
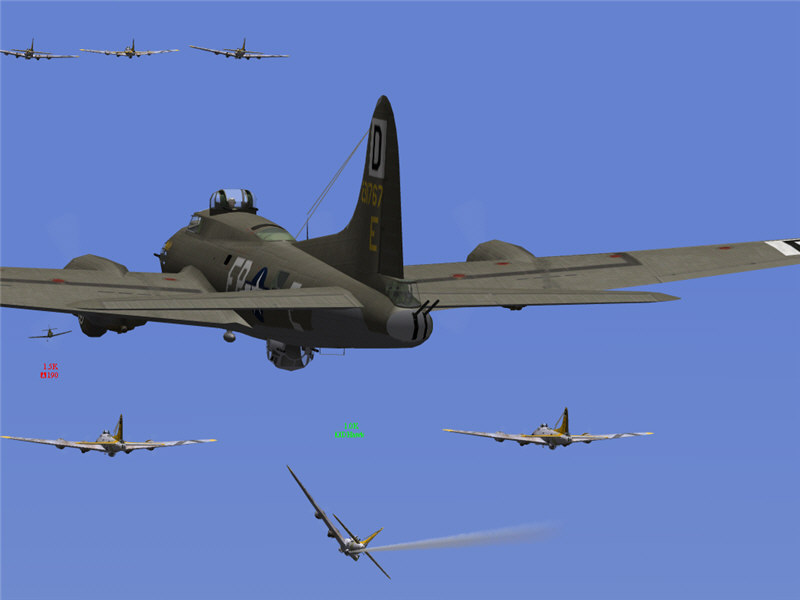
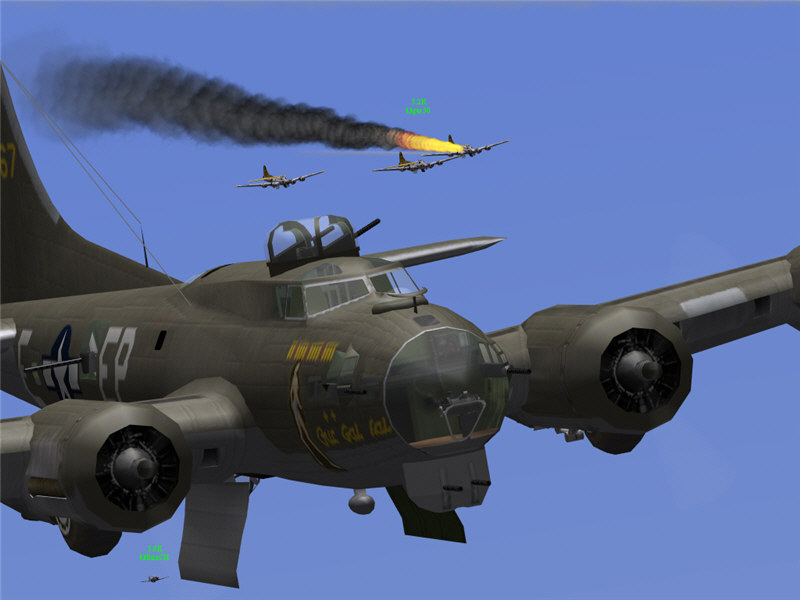
Another FW 190 races through and sets one of KKEN's bombers on fire. This one
has taken hits coming through and is trailing oil and either fuel or coolant.
He won't make it far, but KKEN's bomber has had it.
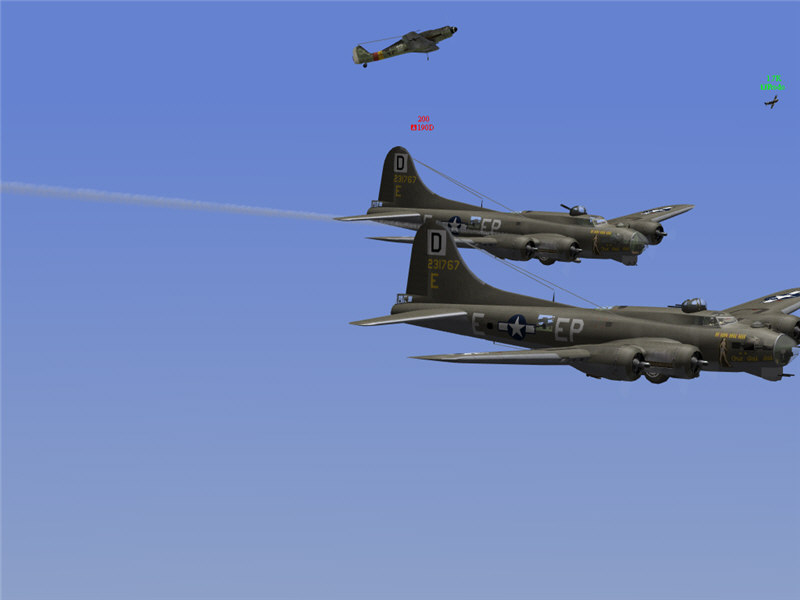
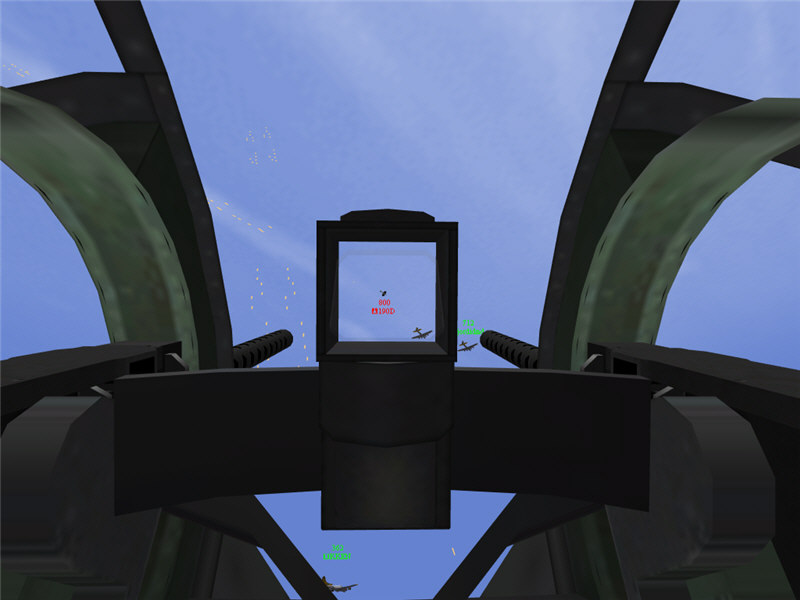
A view out my tail gunner position as another FW 190D-9 comes in from my 5 o'clock.
This one is firing on me, and I am firing back, getting hits on his nose and
right wing. Behind him are the bombers of Tudza and gas50.
The FW 190D-9 I was firing at pulls up to avoid a collision with me. He has
put rounds into my left drone, which is now leaking fuel. In the right of the
picture, Frodo in his P-51 is visible banking right, coming in fast.
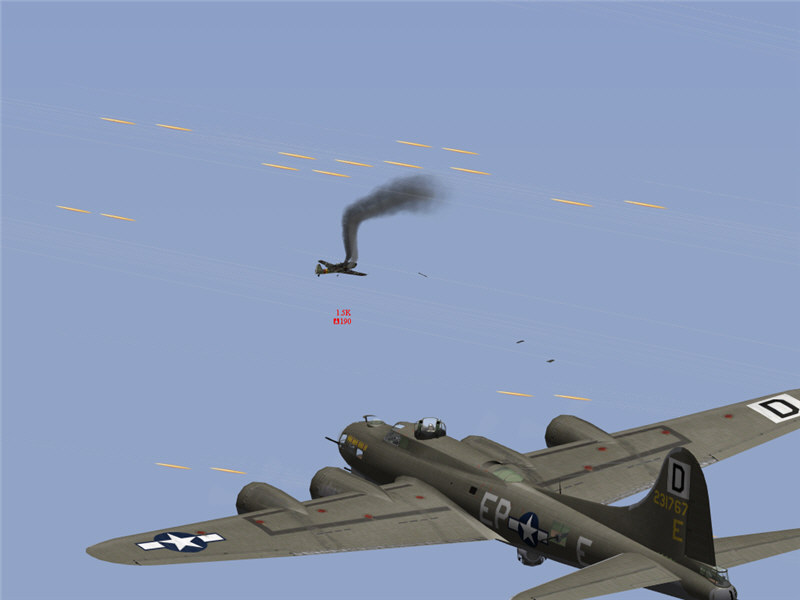
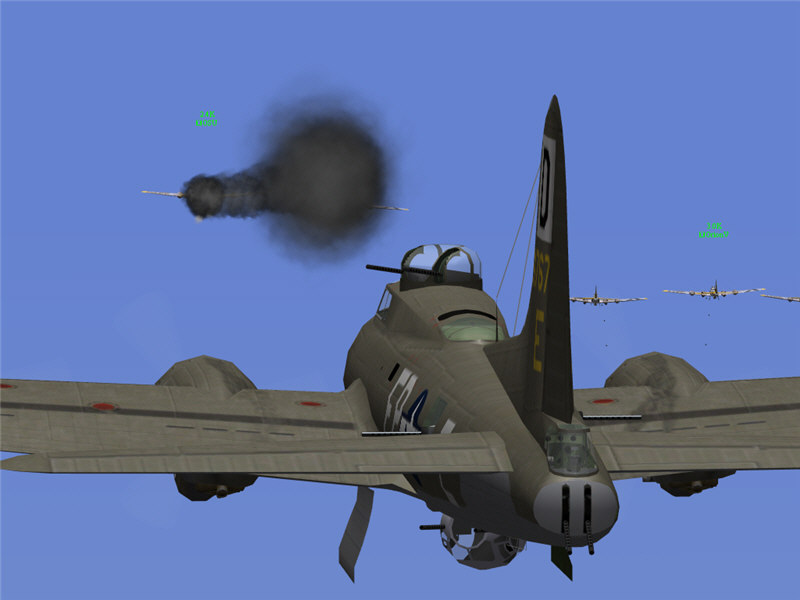
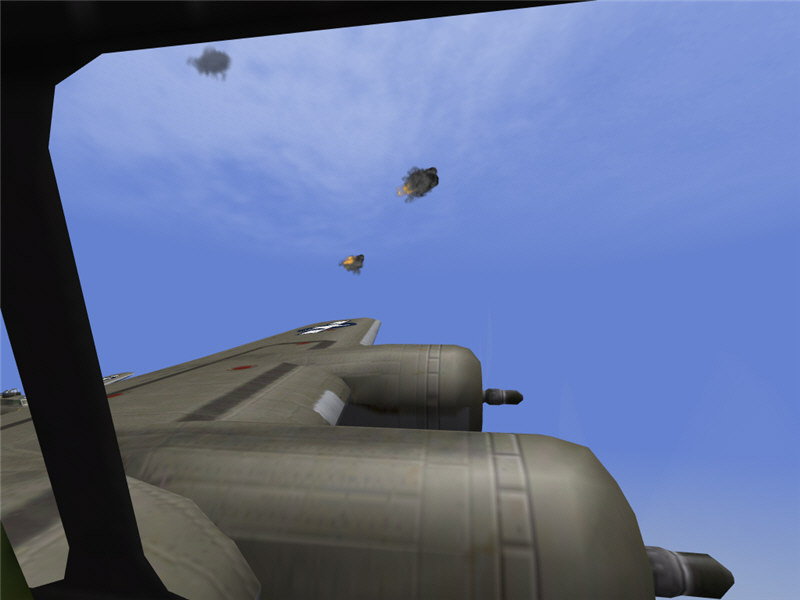
A FW 190 in a hailstorm of gunfire from the bombers. Parts (such as his horizontal
stabilizers) are streaming away from his doomed plane as he tumbles away in
a flat spin.
I open my bay doors as we are now about 15-20 miles from target. We are still
under attack from enemy fighters. Here Steve in a P-51D chases a FW 190 through
our formation. About this time, we learn that the 1st Bombardment Division,
ahead of us, has been annihilated.
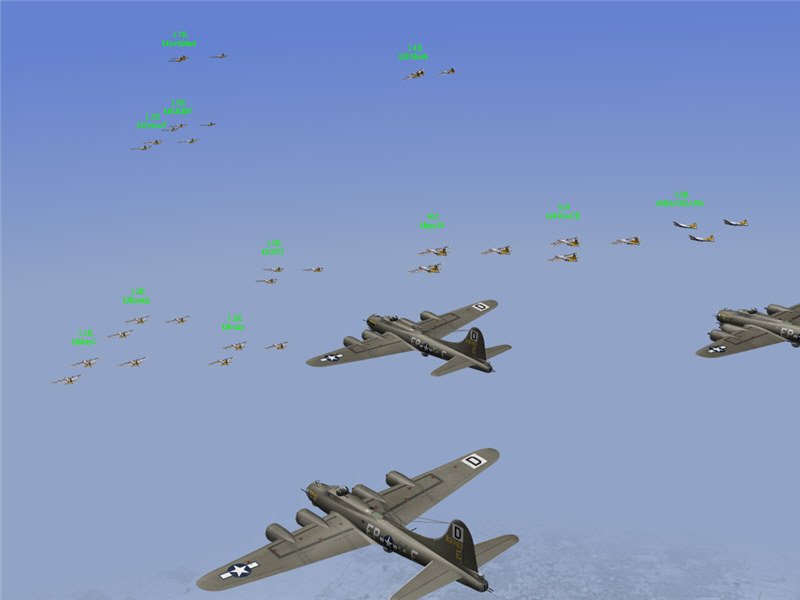
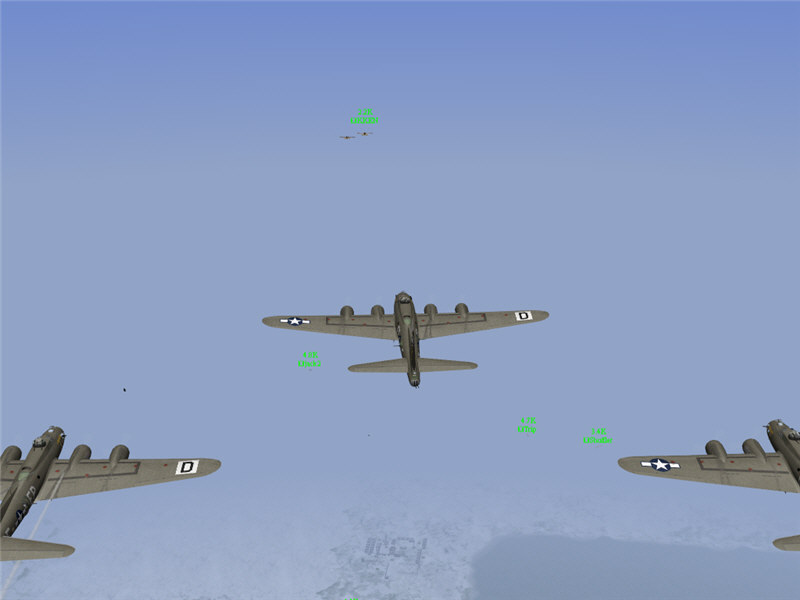
A wider view as we near target. I am above and behind OrionV, who is firing
away at the 190 attacking our formation. Also visible ahead from left to right
are: OSU, spIVeyCH (in a fighter), Shuffler (in a fighter), OOZ662, and KKEN.
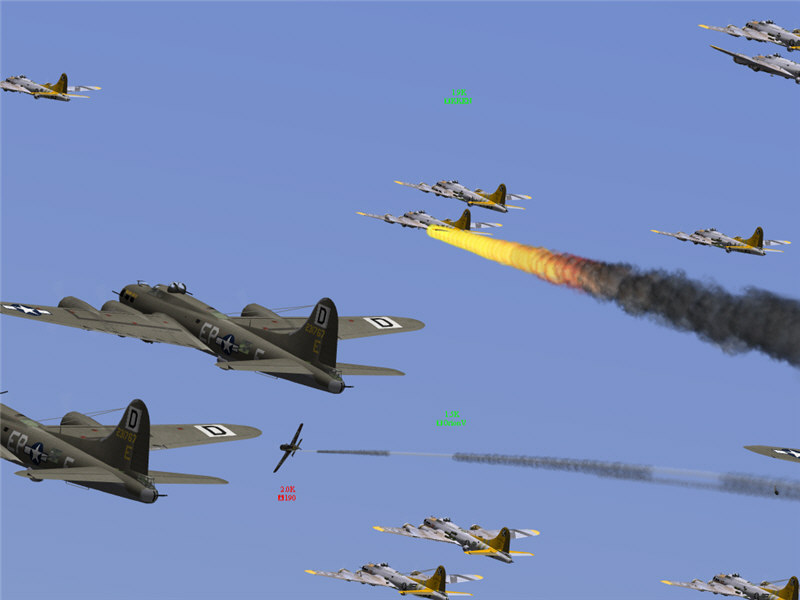
A vew from in front of my bomber looking back. One of gas50's bombers is on
fire from an enemy attack. Lower left in the picture, RitzCH in a P-51 is giving
chase to the LW fighter that did it. We have been in a running fight for the
last 40 miles. 3rd BD has lost a number of bombers, but we do still have many
left. Only a little longer now until drop.
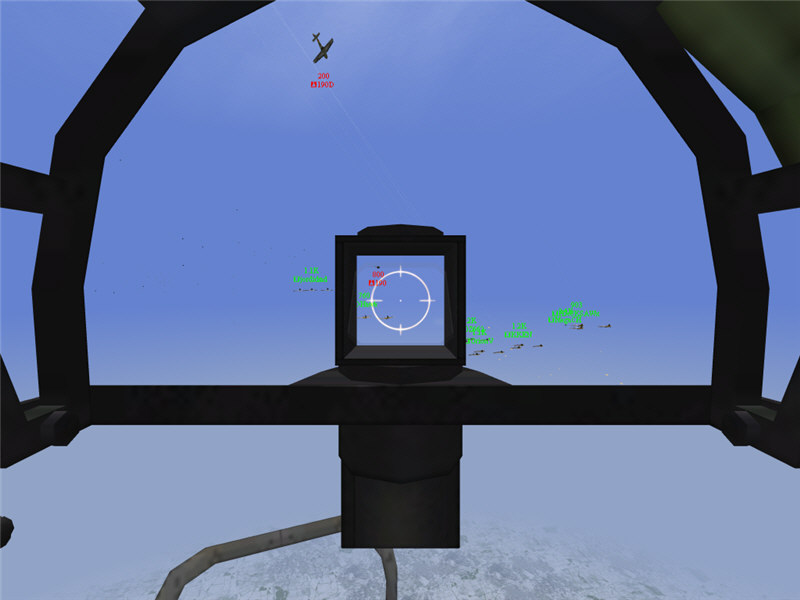
The target factory is visible in the bottom middle of the picture. We are in
our bombardier positions now, calibrating our sights and getting ready for our
drops. At this critical point, it seems that the LW fighters in the area have
mostly been destroyed or driven off by the fighters -- fortunate for us bombers
indeed as we abandon our guns for the bombsights. Visible ahead of me from left
to right are: jack2 (fighter), KKEN, Trip (fighter), and Shuffler (fighter).
My target is the north side of the factory. I line up a little to the north
of the north side of the factory, to account for the 10 mph wind from NE to
SW.
A view from behind my bomber looking forward. One of OSU's bombers was hit previously
and is on fire. To the right, OrionV is dropping his bombs. I'm almost there.
OSU's bomber blew up shortly after this picture was taken.
Bombs away! Ahead of me, from left to right: OSU (missing a bomber), OrionV,
OOZ662, HACKSAWx (missing a bomber) , DHawk (missing a bomber), and Dextur (banking
left in a fighter). This is at about 1.5 hours after takeoff.
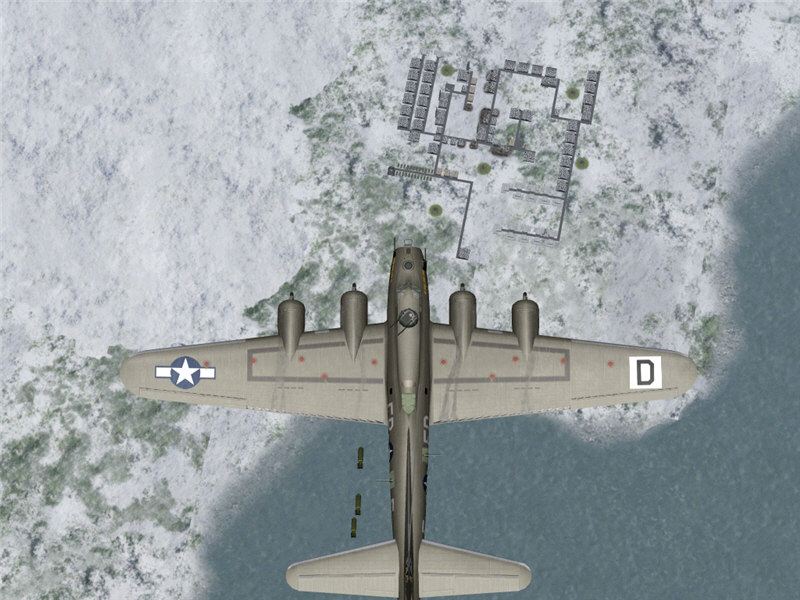
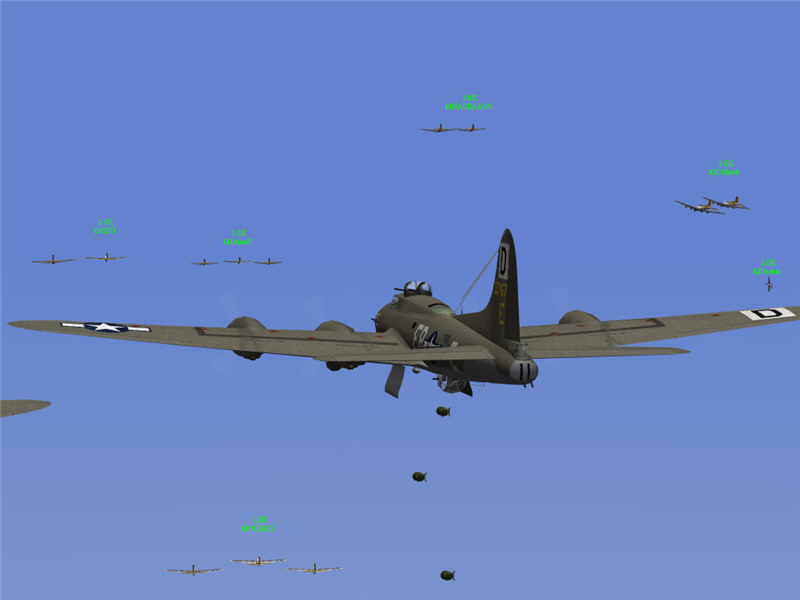
Another shot of my drop, looking down at the target factory. Bombs are dropping
away from my B-17.
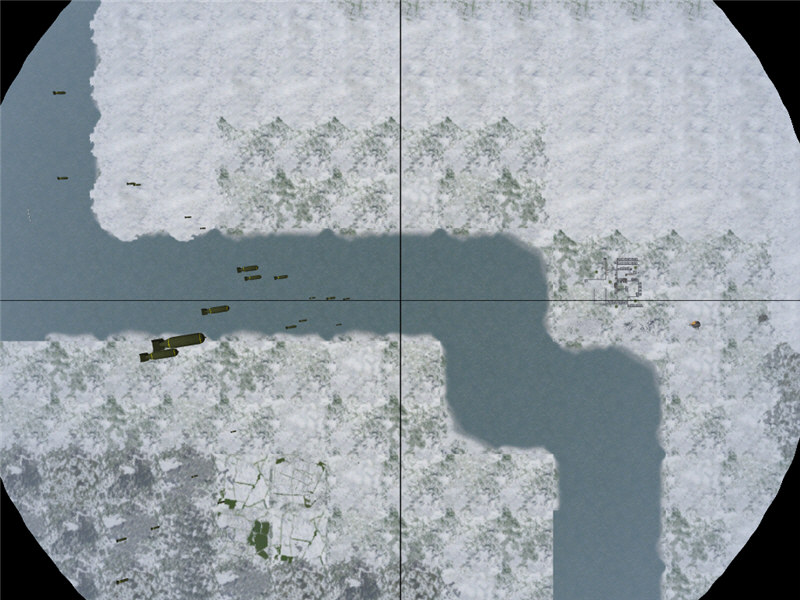
A bombsight view of my bombs dropping.
As I overfly the target, before my bombs hit, other bombs are hitting the south
side of the factory (we are heading east at this point).
Also before my bombs hit, other bombs are hitting the center of the factory.
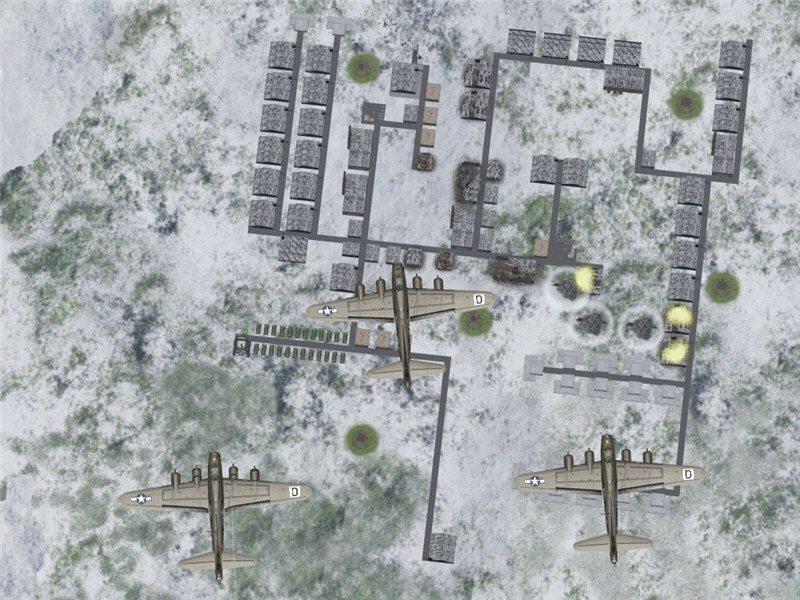
My bombs hitting. I am on target, hitting the north side of the factory and
taking out all of the two rows of buildings on that side.

A view of the factory after I pass overhead. There are more bombers behind me
making their bomb runs, so there isn't much hope for the remaining buildings.
Flak bursts viewed from out my left window. We turned south after our bomb run,
away from Heidelburg. Once near Karlsruhe, we turned back west to run for home.
The flak is from bases near Karlsruhe. Shaky joins me as my gunner a bit after
this -- very welcome company indeed.

As we run for home, I see KKEN down to one damaged bomber, tucking in behind
OOZ662. I push forward to give protection, trying to sandwich him between me
and OOZ. Note that KKEN is missing his rudder.
Escorts called out trailing LW fighters. About 50 miles west of Karlsruhe, several
manage to catch up to us and to attack. A view out the top turret as Shaky fires
on an attacking FW 190D-9.
Another FW 190 making a run at us from behind. He is targeting 420ACE, and then
I figure he'll go after me. Shortly after this picture was taken, though, 420ACE
blew him out of the sky. Shaky was probably looking forward to some more action,
but I was quite relieved.
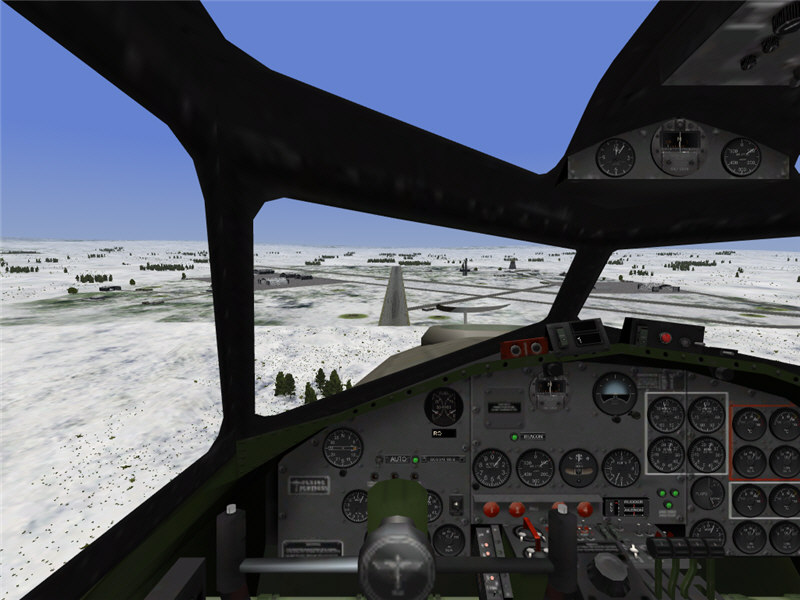
After another 40 miles or so of running battles, we made it to home territory
and safety. Here, I line up for landing back at A70.
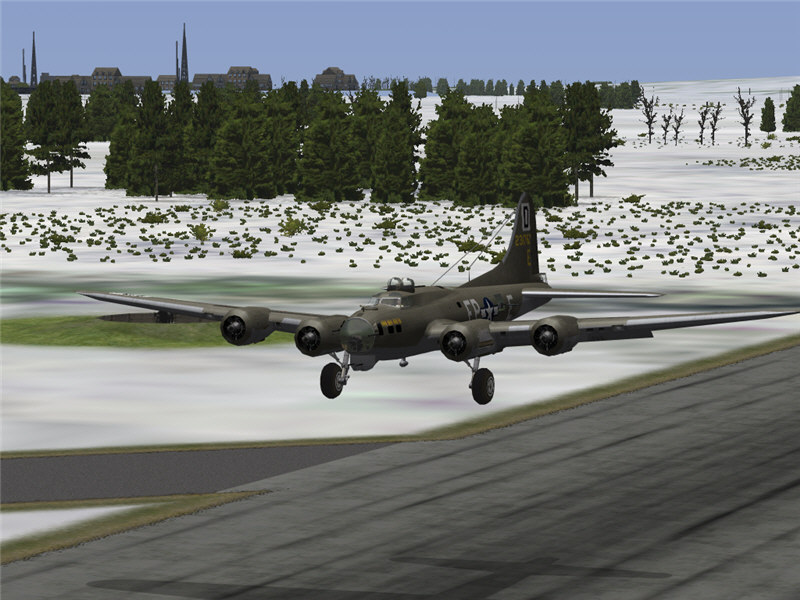
Coming back home from the winter sky.
by Brooke P. Anderson
e-mail: brooke@electraforge.com
Click here to go back to my scenario page, for
pictorials on other frames of this scenario, for pictorials of other scenarios,
and for links to other content on my site.